Code
To compile the GNUVario source code you need the Arduino IDE that can be downloaded here. First install it and make sure you can launch the editor.
Next you can get the GNUVario source code.
The simplest method : Download zip
The source code can be downloaded directly as zip file on GitHub. Just click on Clone or download and Download zip.

Extract the zip on the location you want. This will create an arduino-variometer-master directory.

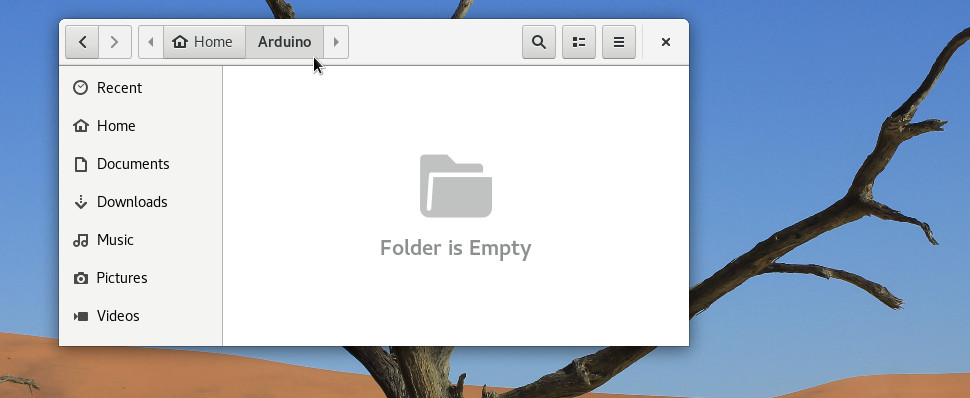
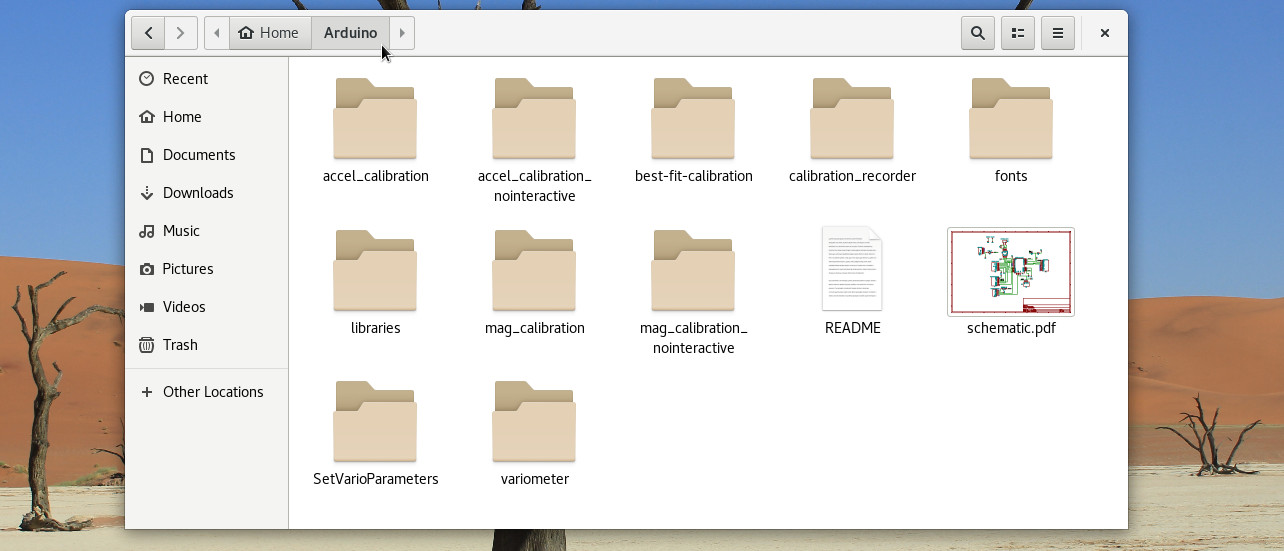
The Arduino IDE’s installation have normally created an Arduino directory inside your home folder. Make sure this folder is empty, and copy the content of the arduino-variometer-master folder inside the Arduino folder.


The advanced method : use Git
You can also get the source code with Git. This is a better approach because with Git you can update the code while keeping you prefered parameters.
So install Git and make sure that the Arduino folder inside you home directory is empty. With the bash, go inside the Arduino directory, clone the repository, and create a branch for you.
~$ cd Arduino
~/Arduino$ git clone https://github.com/prunkdump/arduino-variometer.git .
~/Arduino$ git checkout -b myversion
So each time you want to update the code, type the following commands from the Arduino directory. The first two lines save your changes. The next two lines download the changes from the GitHub master branch. The last apply the change to your version.
~/Arduino$ git add -A
~/Arduino$ git commit -m 'change'
~/Arduino$ git checkout master
~/Arduino$ git pull
~/Arduino$ git checkout myversion
~/Arduino$ git merge master
Compiling the code
Now launch the Arduino IDE and open the sketch you want to compile. For example the variometer.ino sketch.

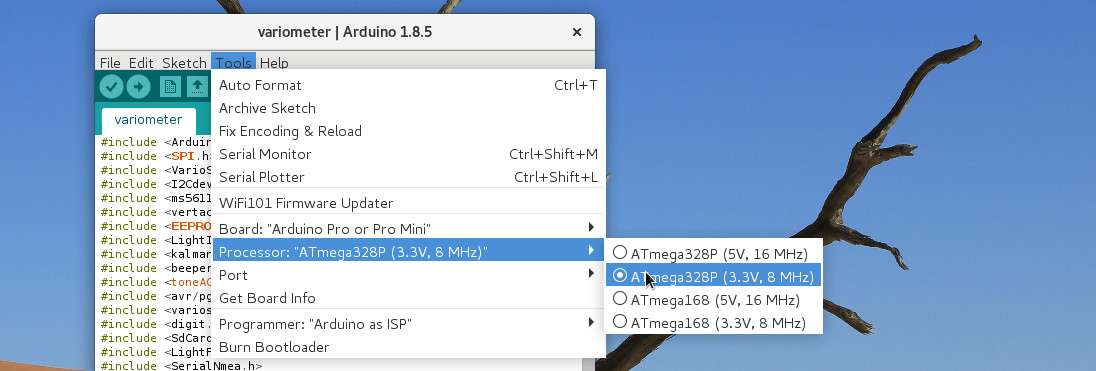
Inside the Tools menu, make sure to choose the right board. The most classic one for this project is the Arduino pro mini with the ATmega328P 3.3V microcontroller.

If you use the classic Arduino bootloader, Just click on the upload button.

If you have installed the GNUVario’s special bootloader you need to create a firmware file. So in the Sketch menu choose to Export the compiled binary.

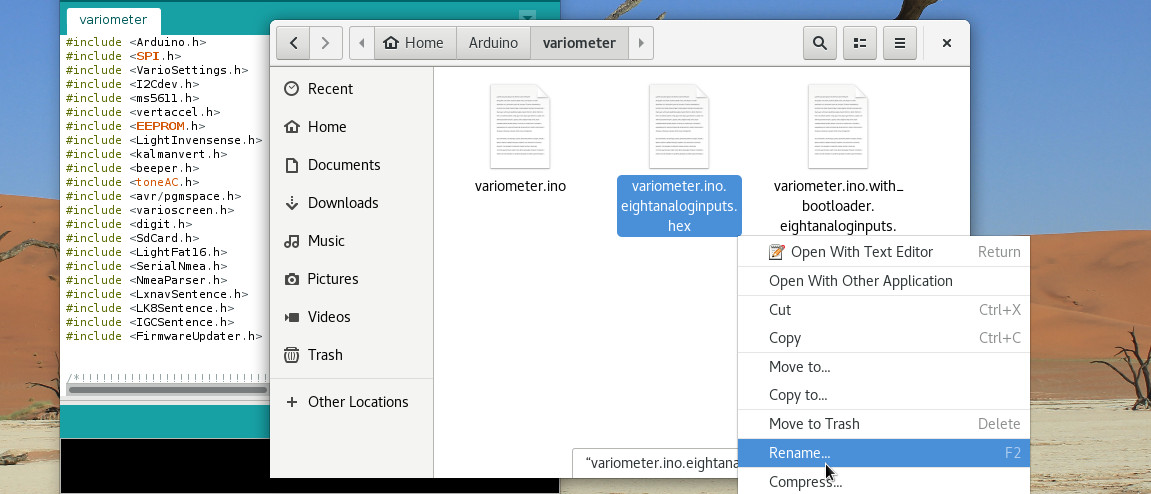
Now navigate to the folder of the sketch and rename the firmware without bootloader in FIRM.HEX.


You can then copy this firmware on the SD card and making the flashing procedure.
