Assembly
Closing the case
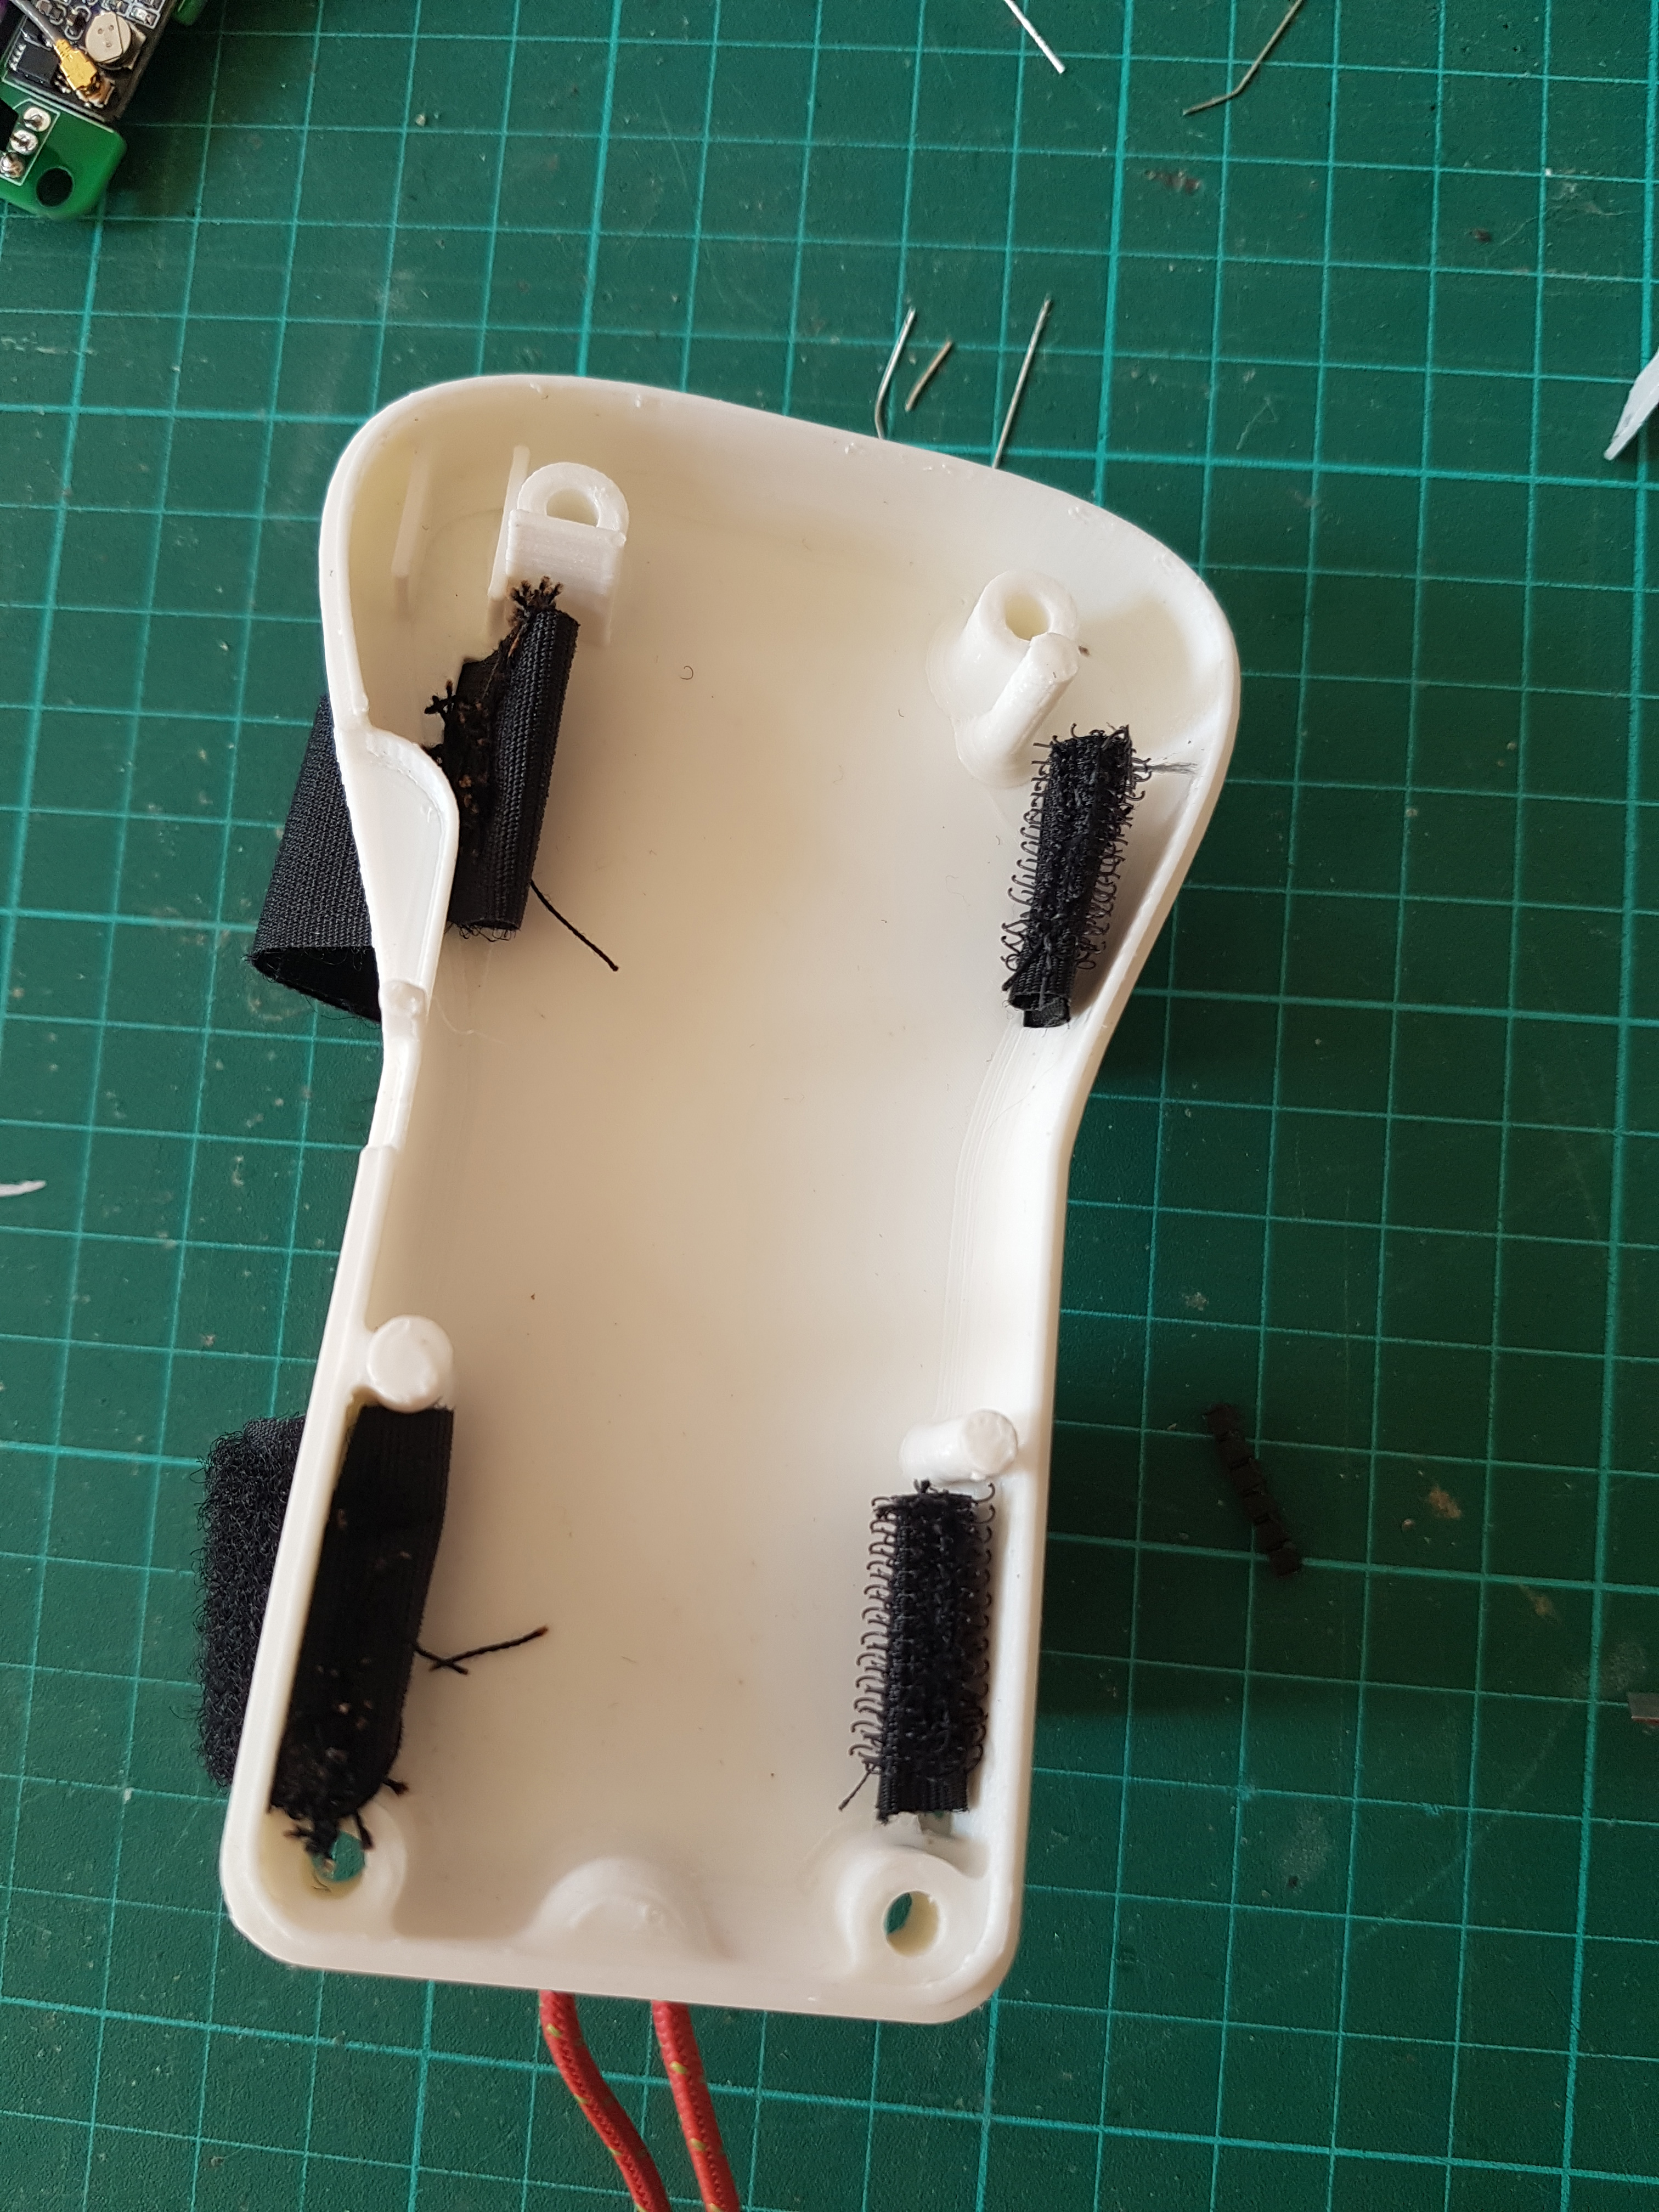
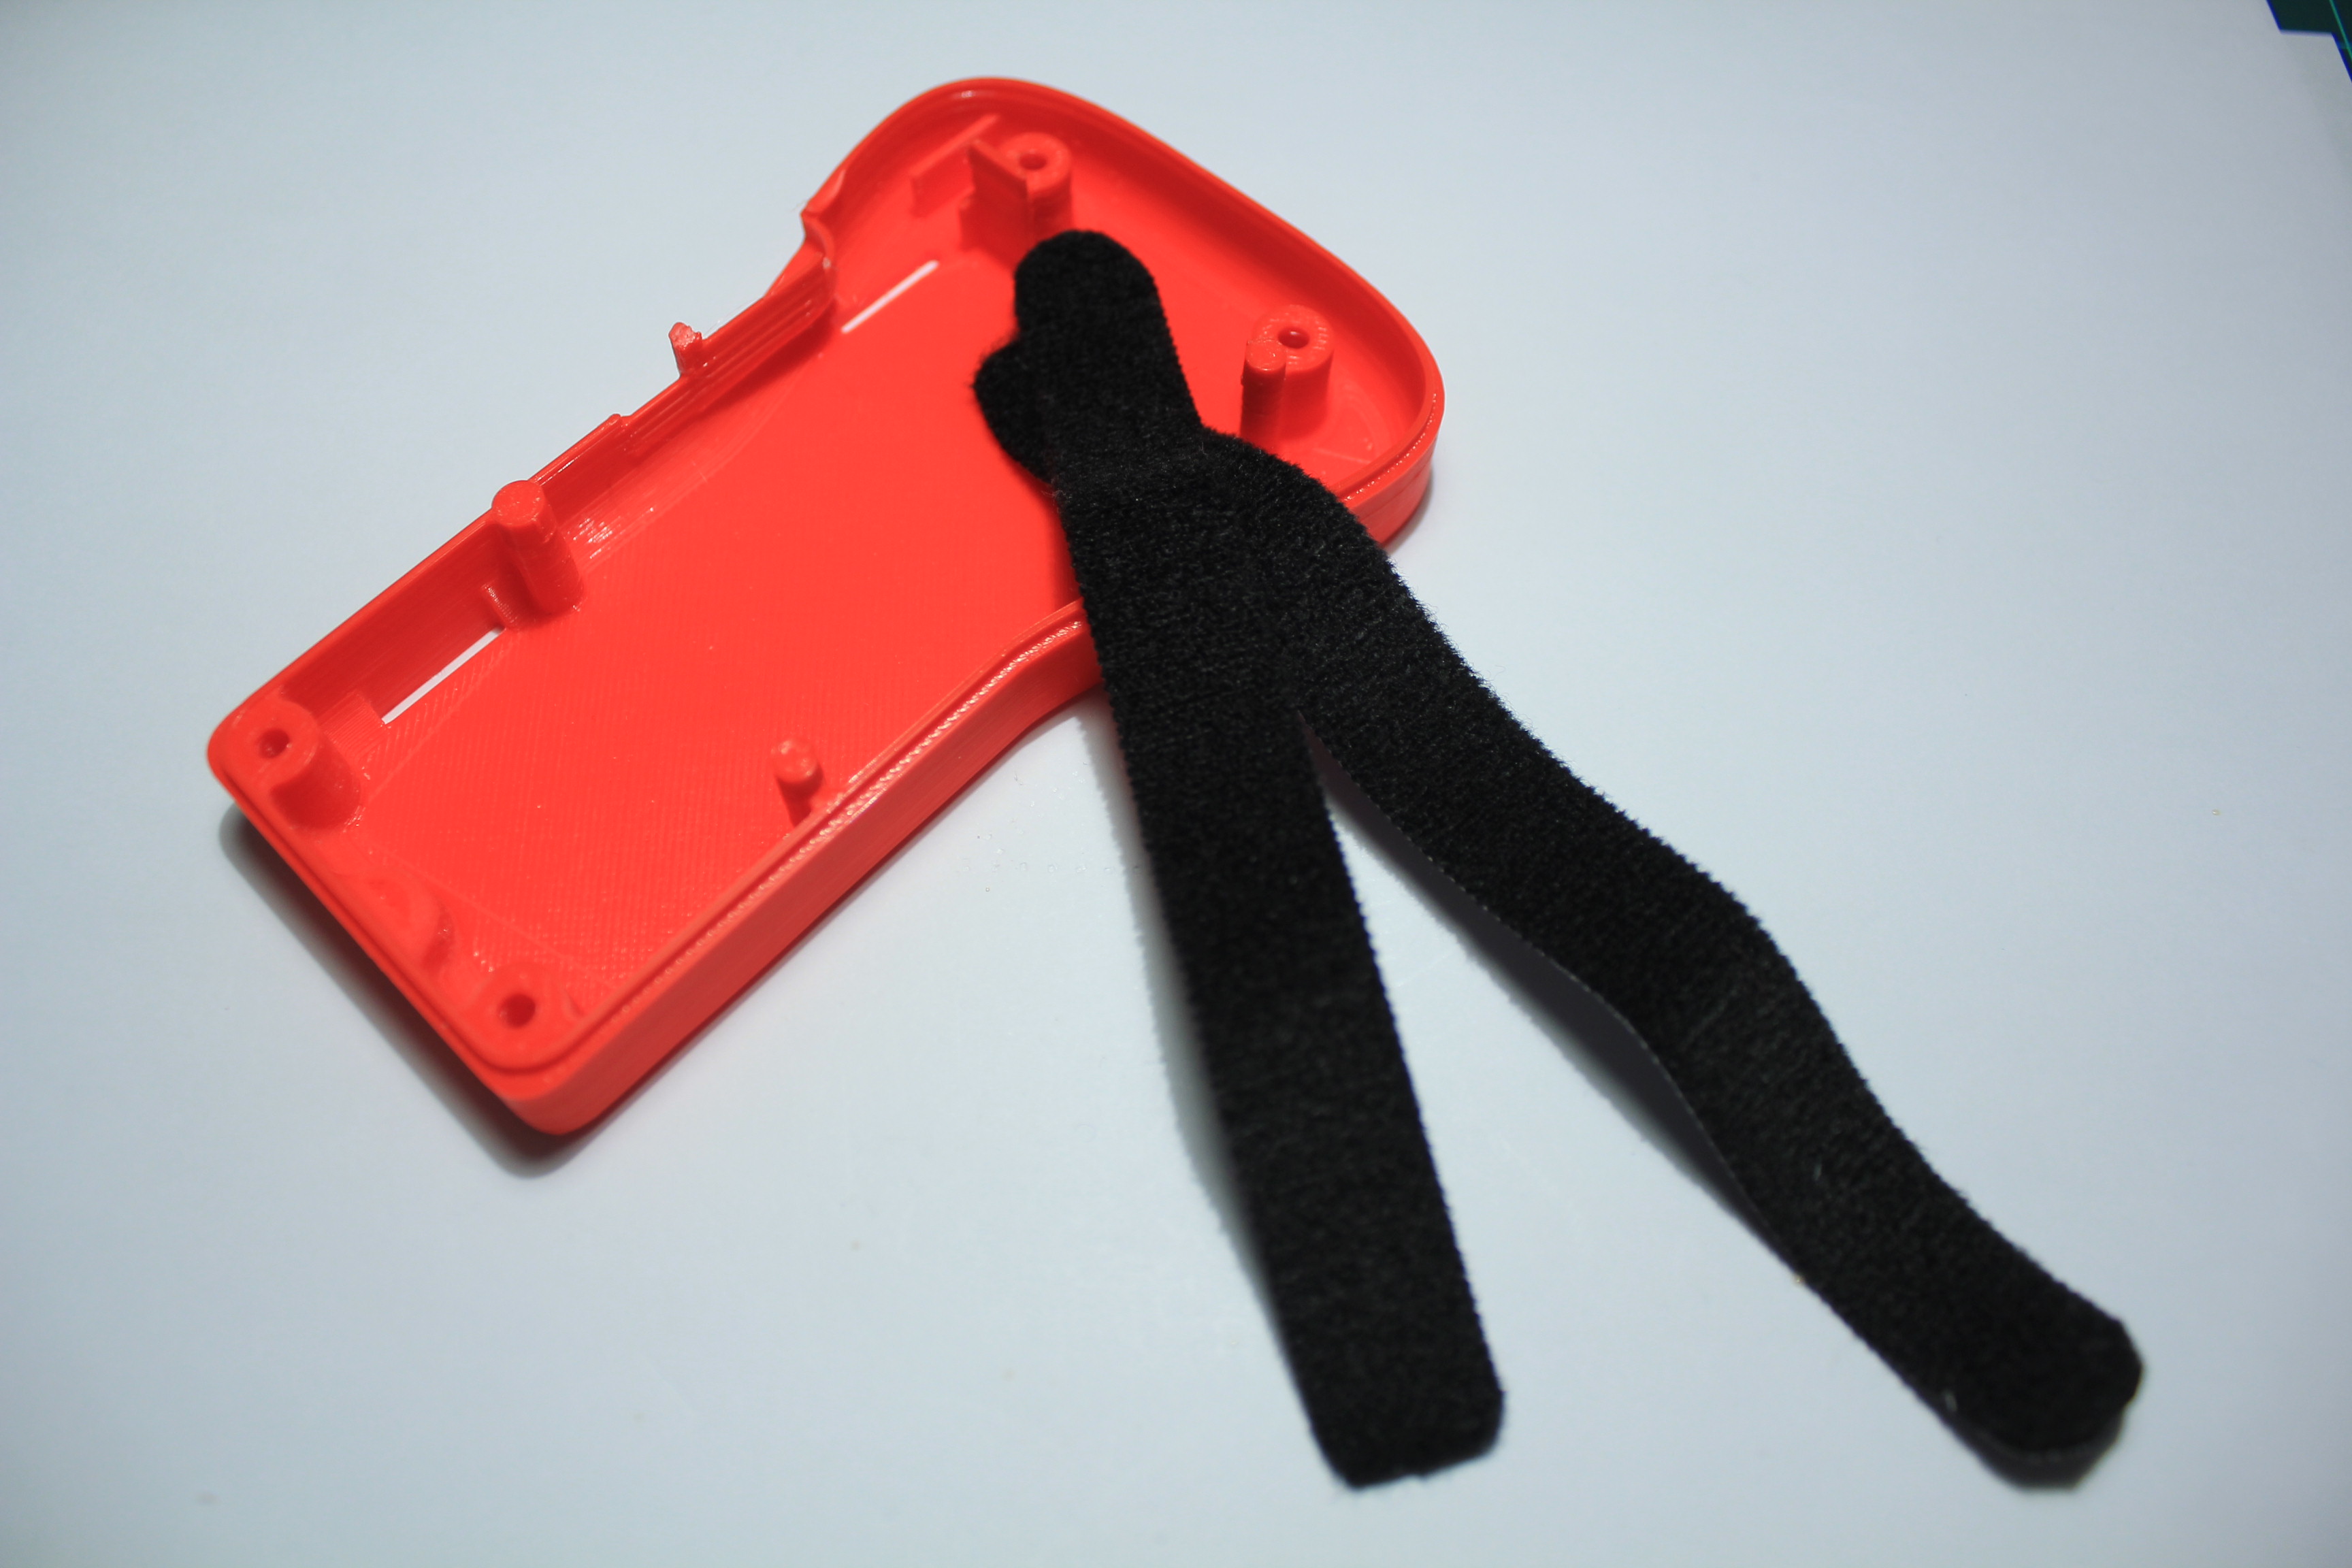
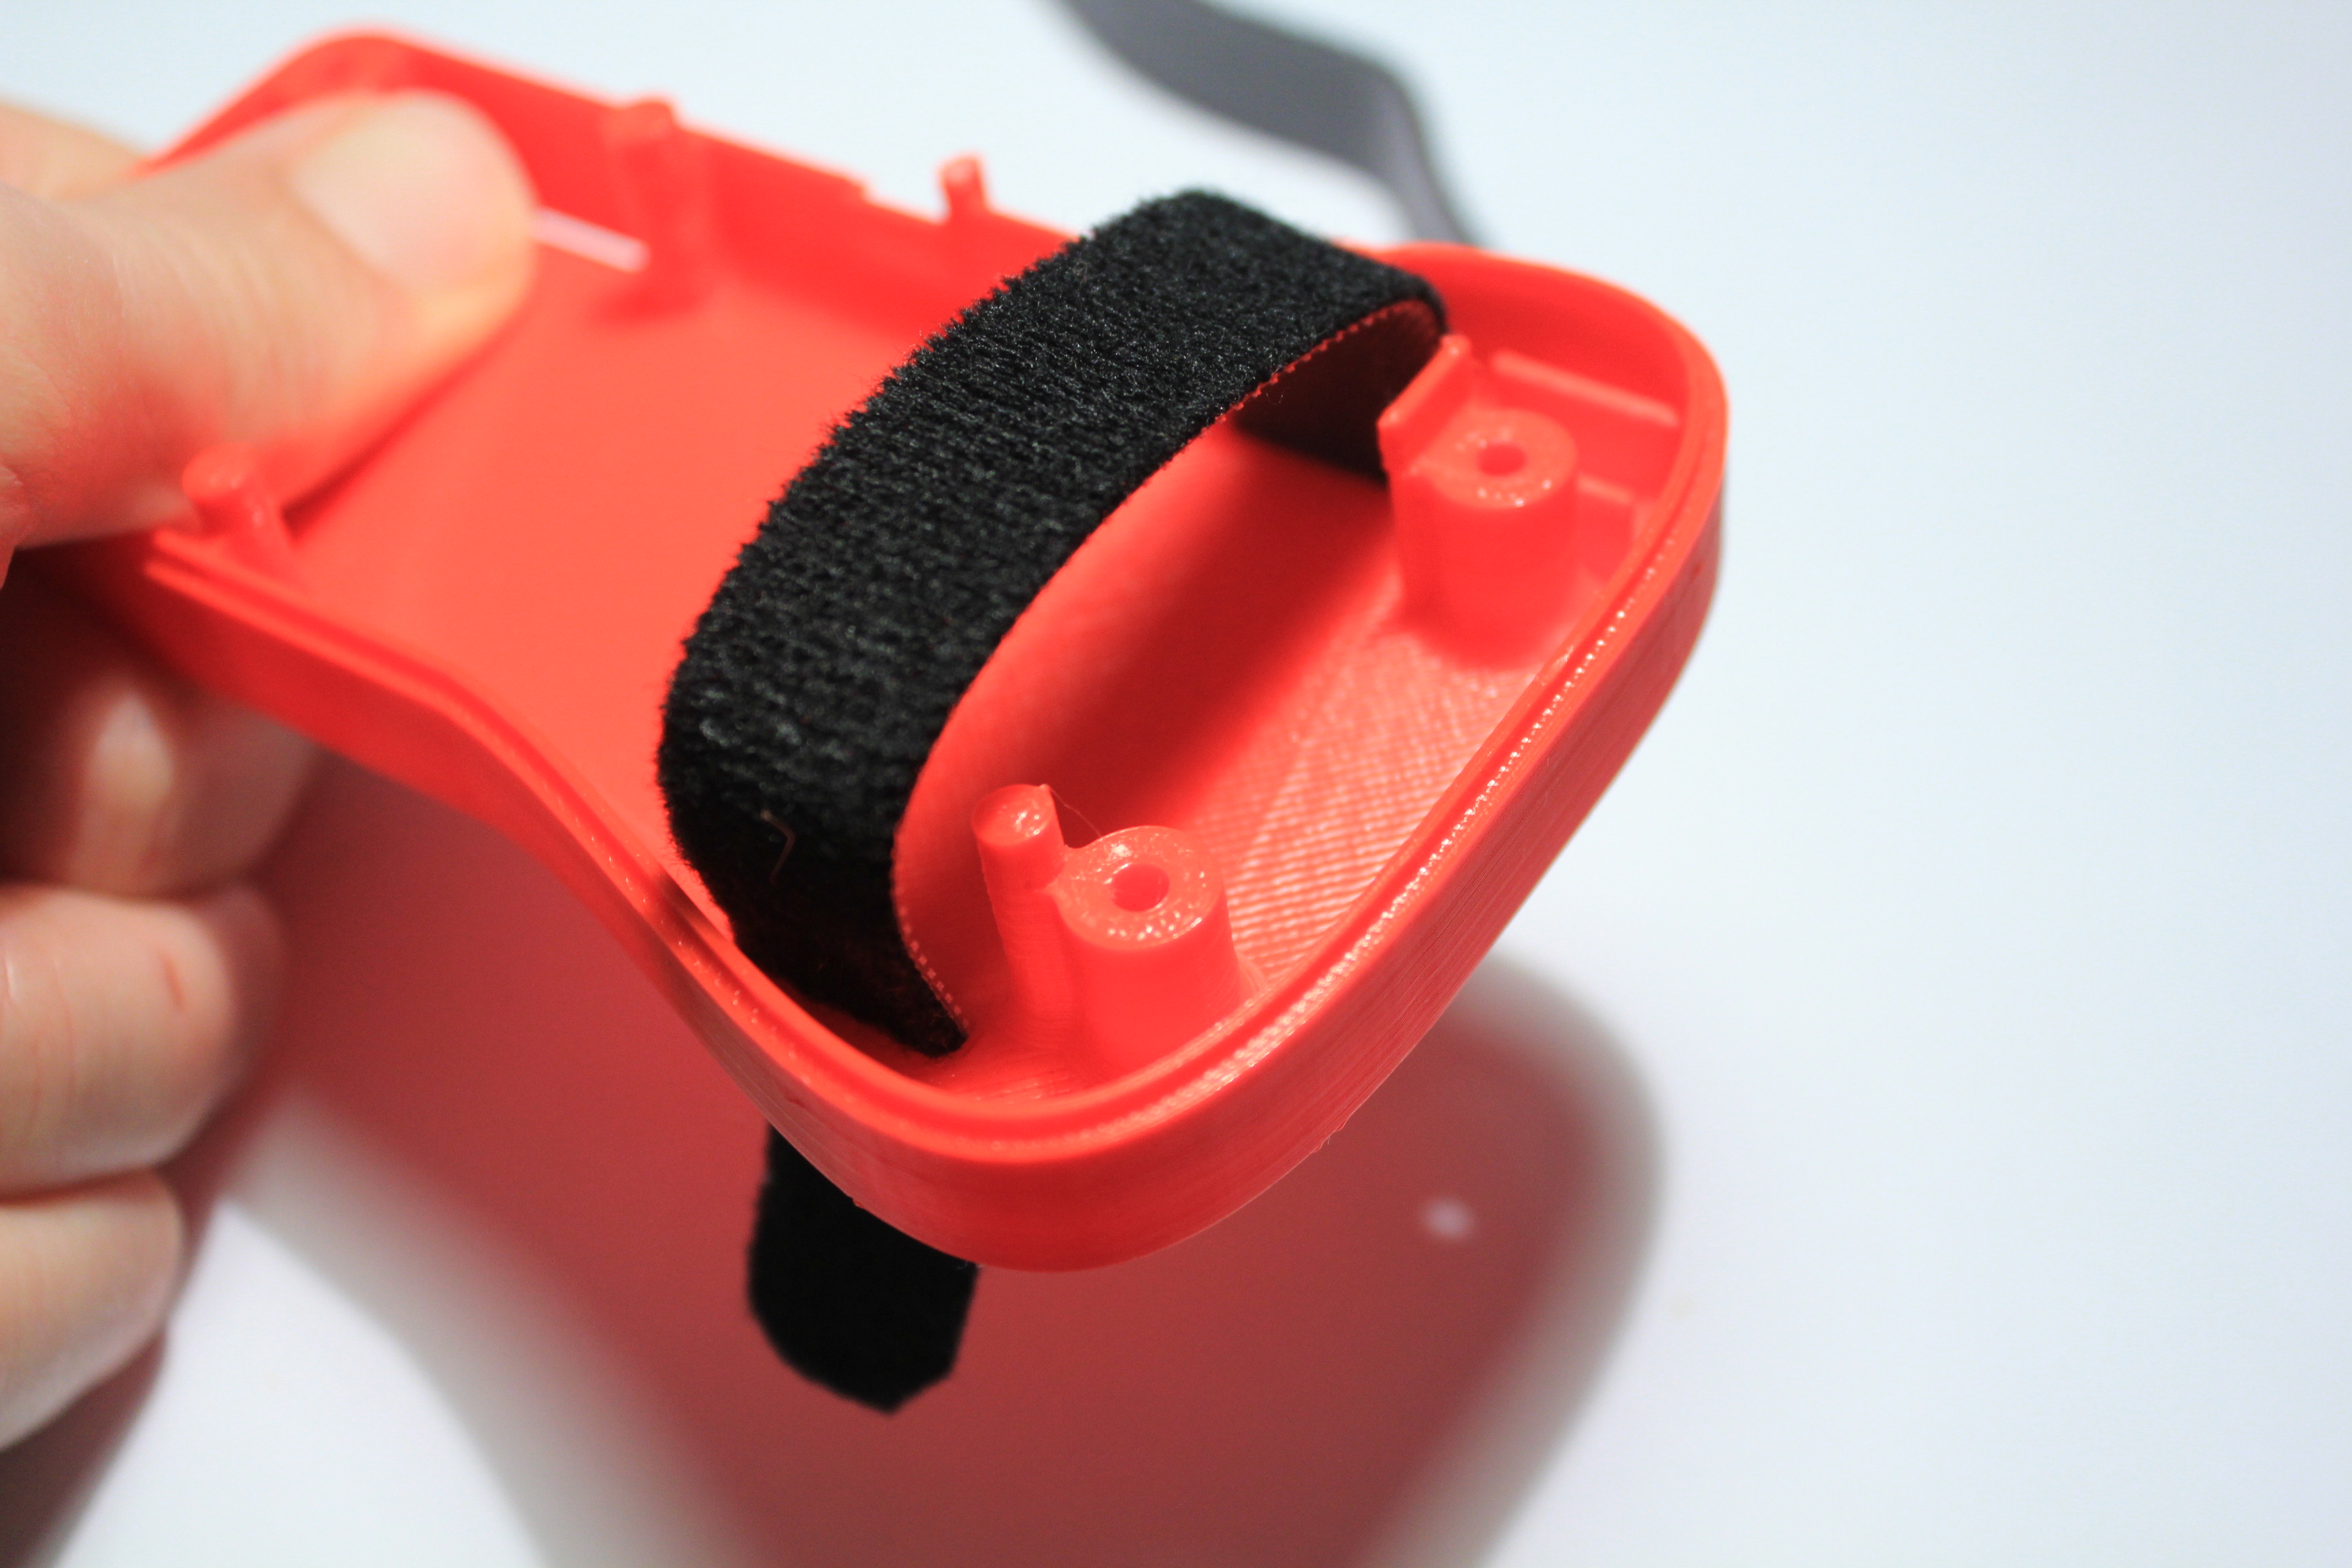
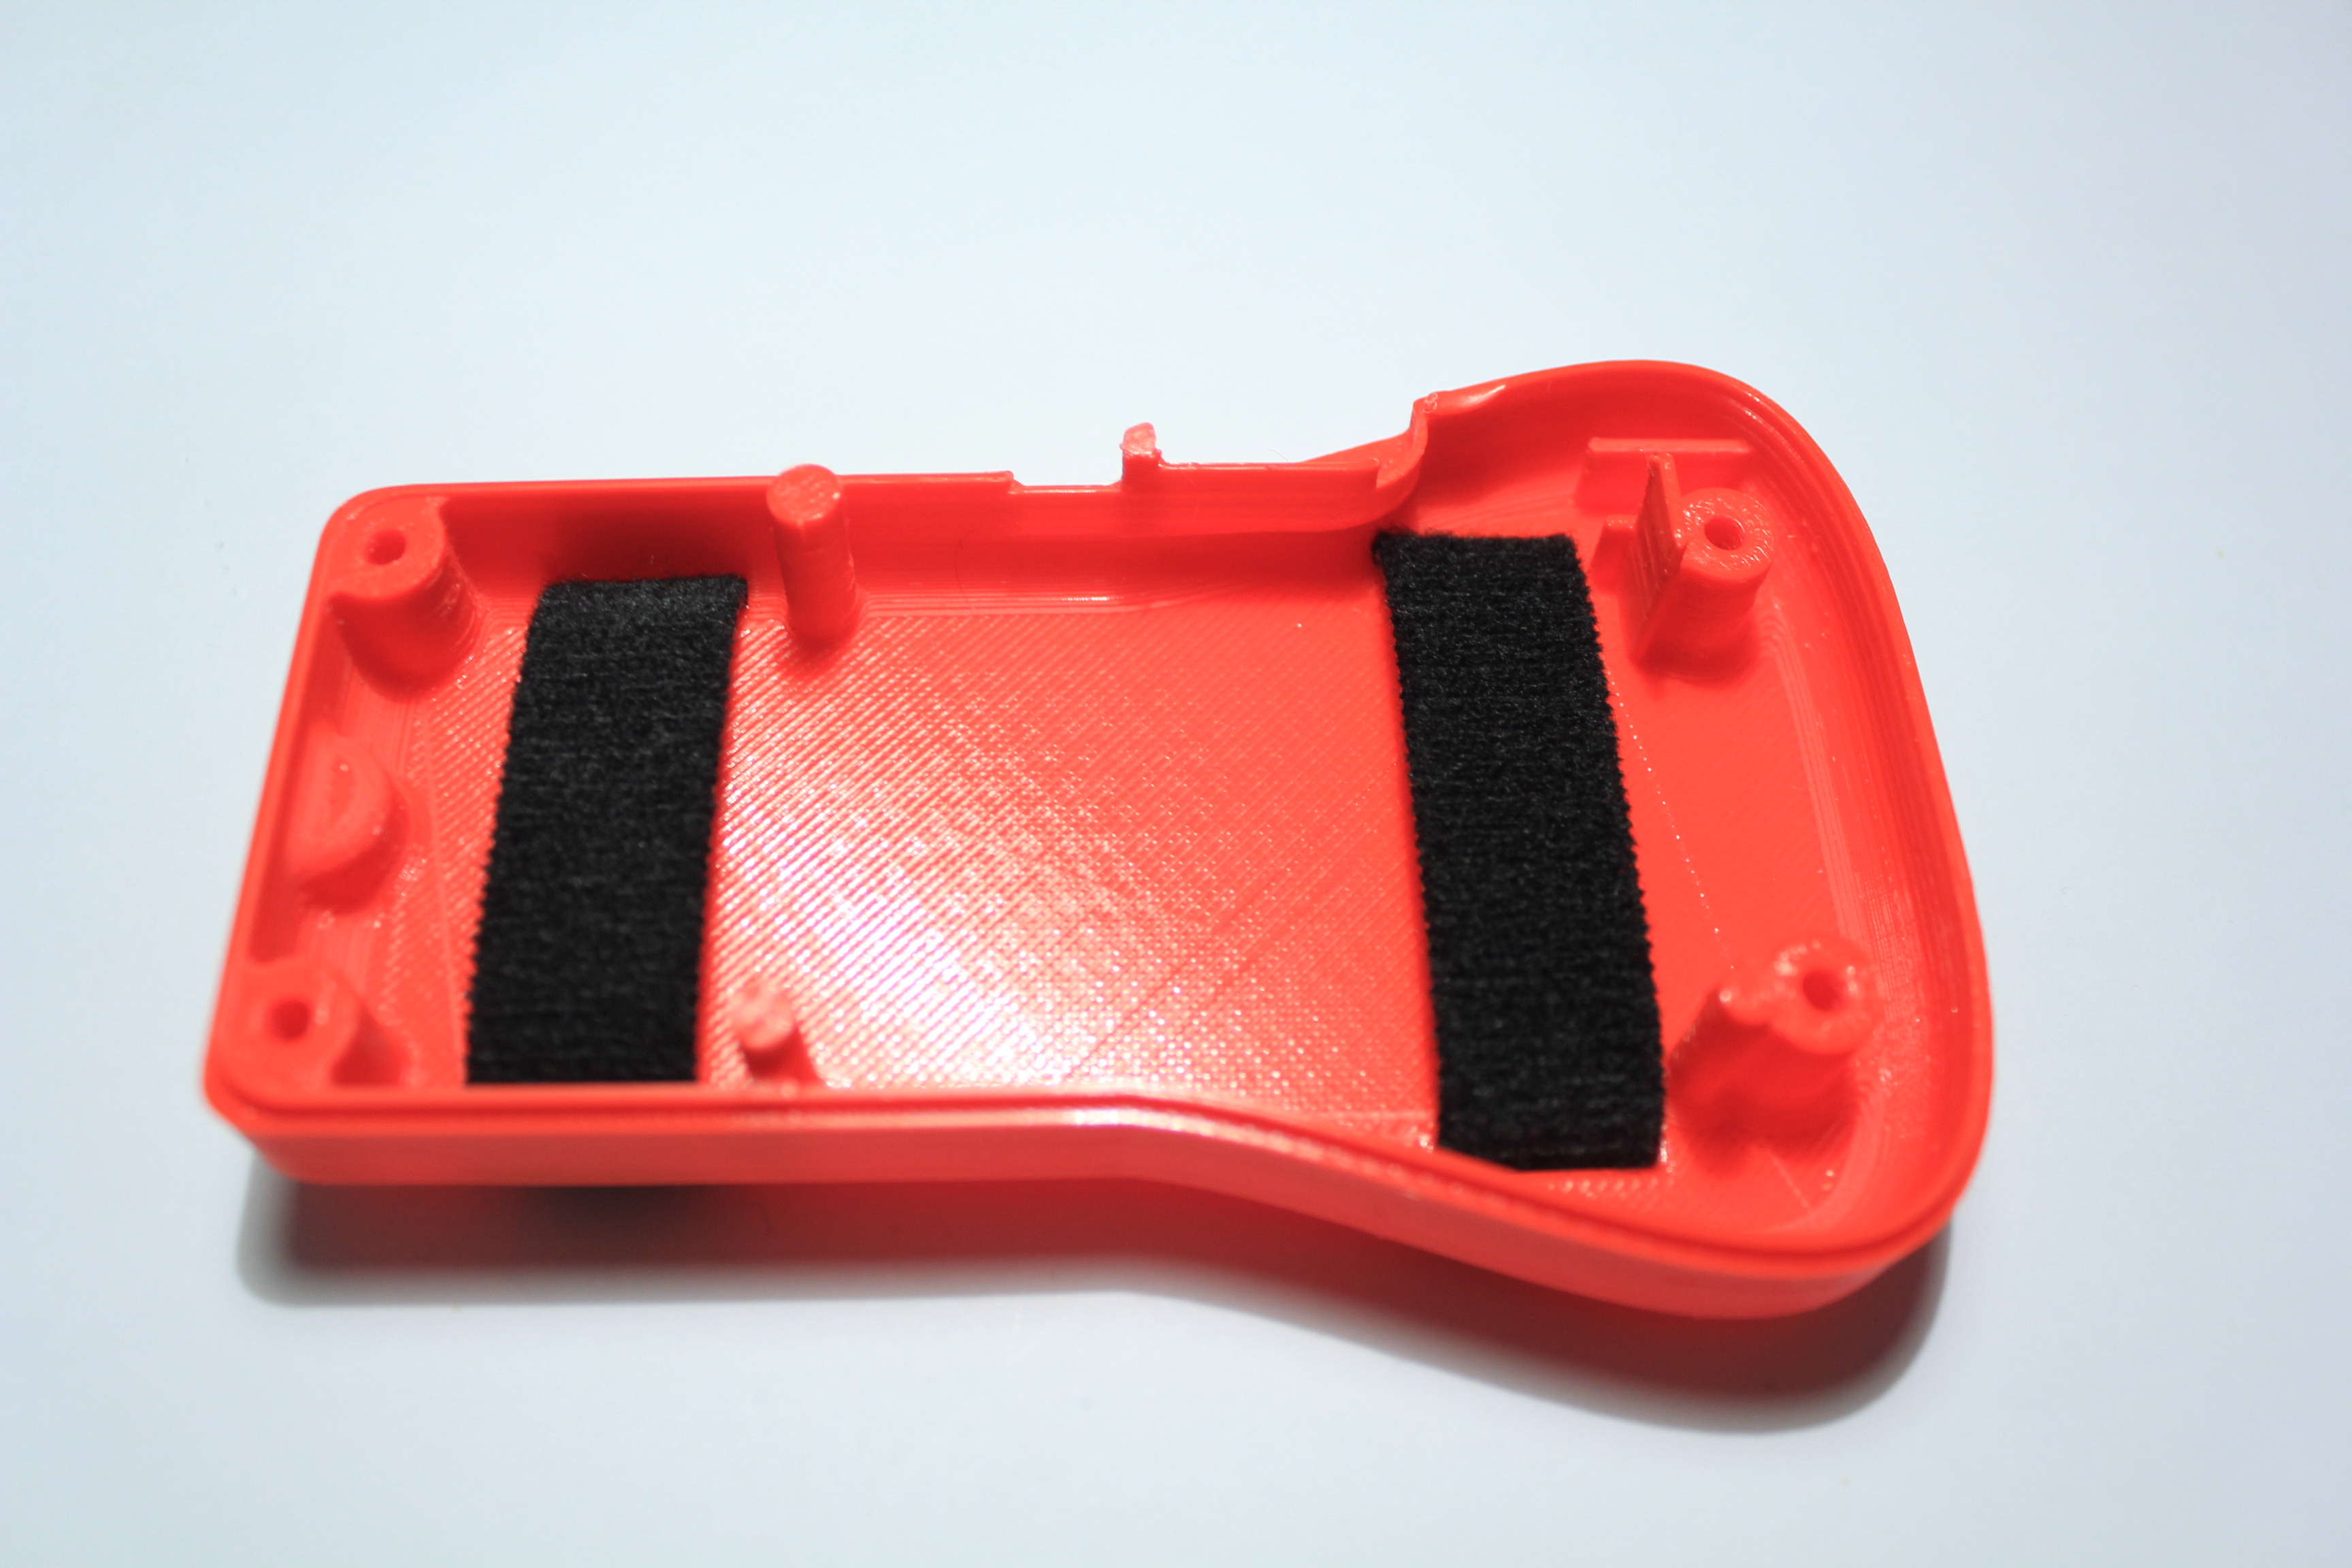
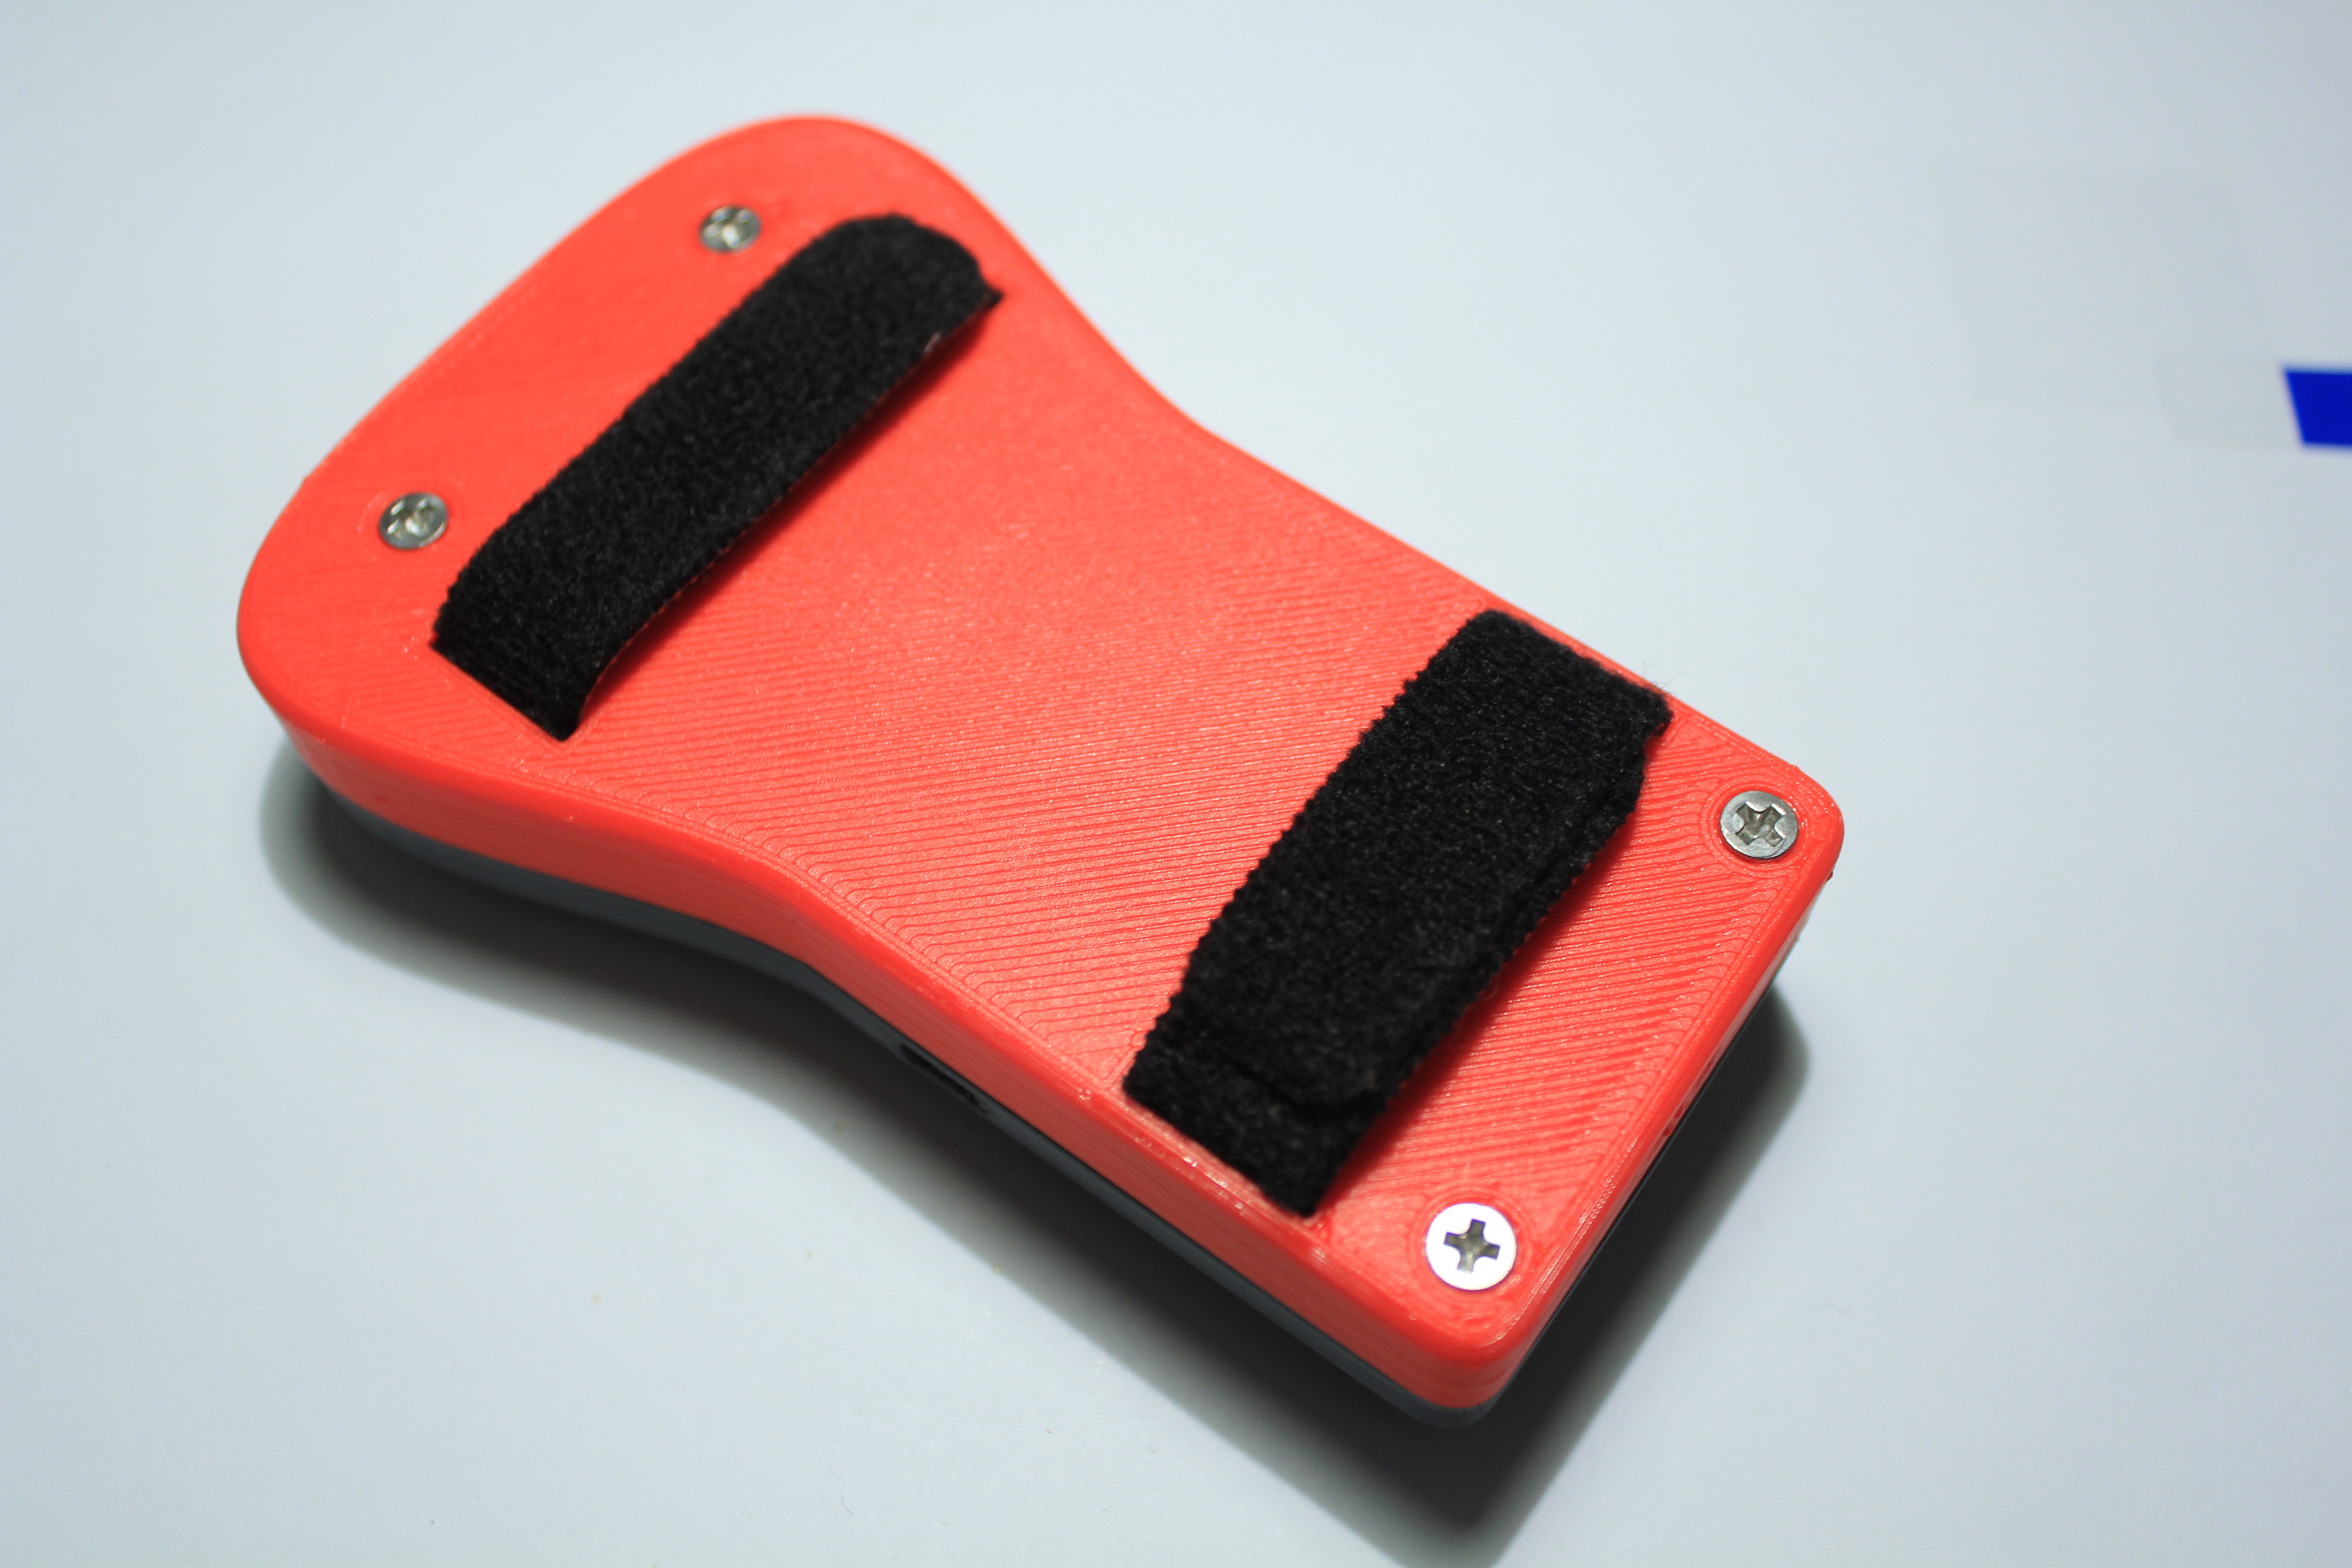
Before closing the case, make the velcro fasteners by sewing on a fold of the velcro. A double thickness of your velcro will prevent it from coming out of the slot.
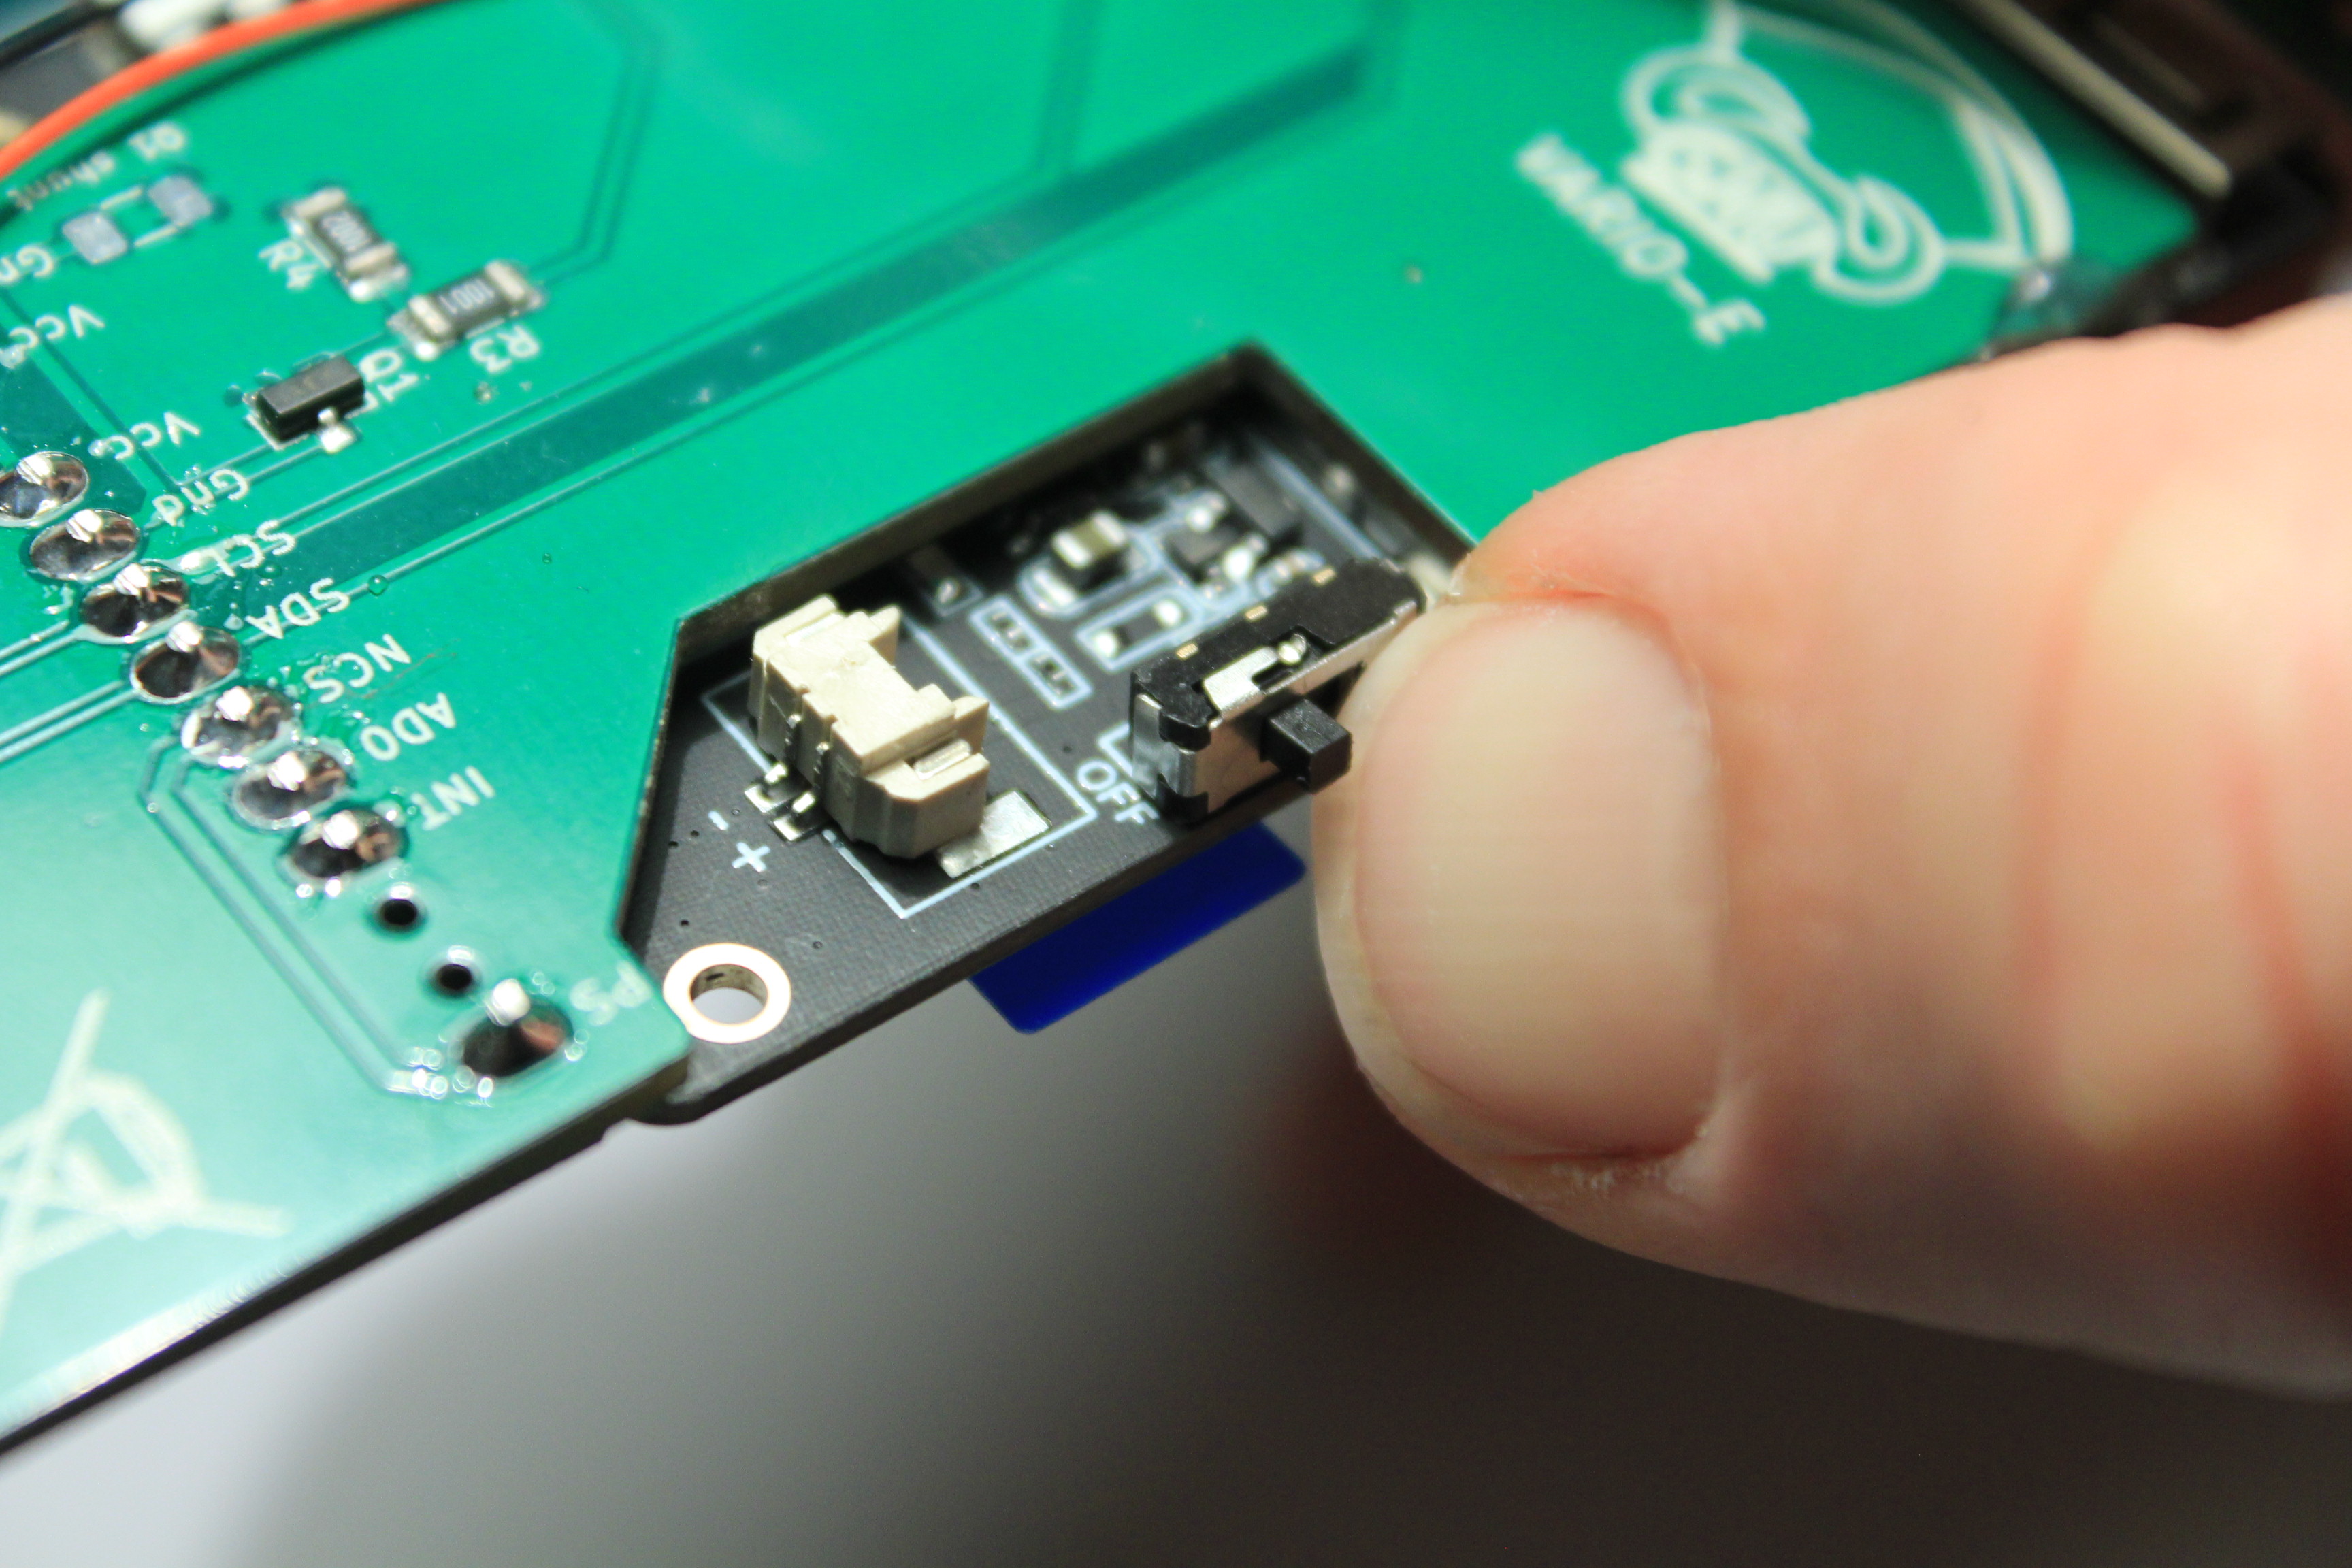
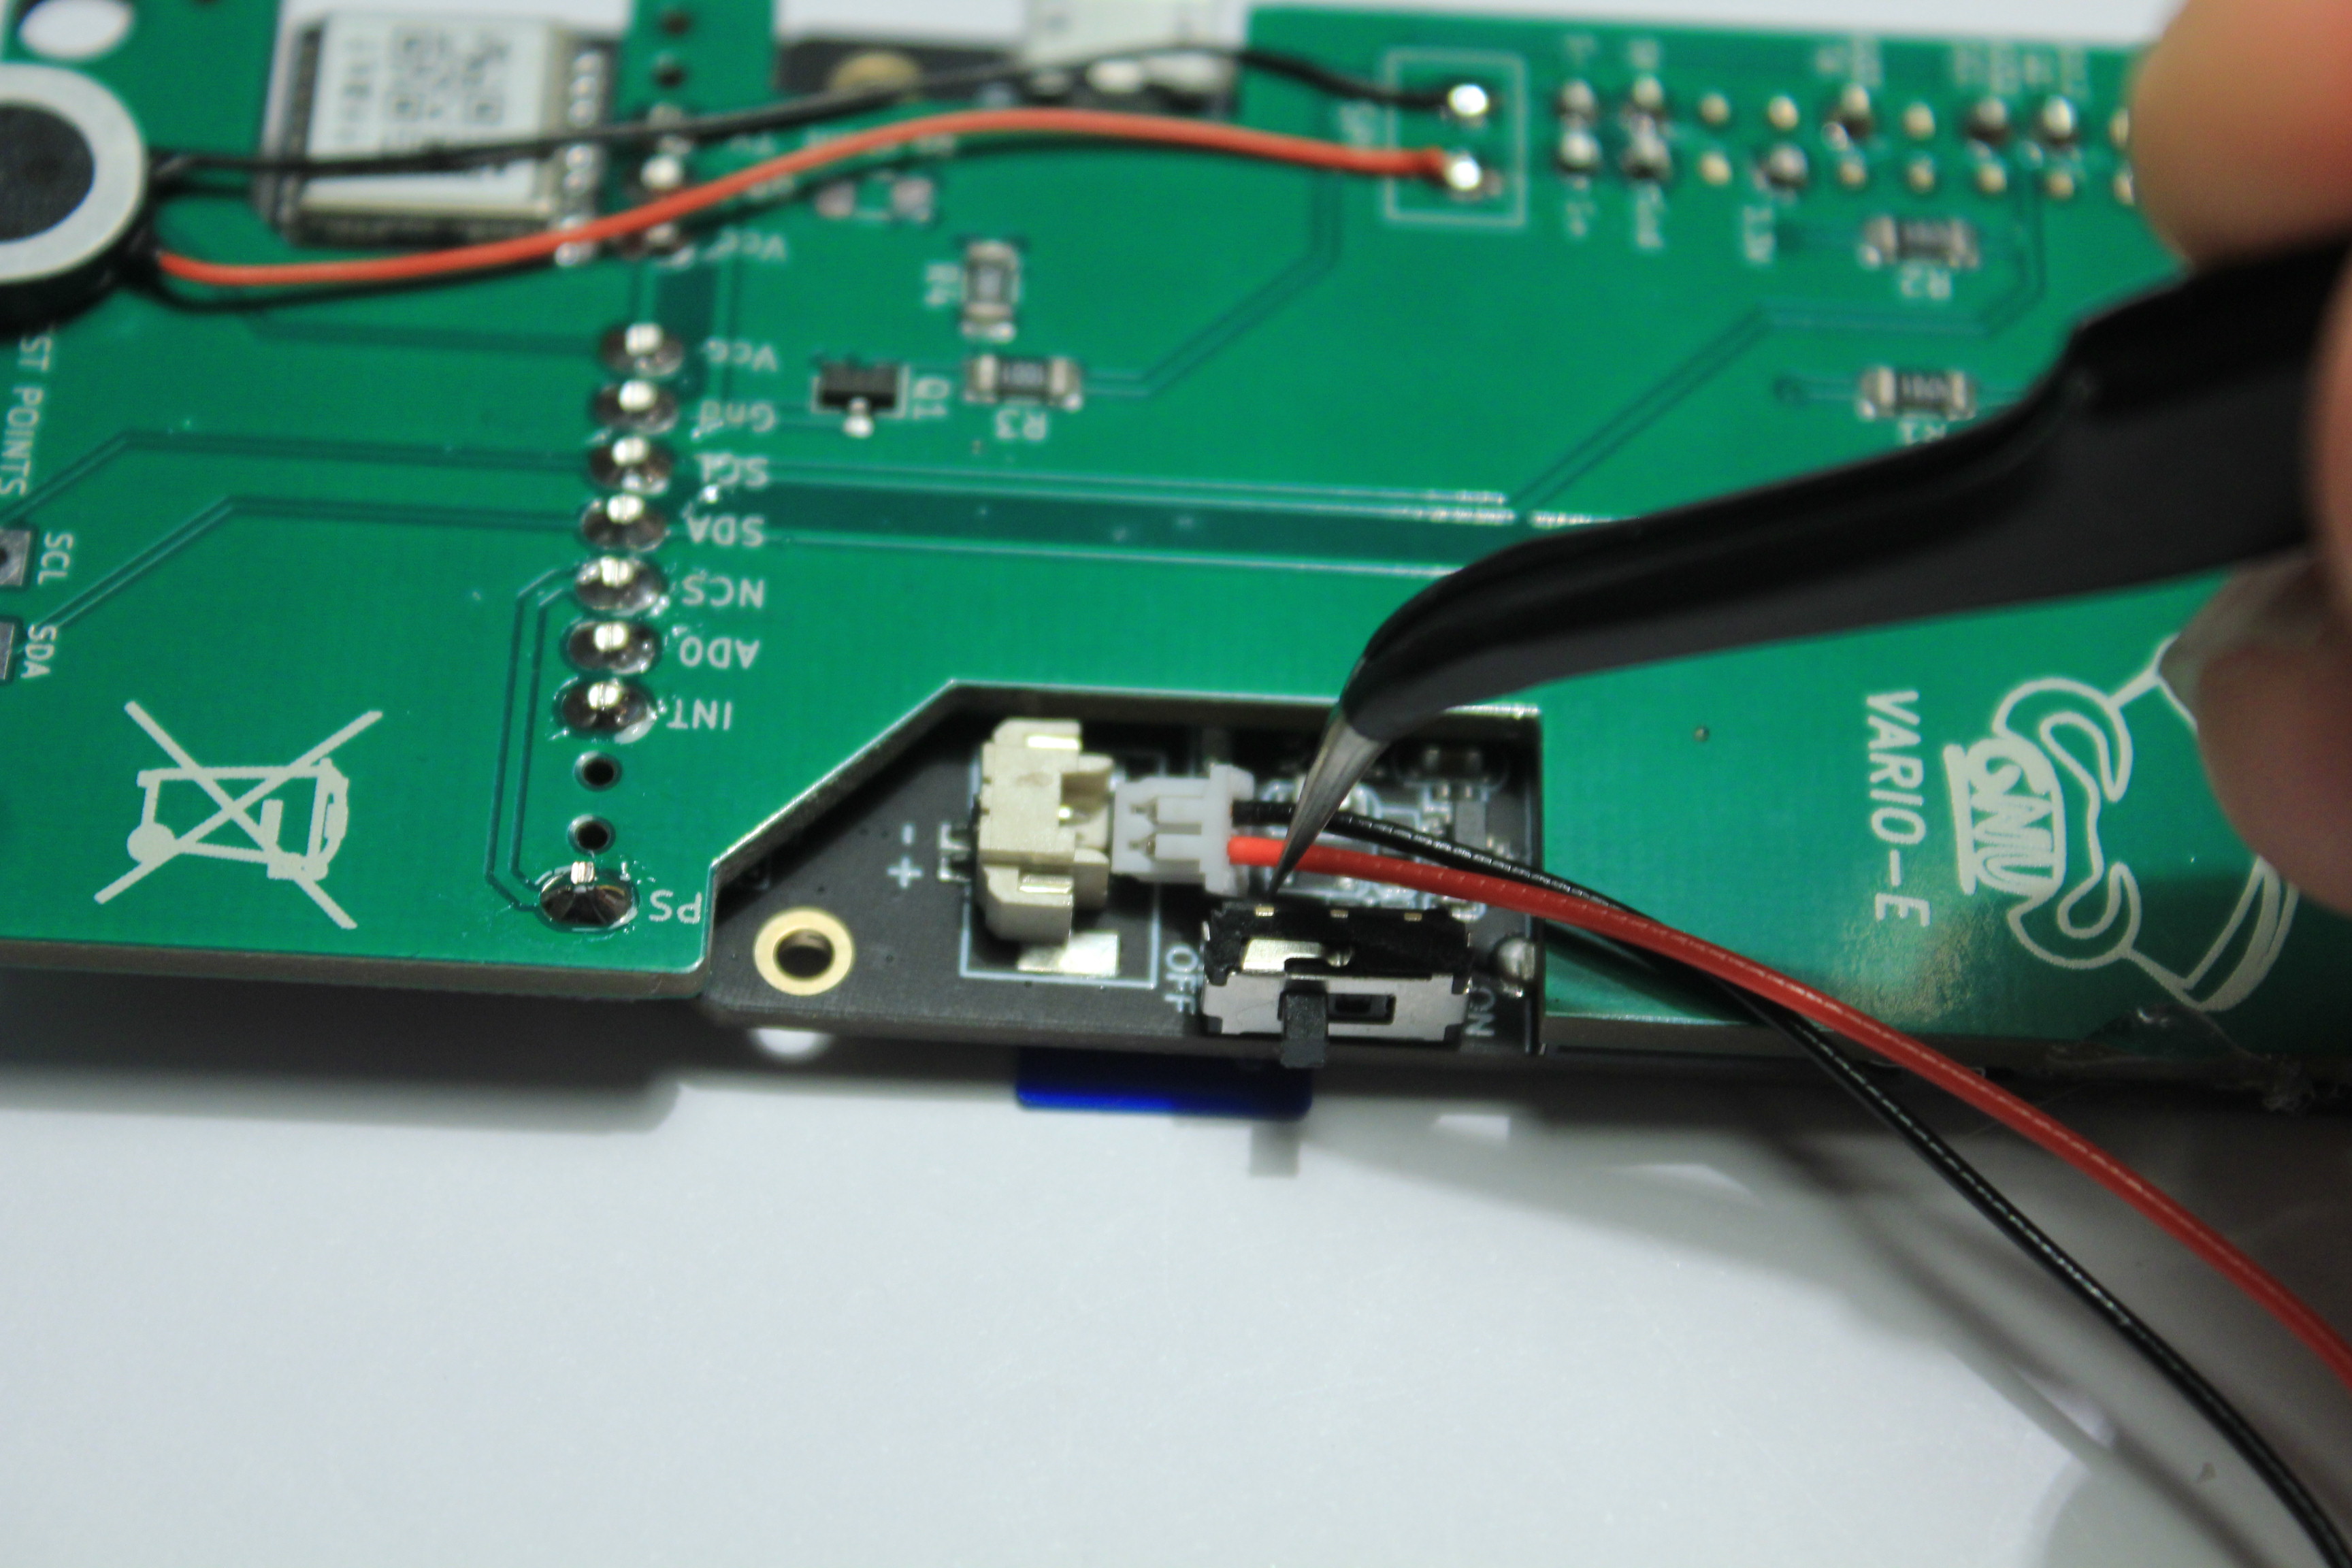
Make sure the switch is in the OFF position and connect the battery.
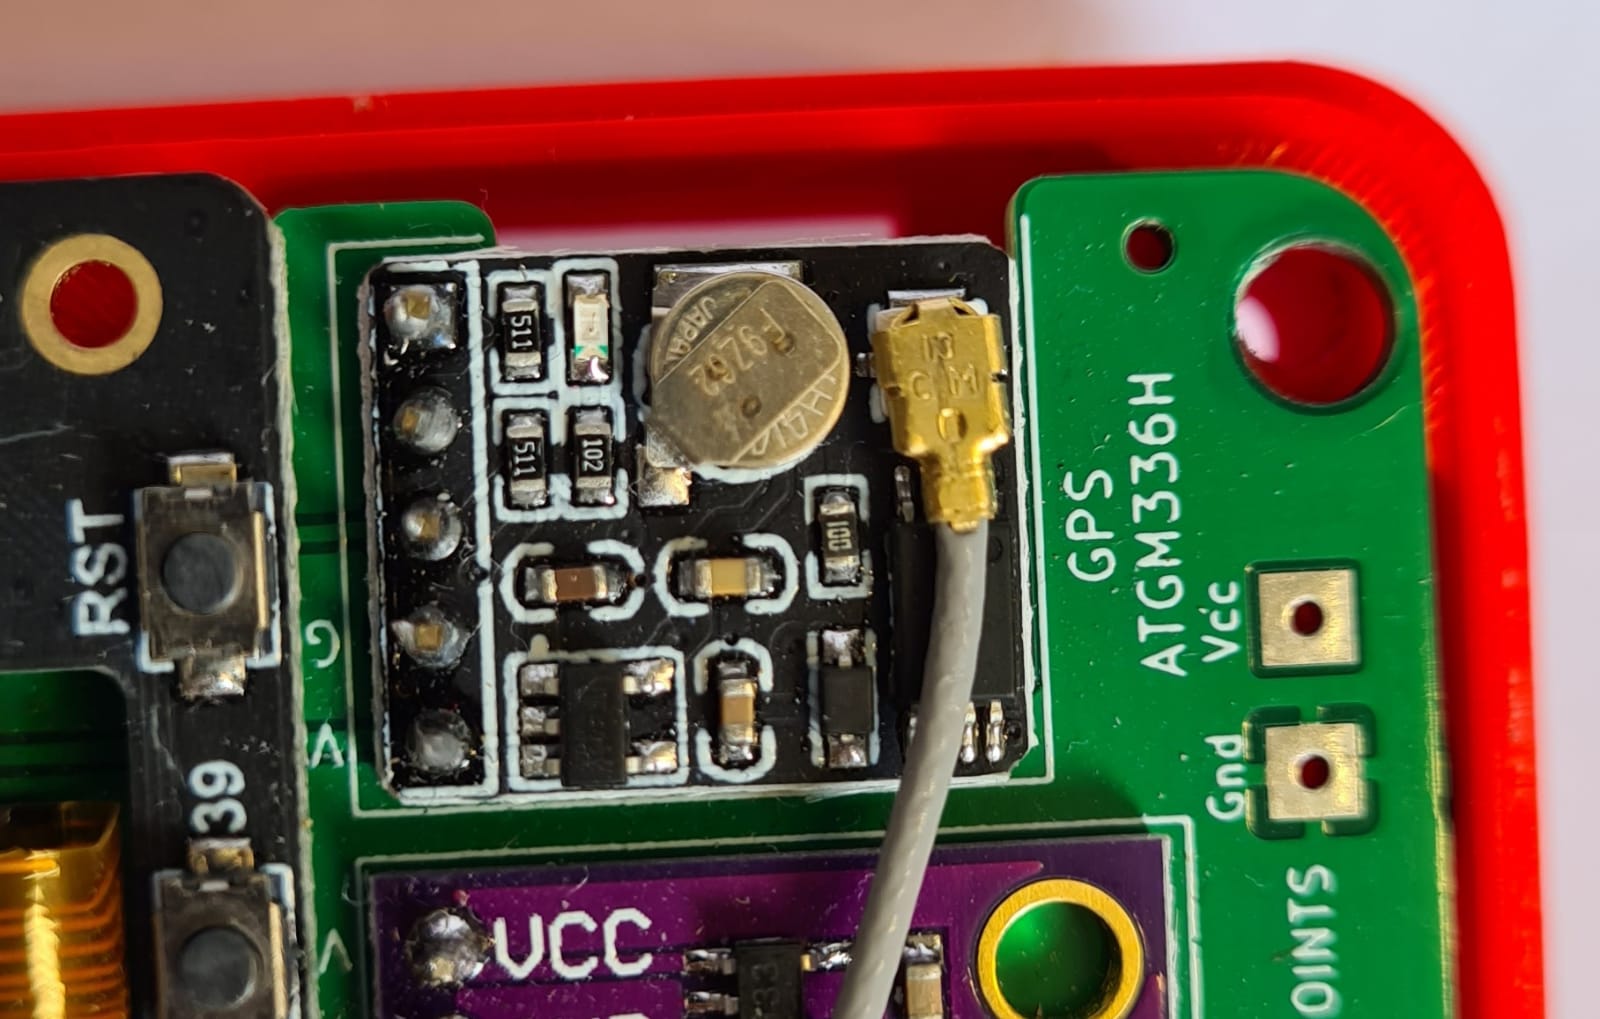
Place the GPS antenna
Put on the velcros
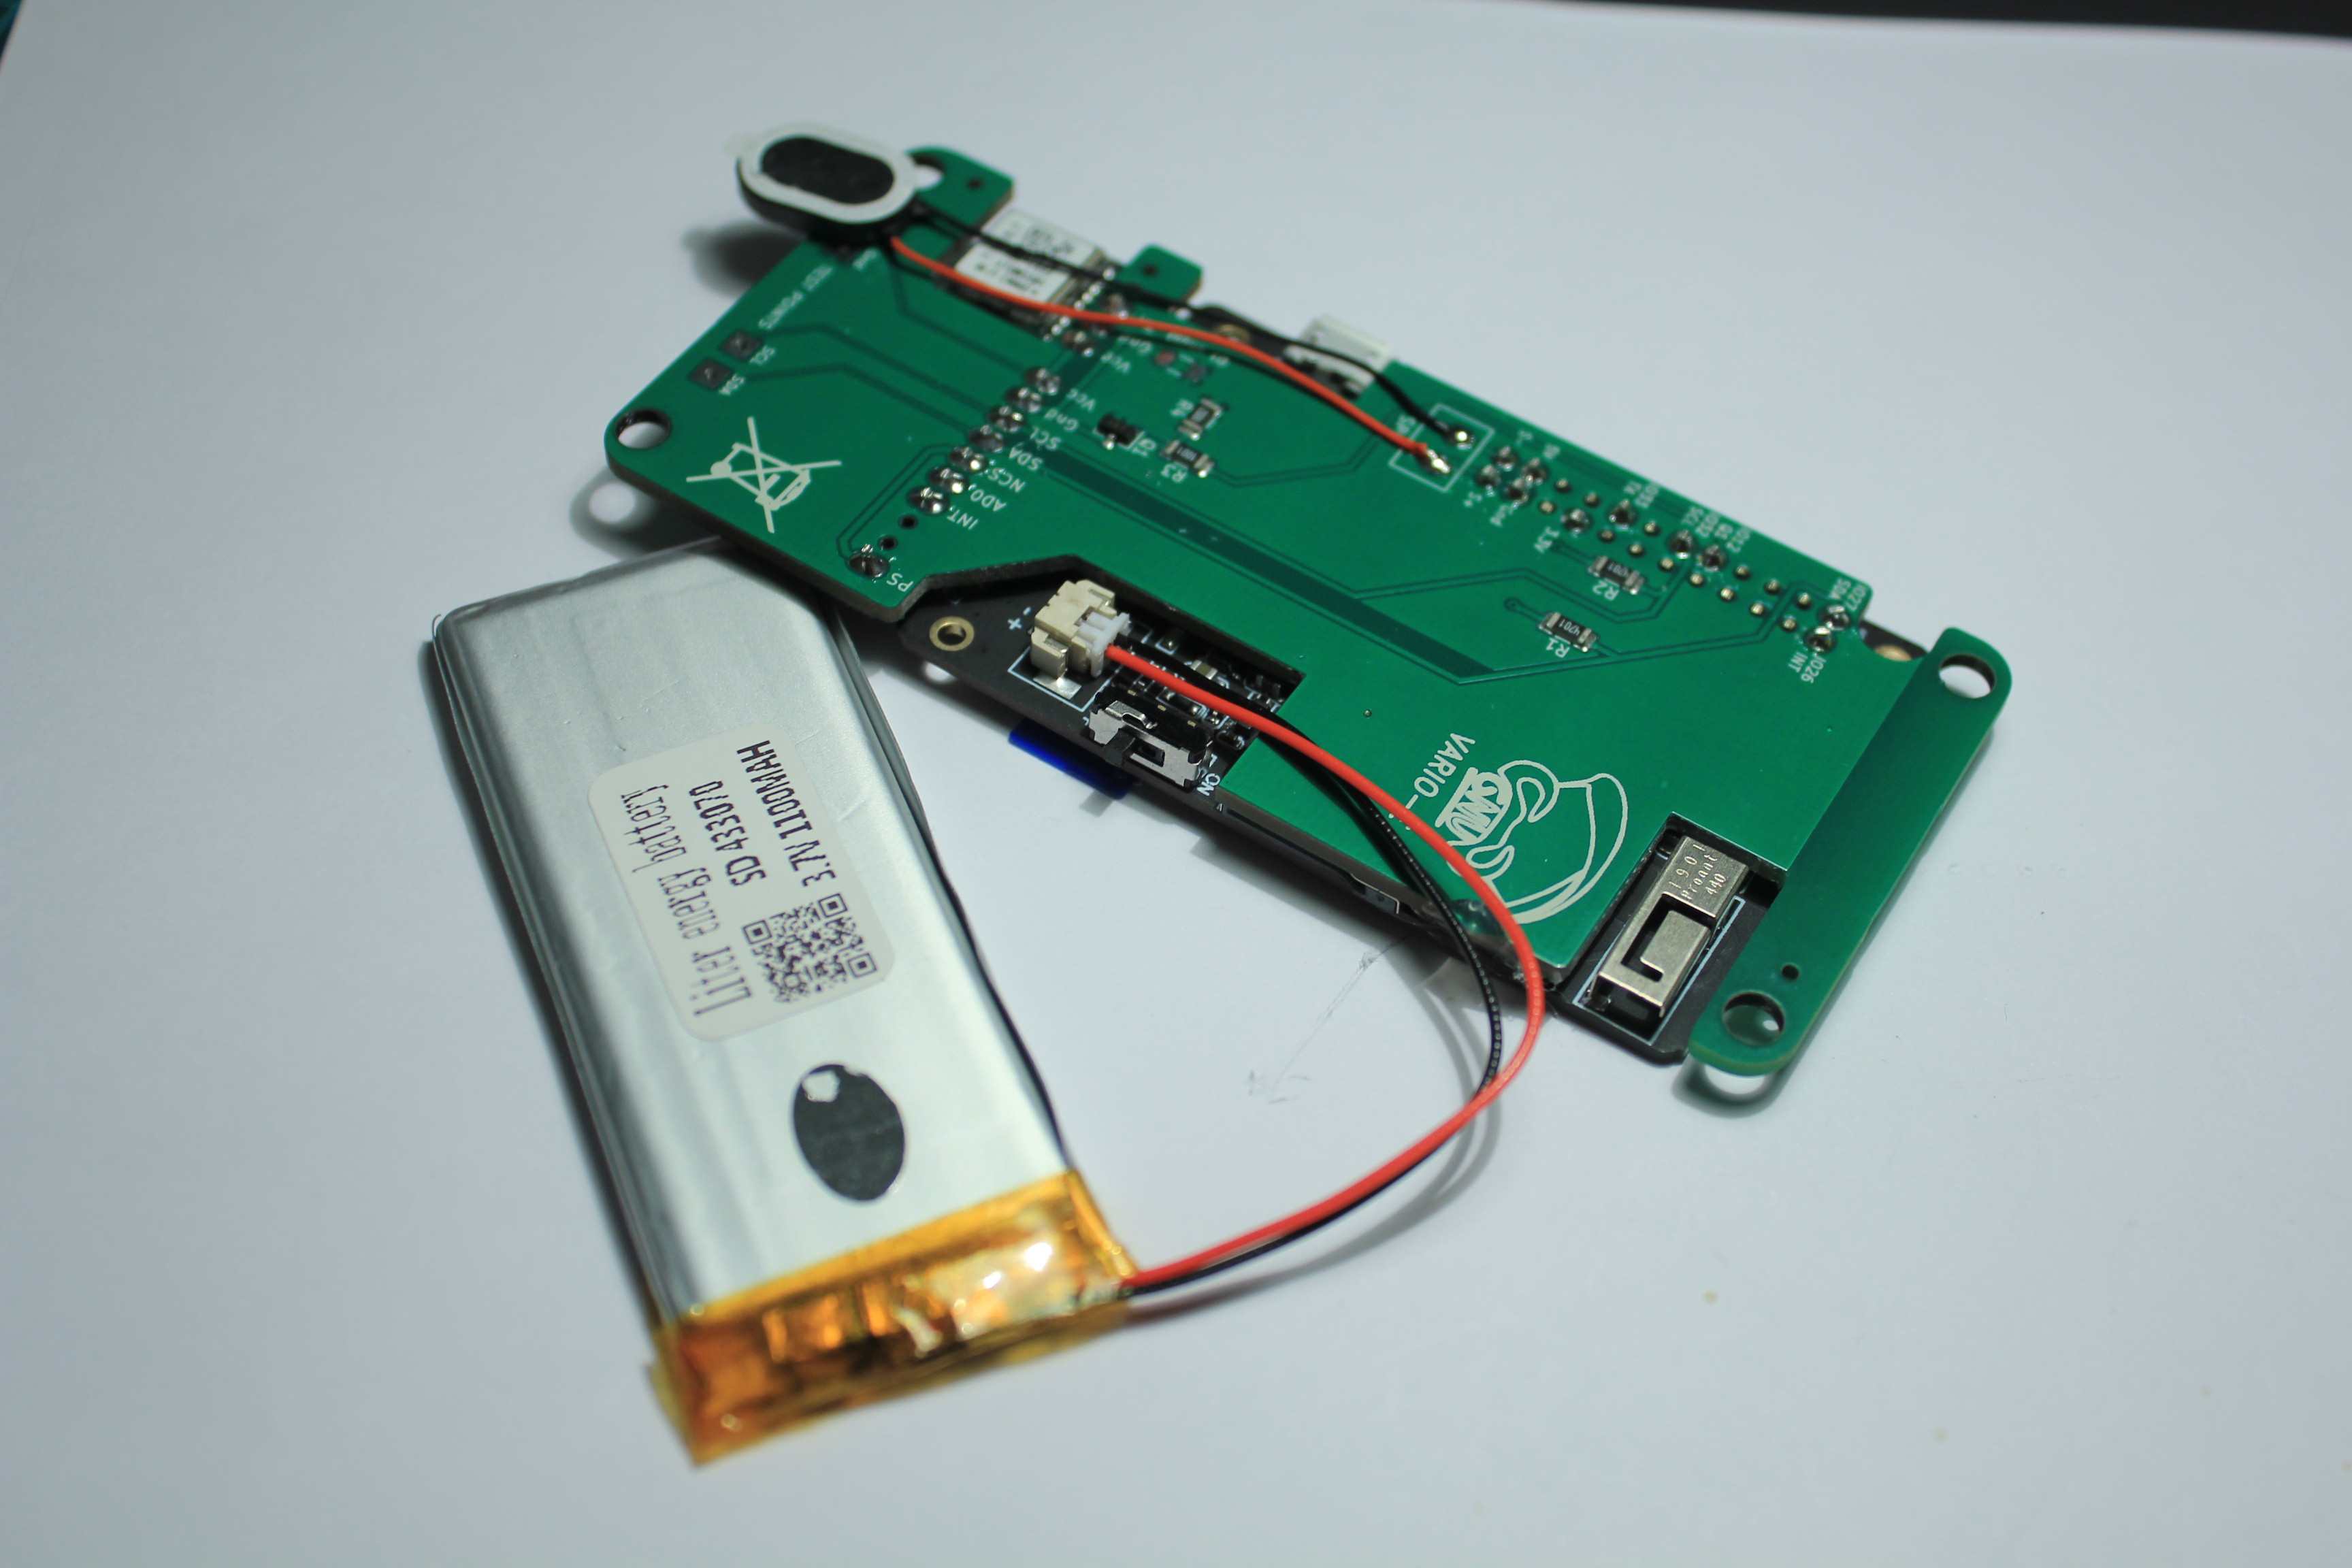
Place the battery at the bottom of the case. Secure it with double-sided tape.
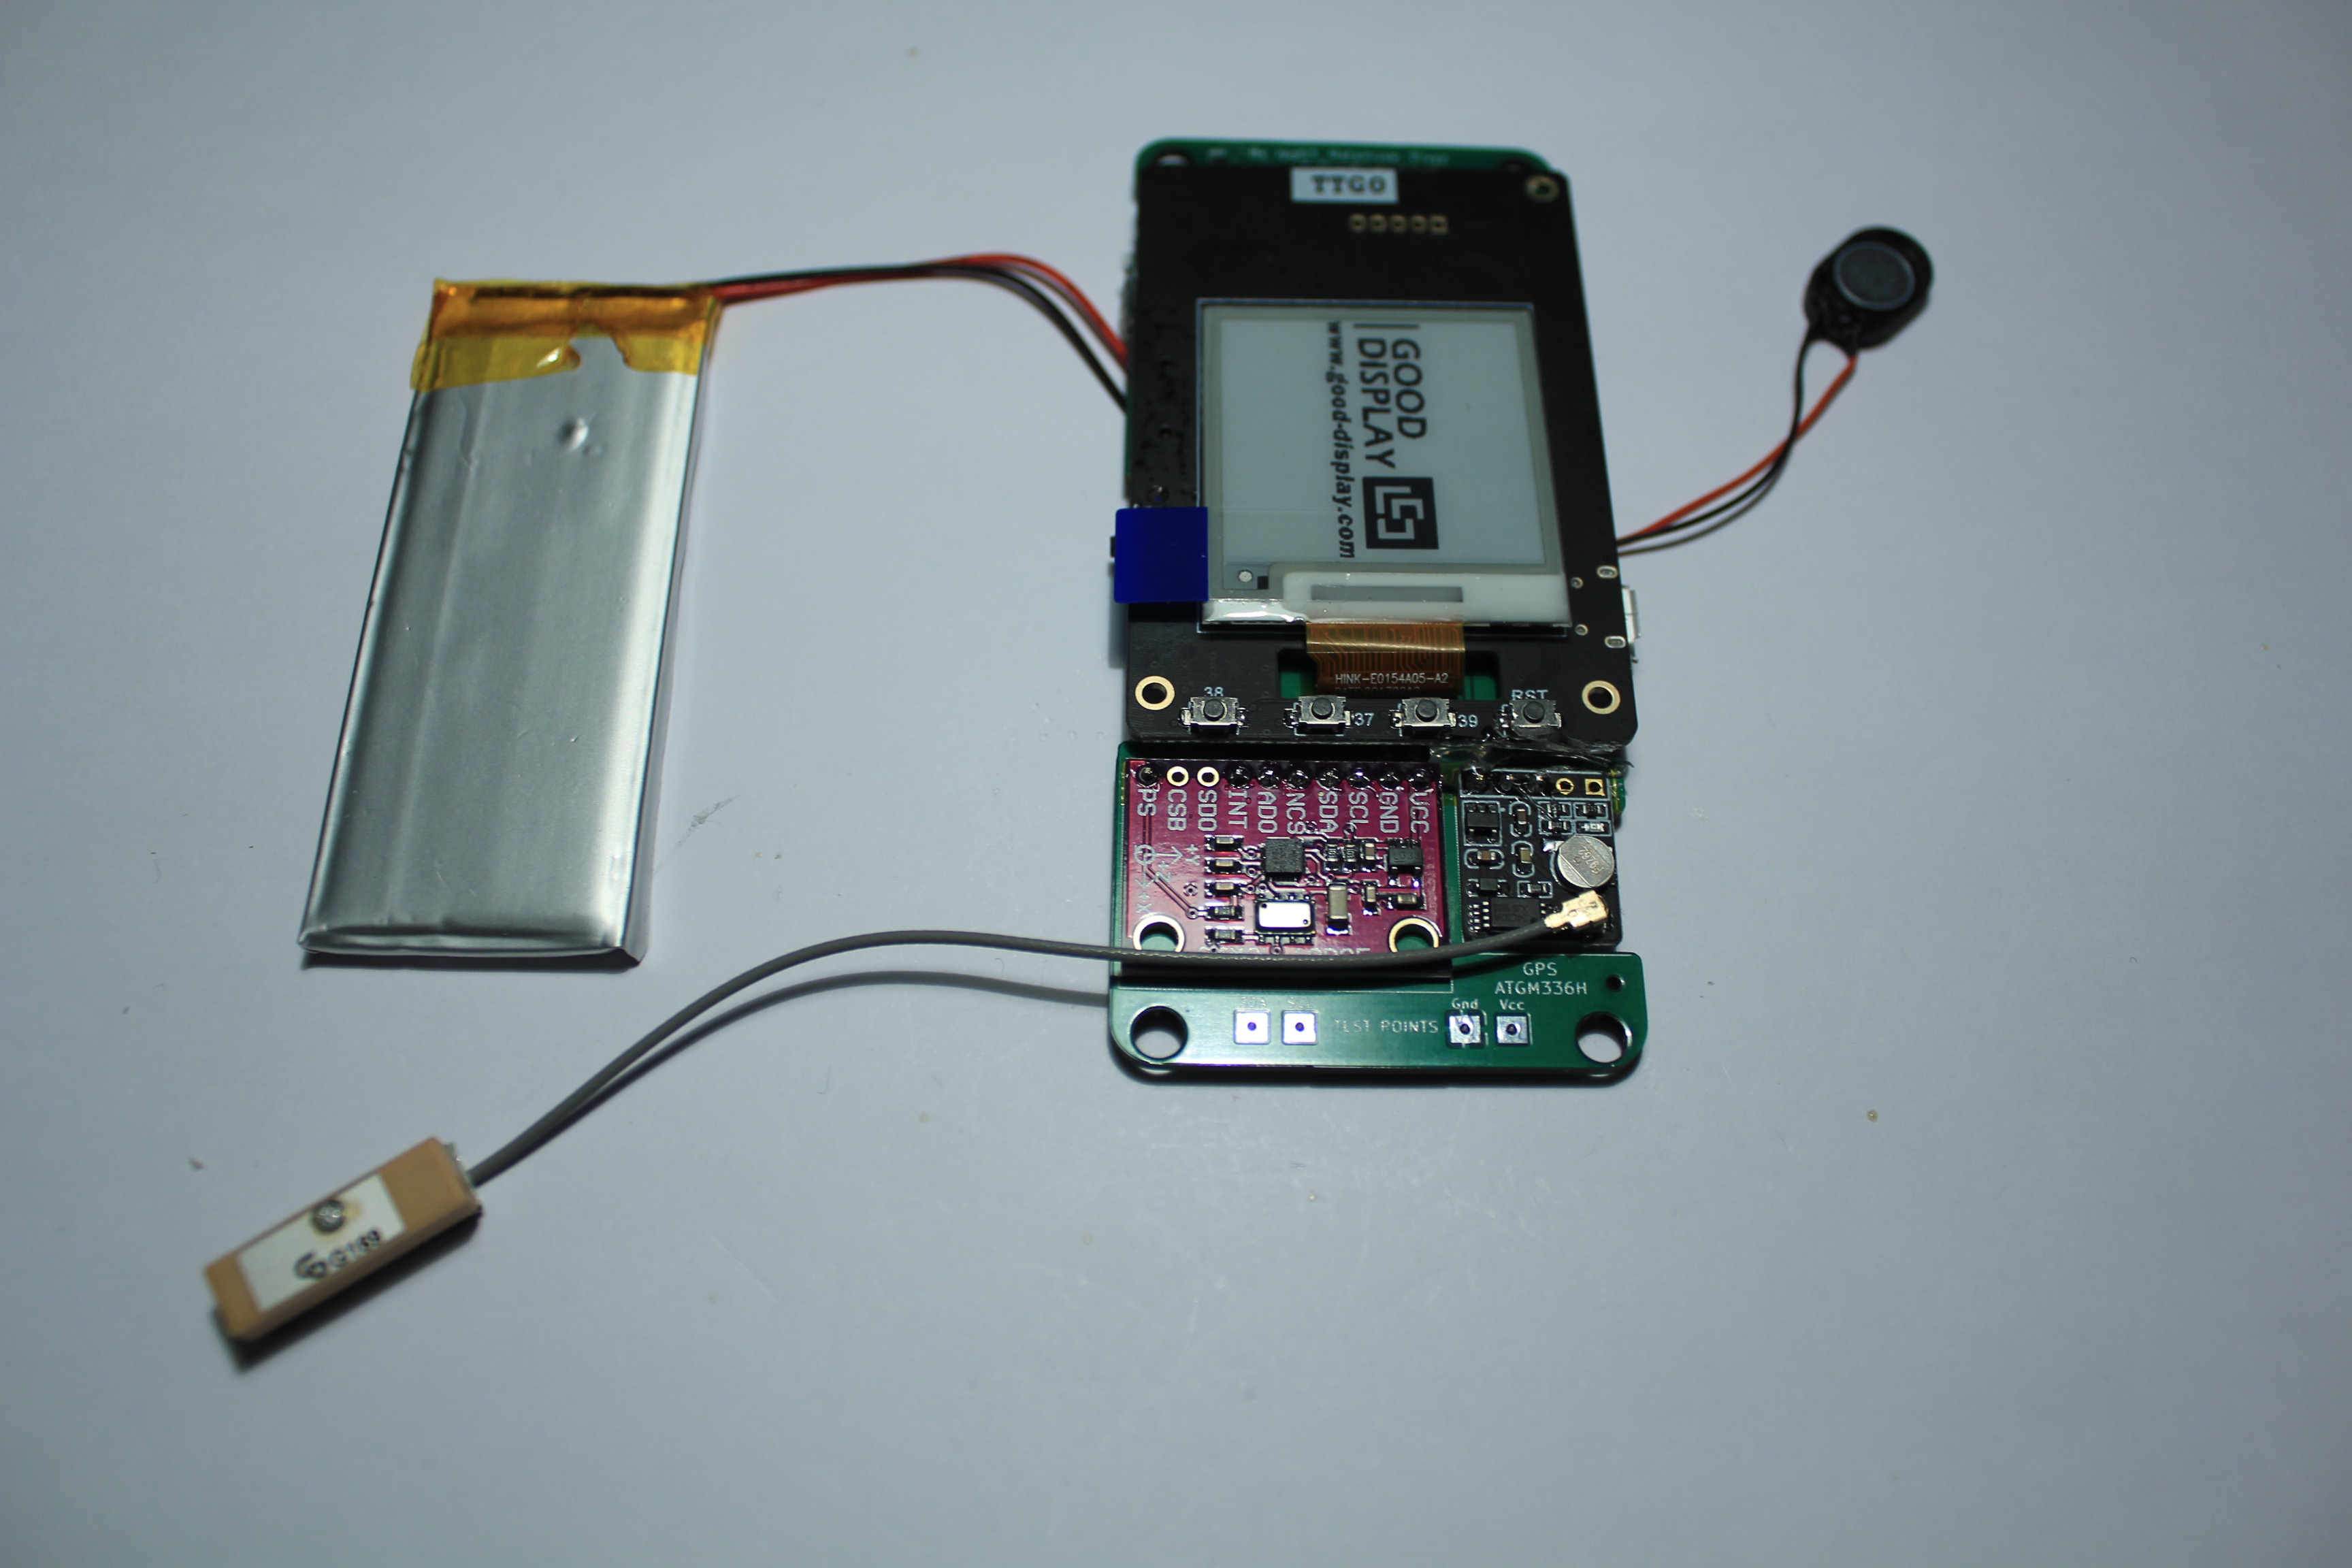
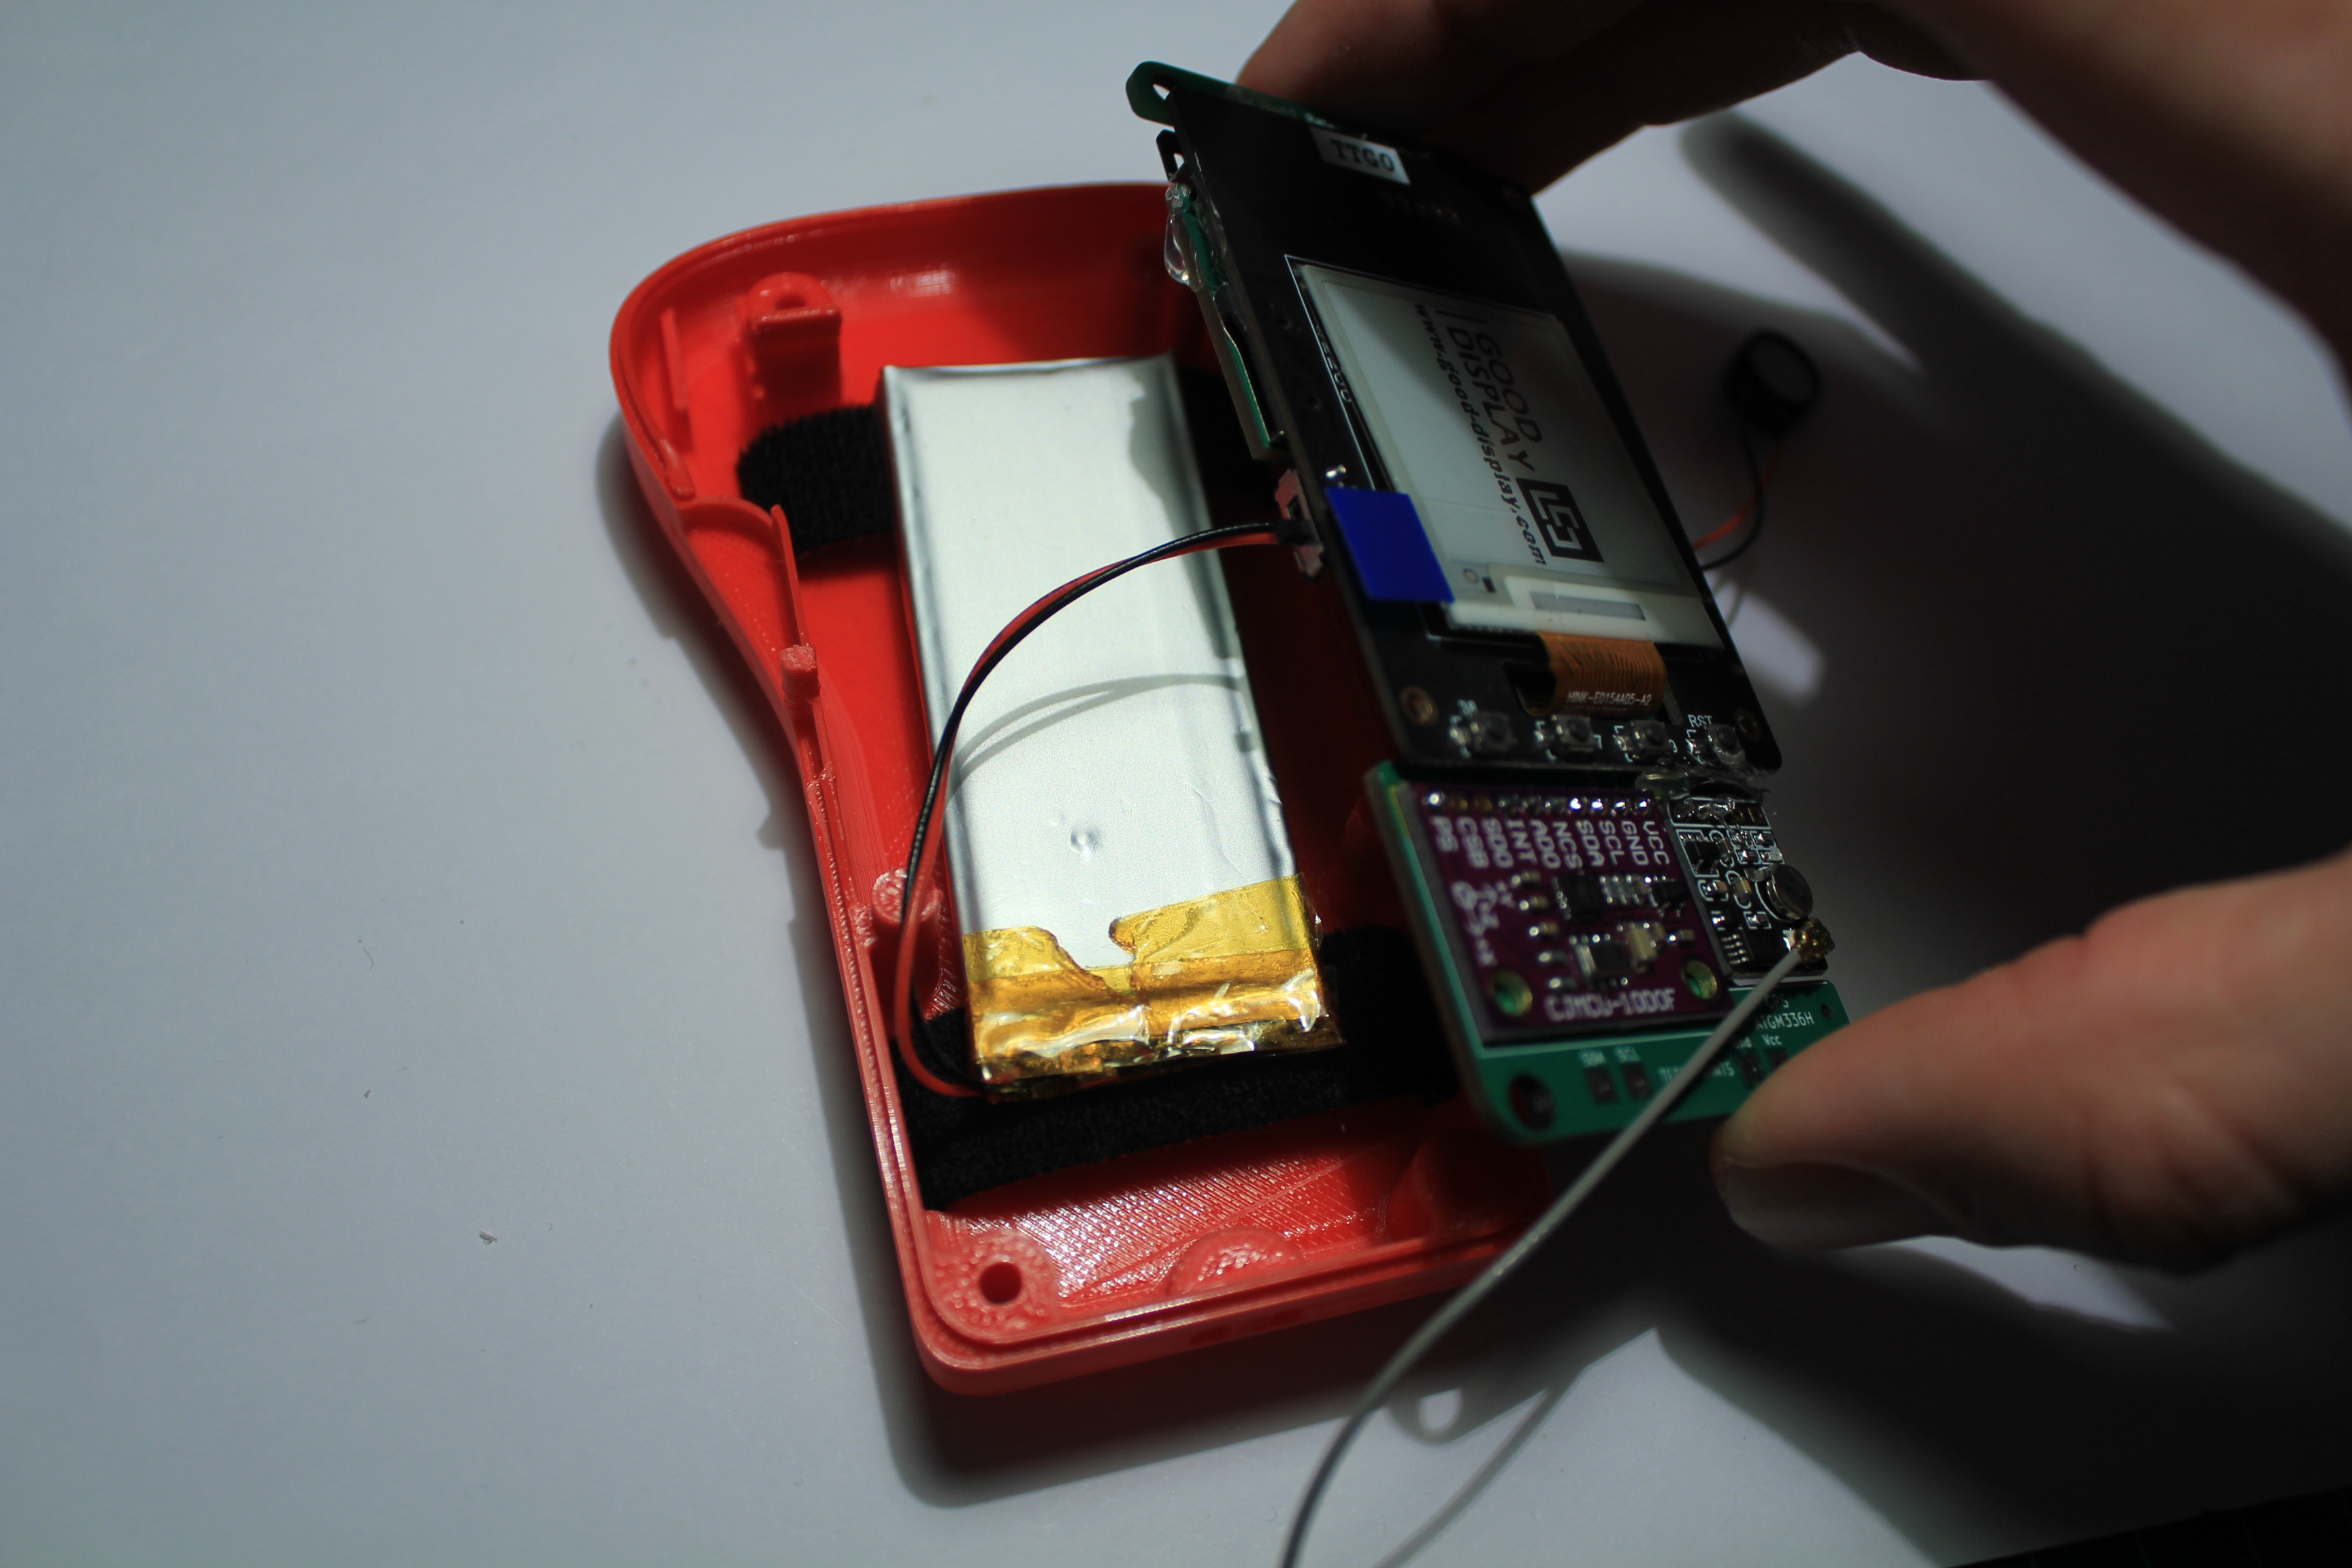
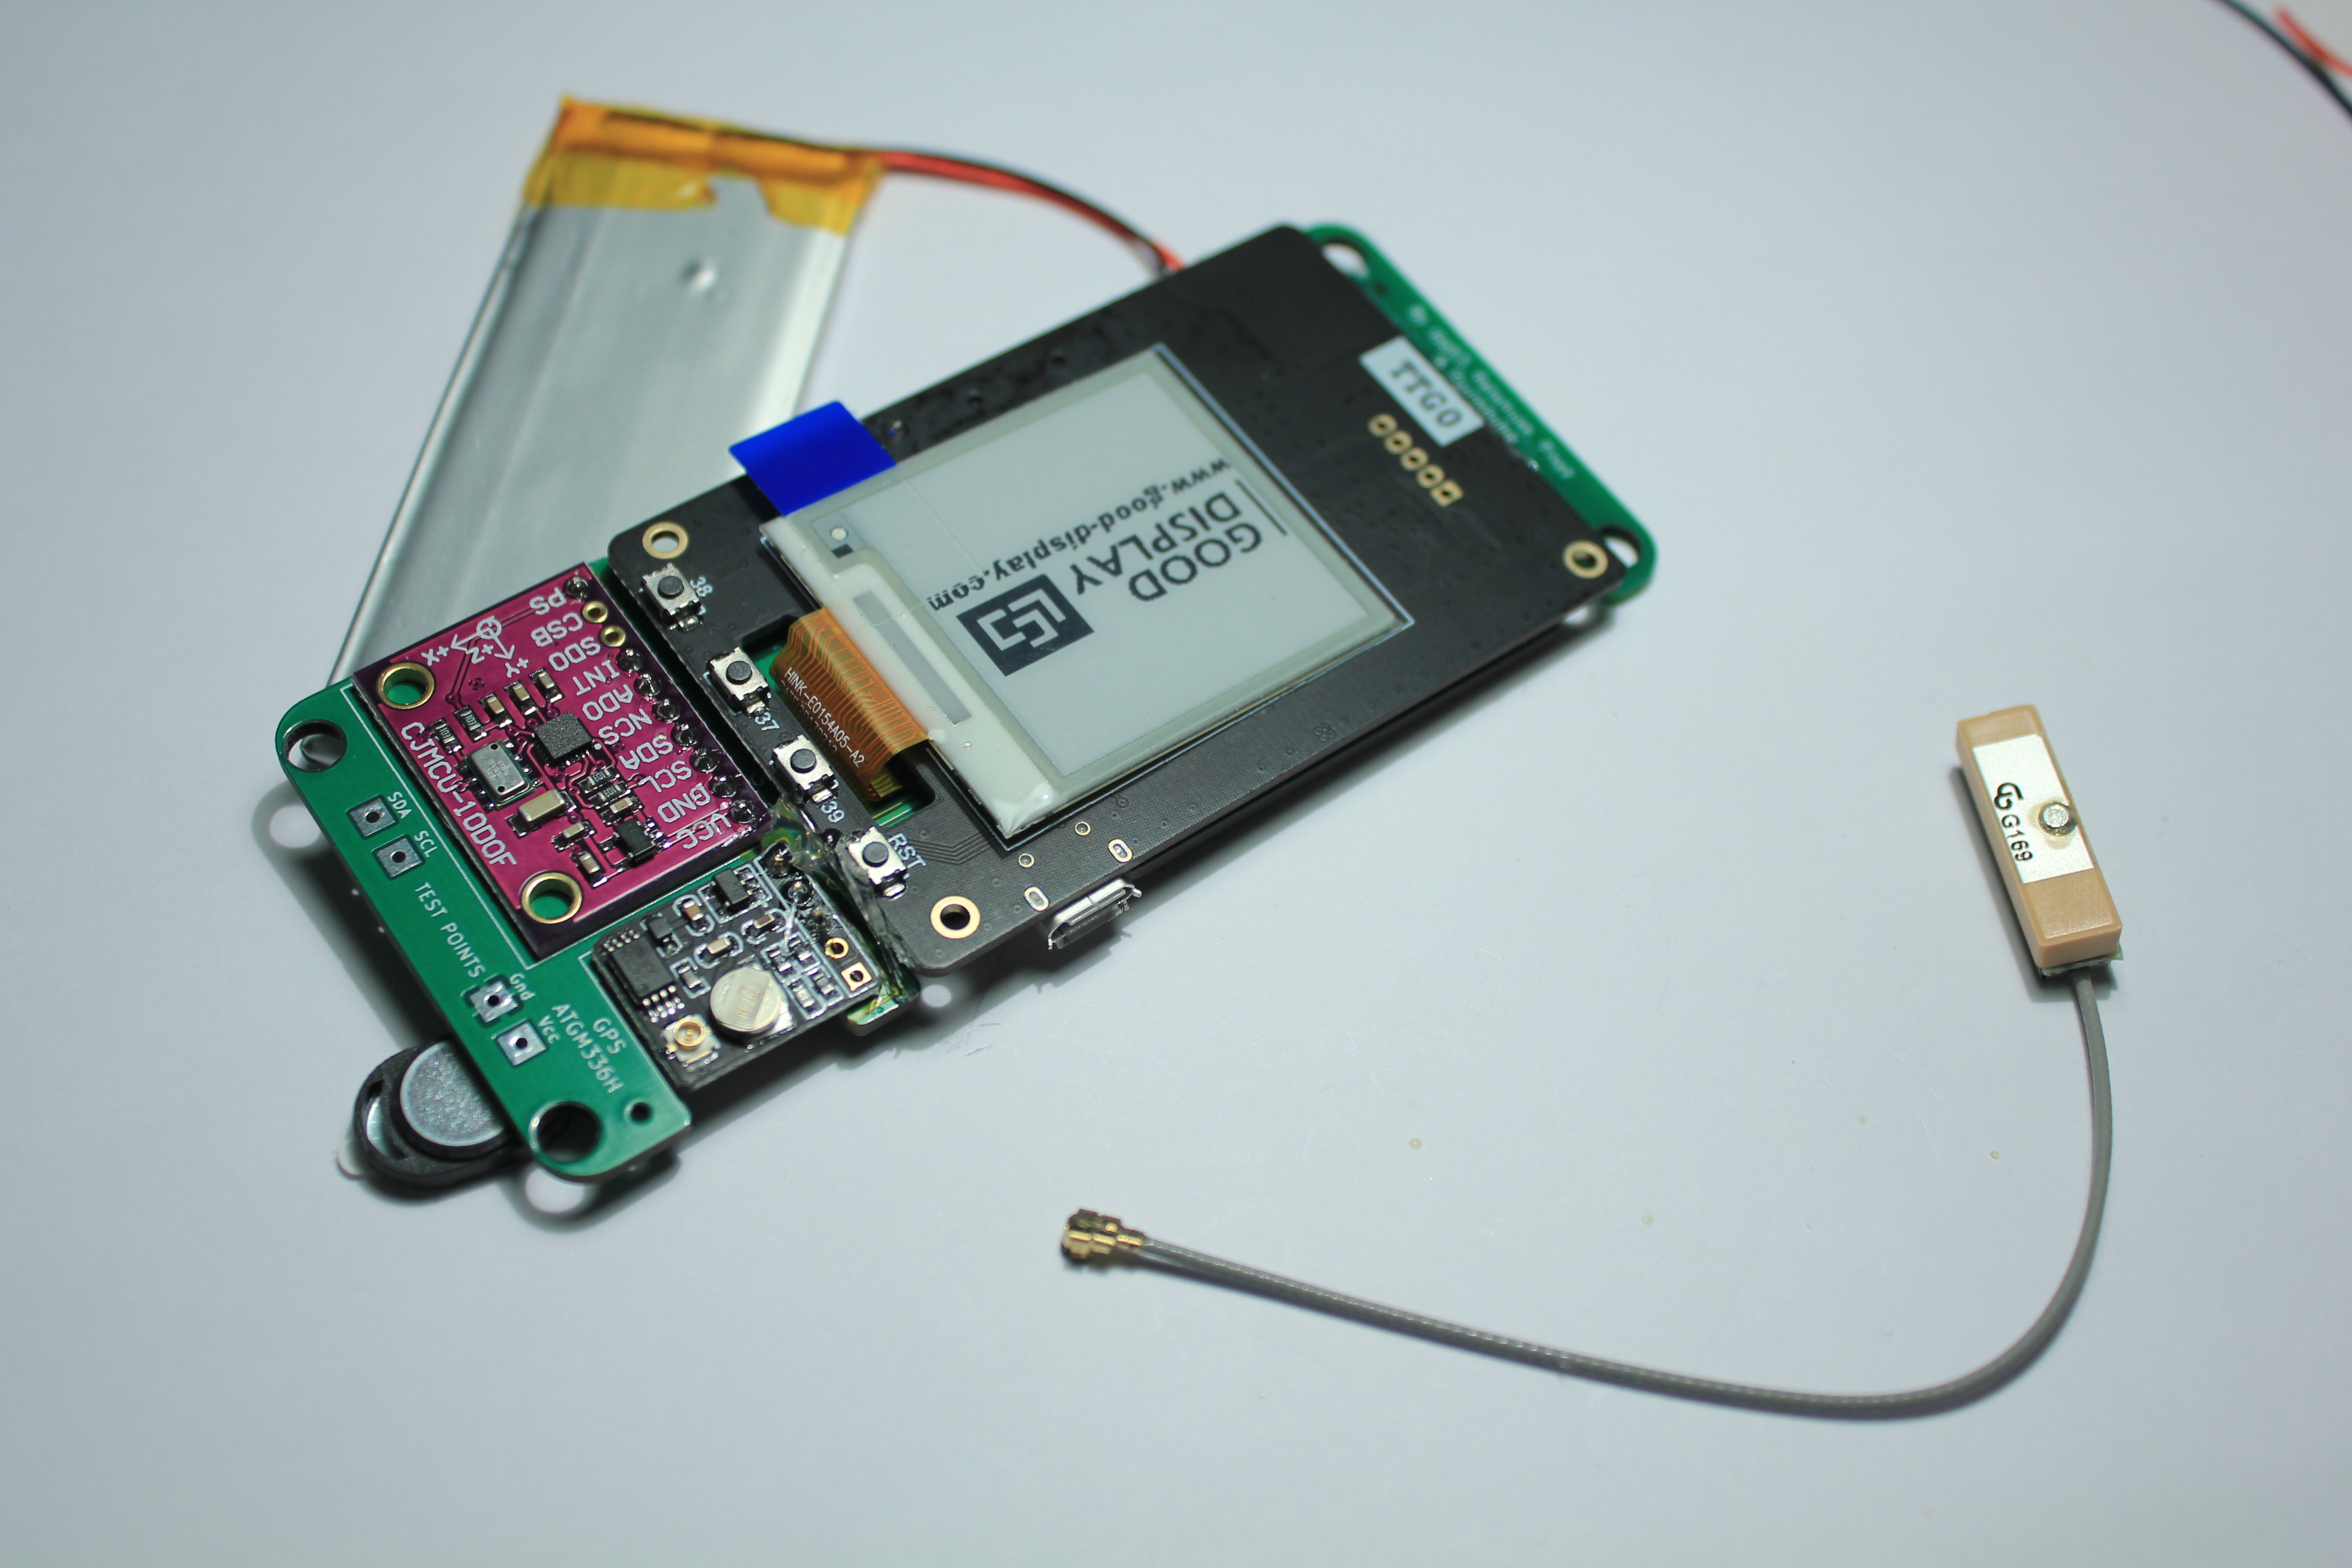
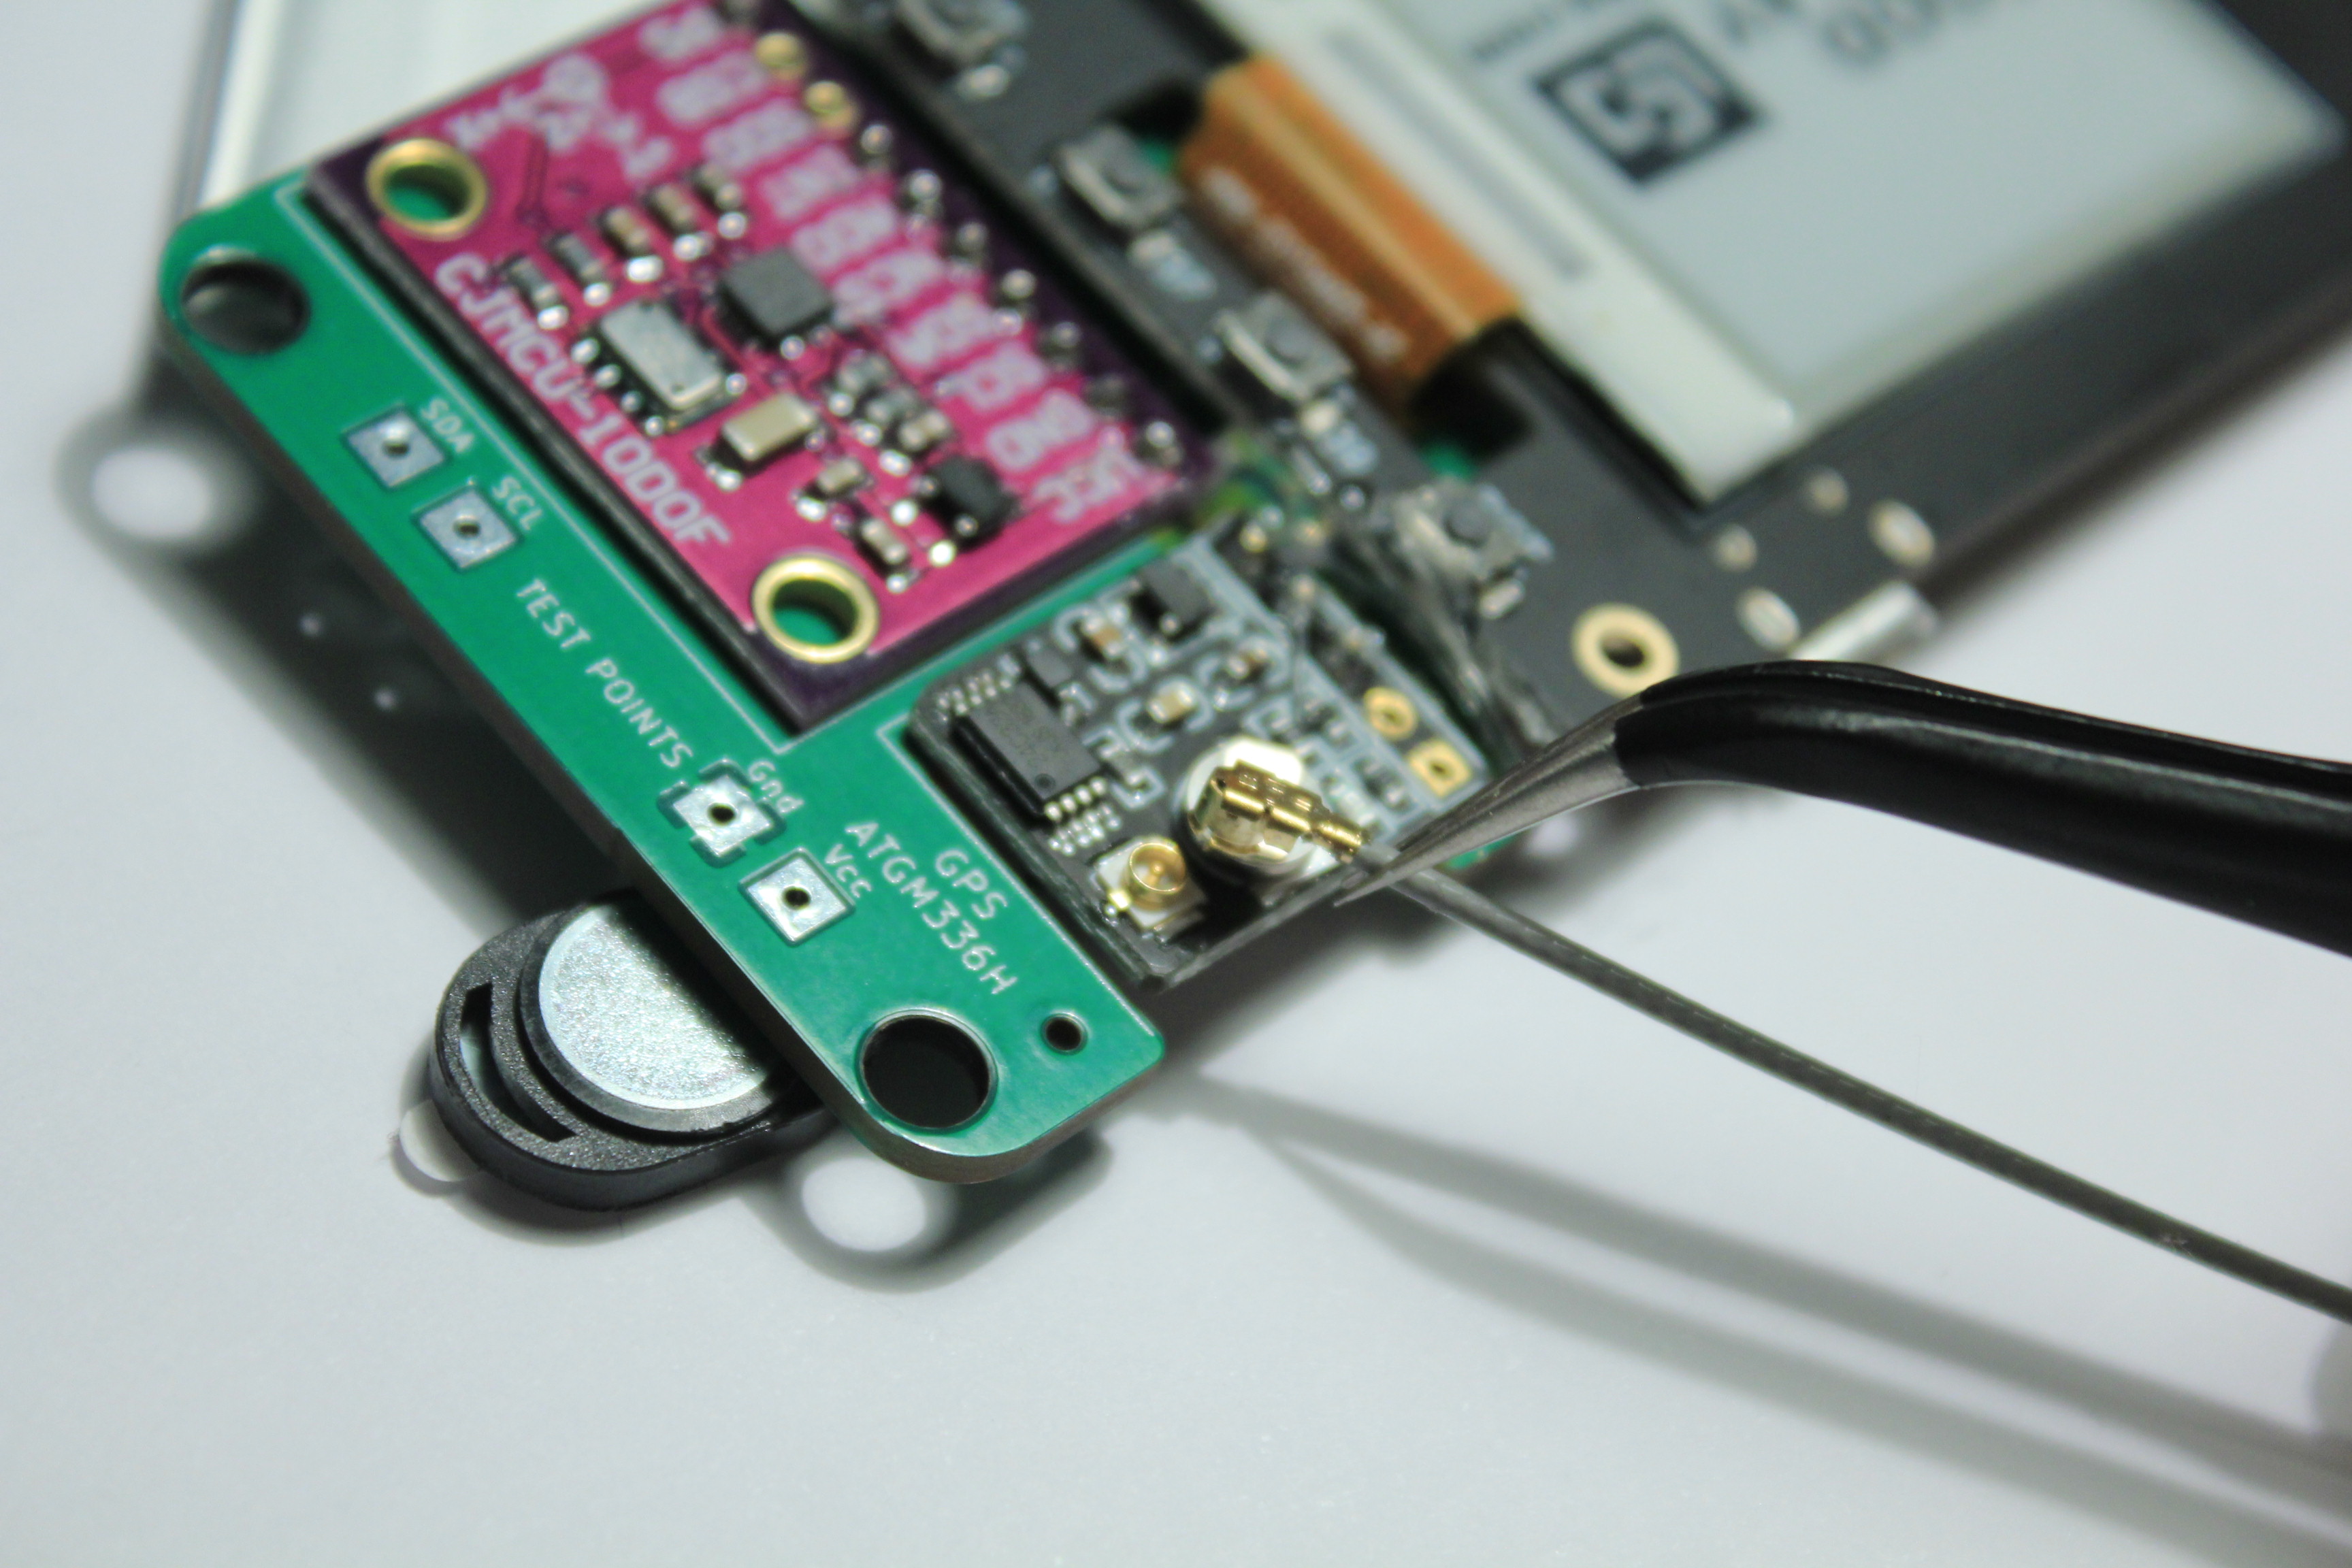
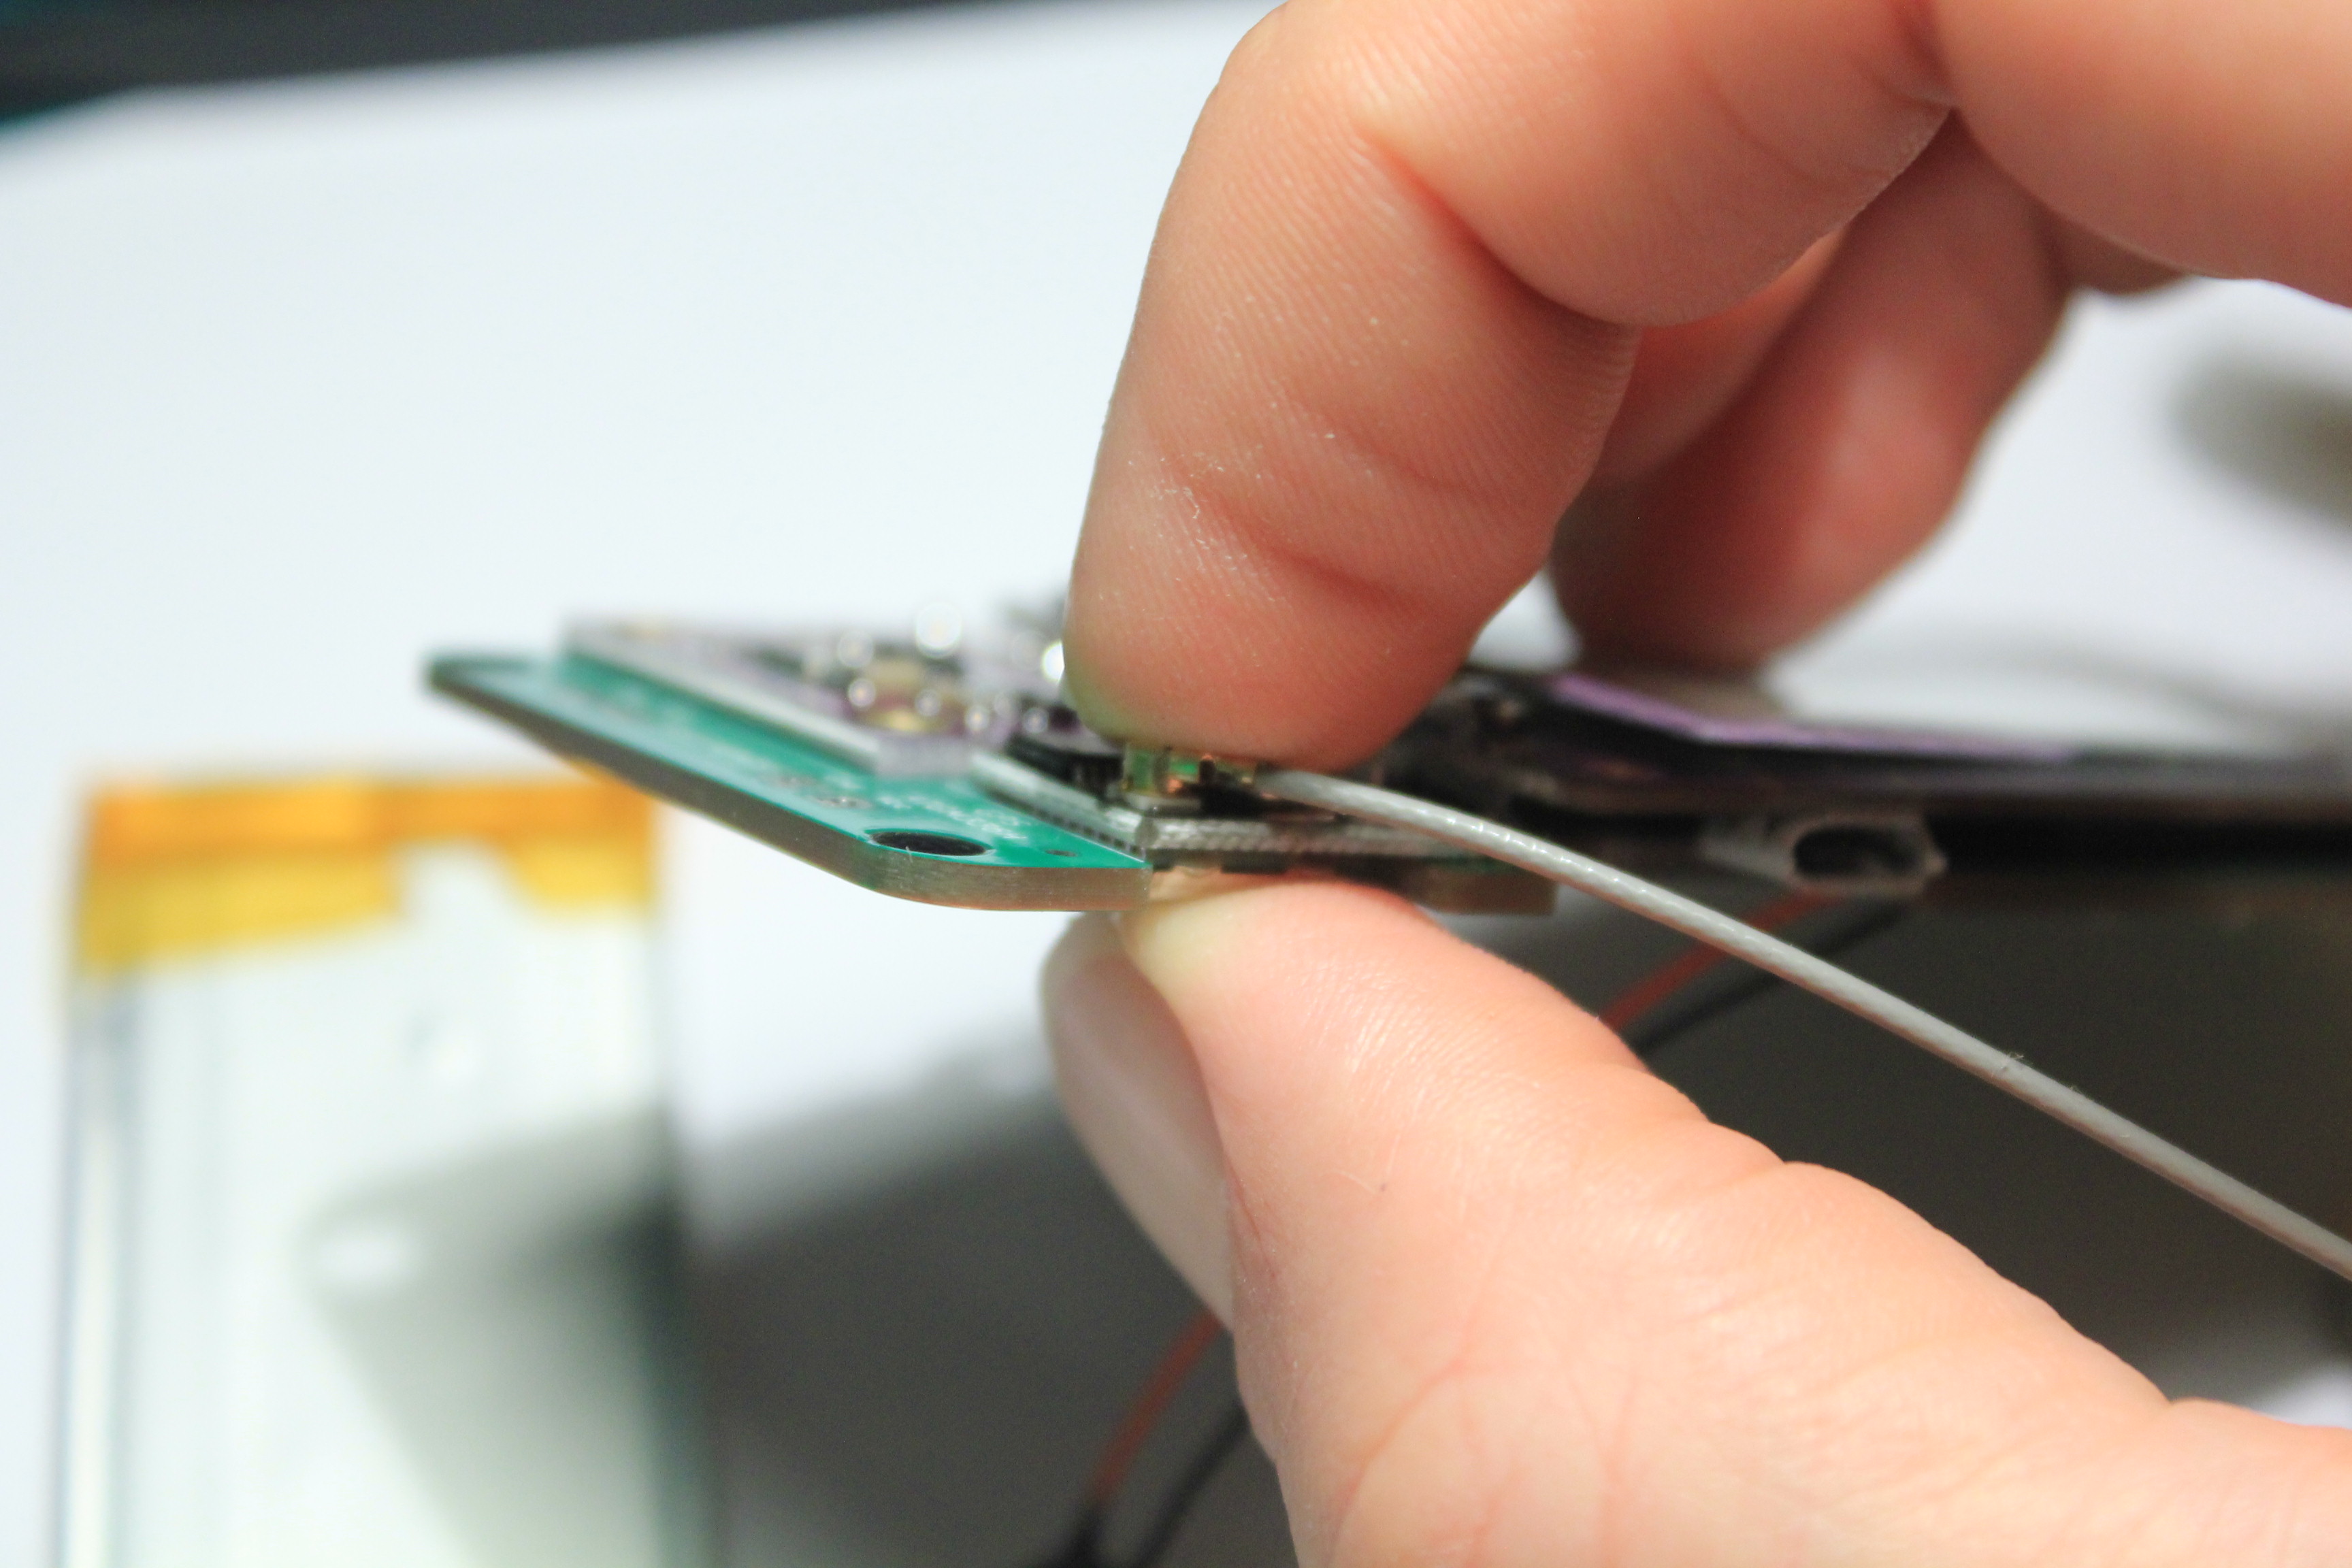
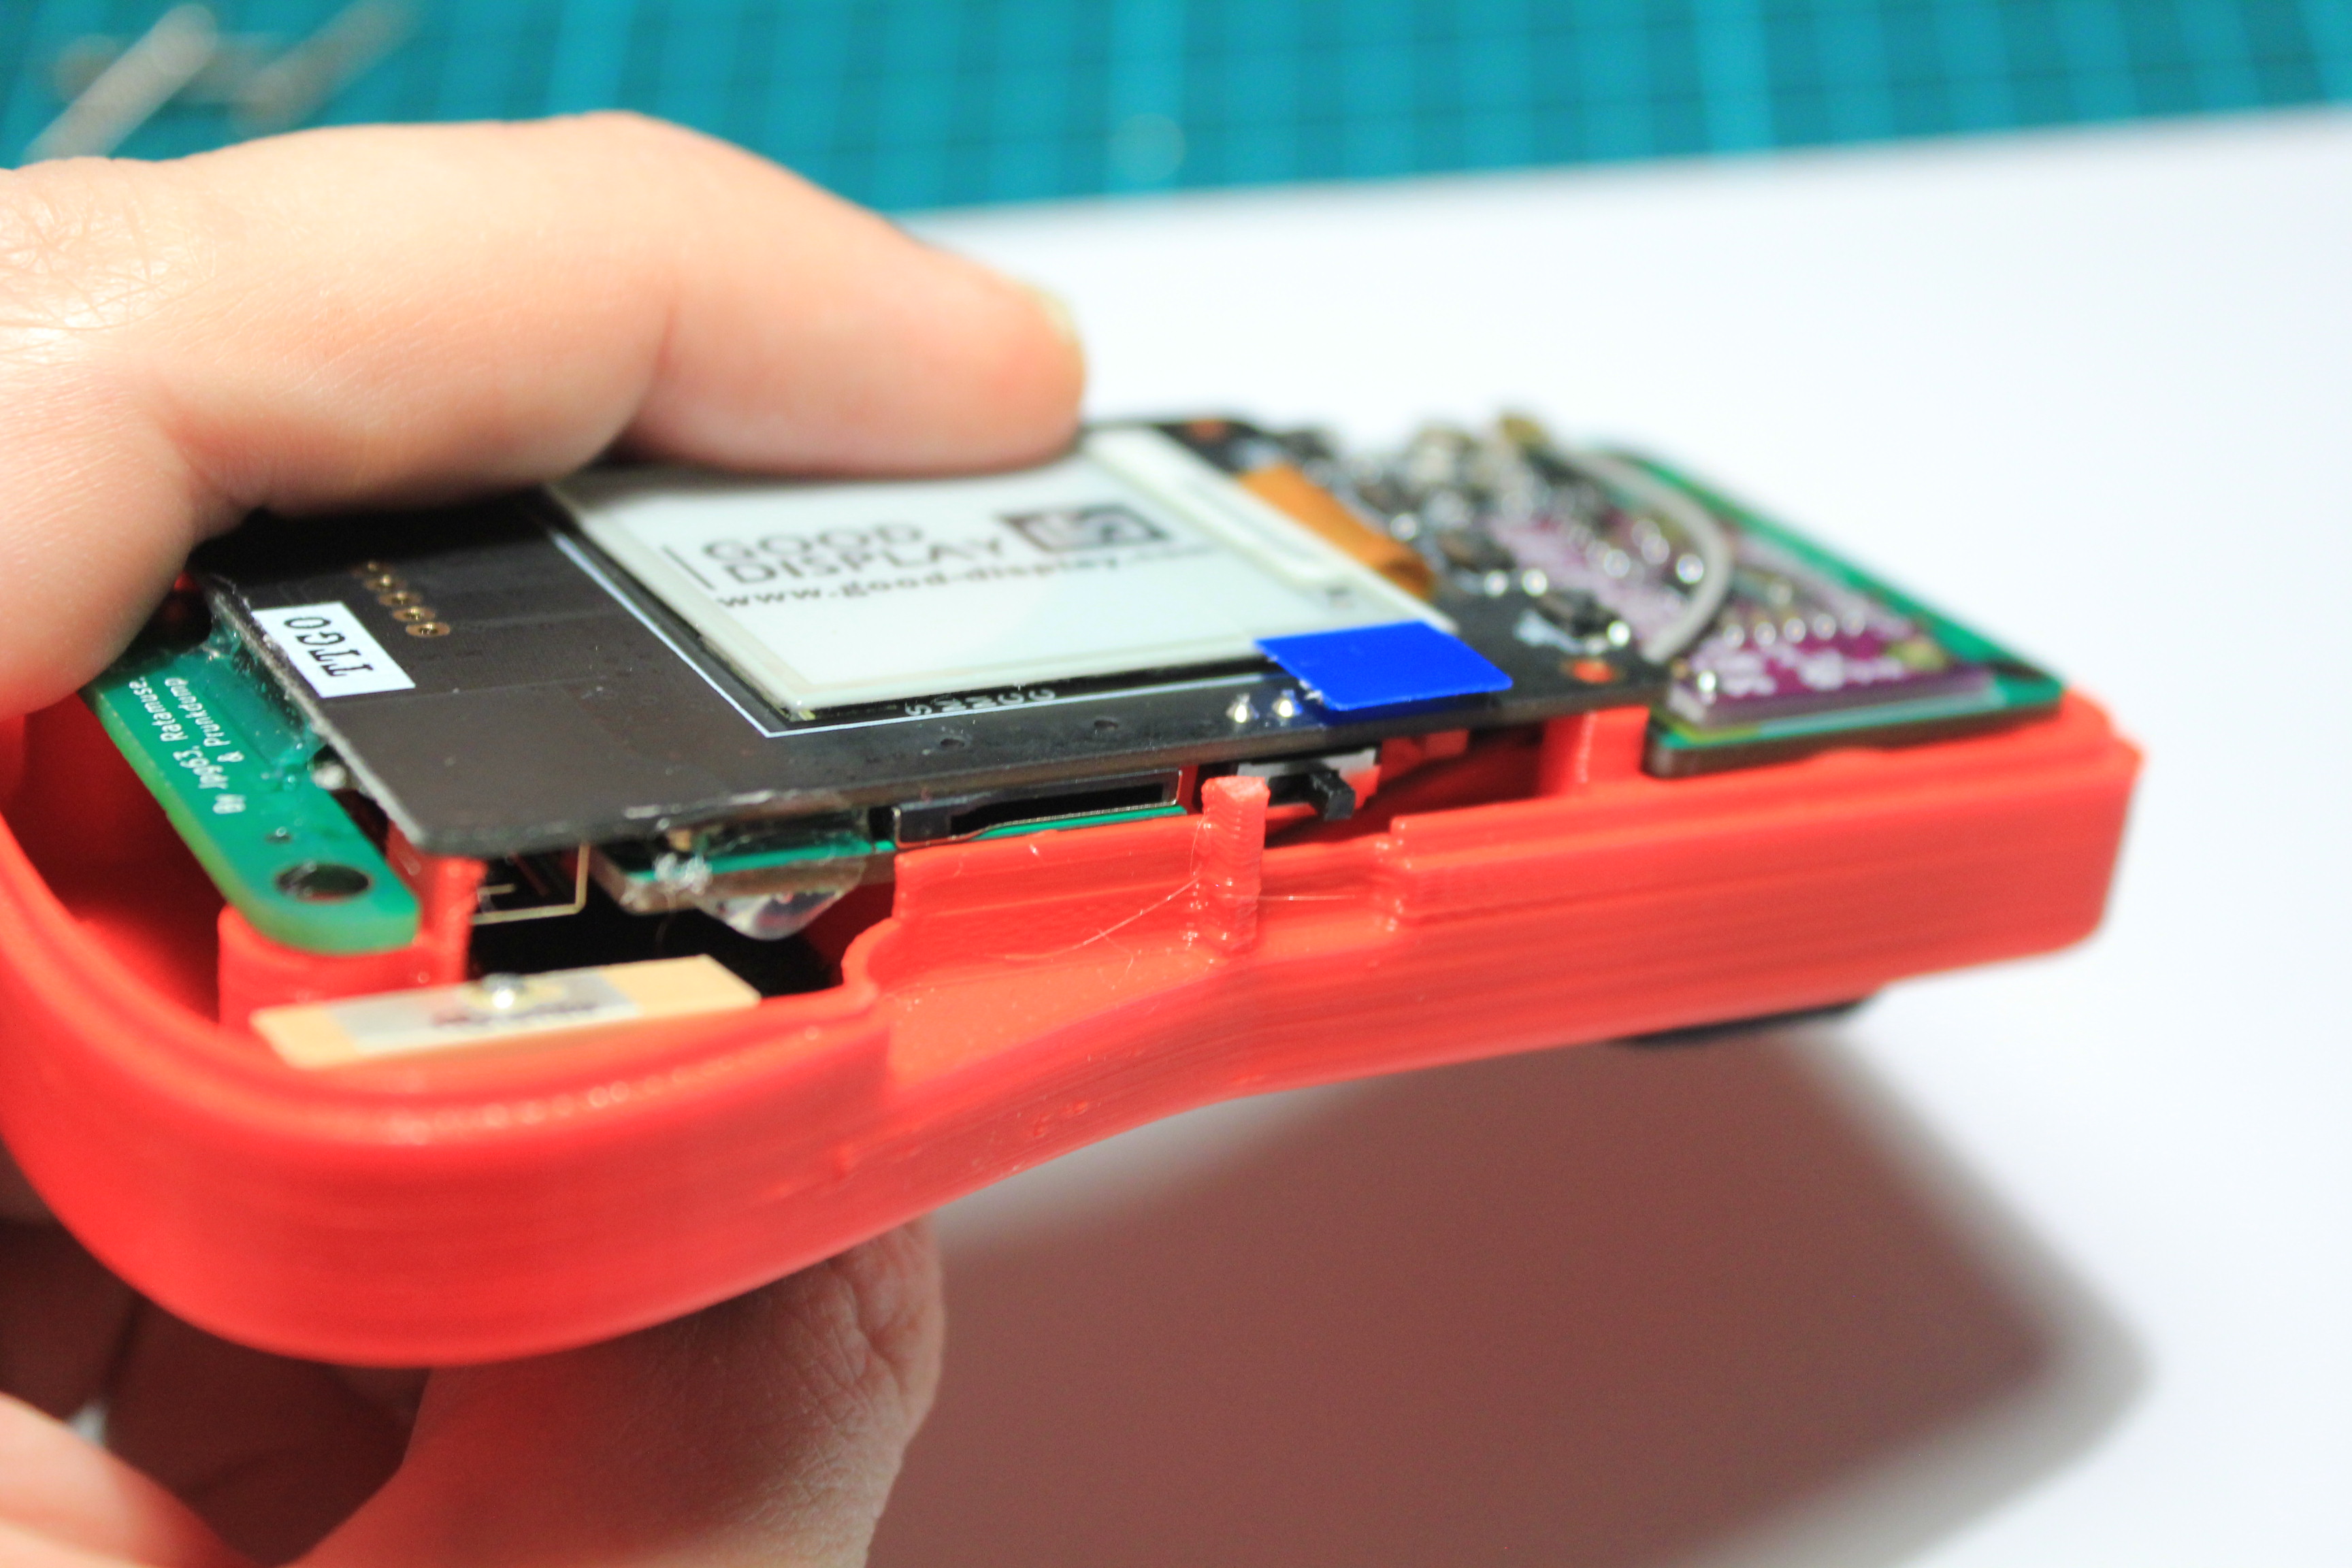
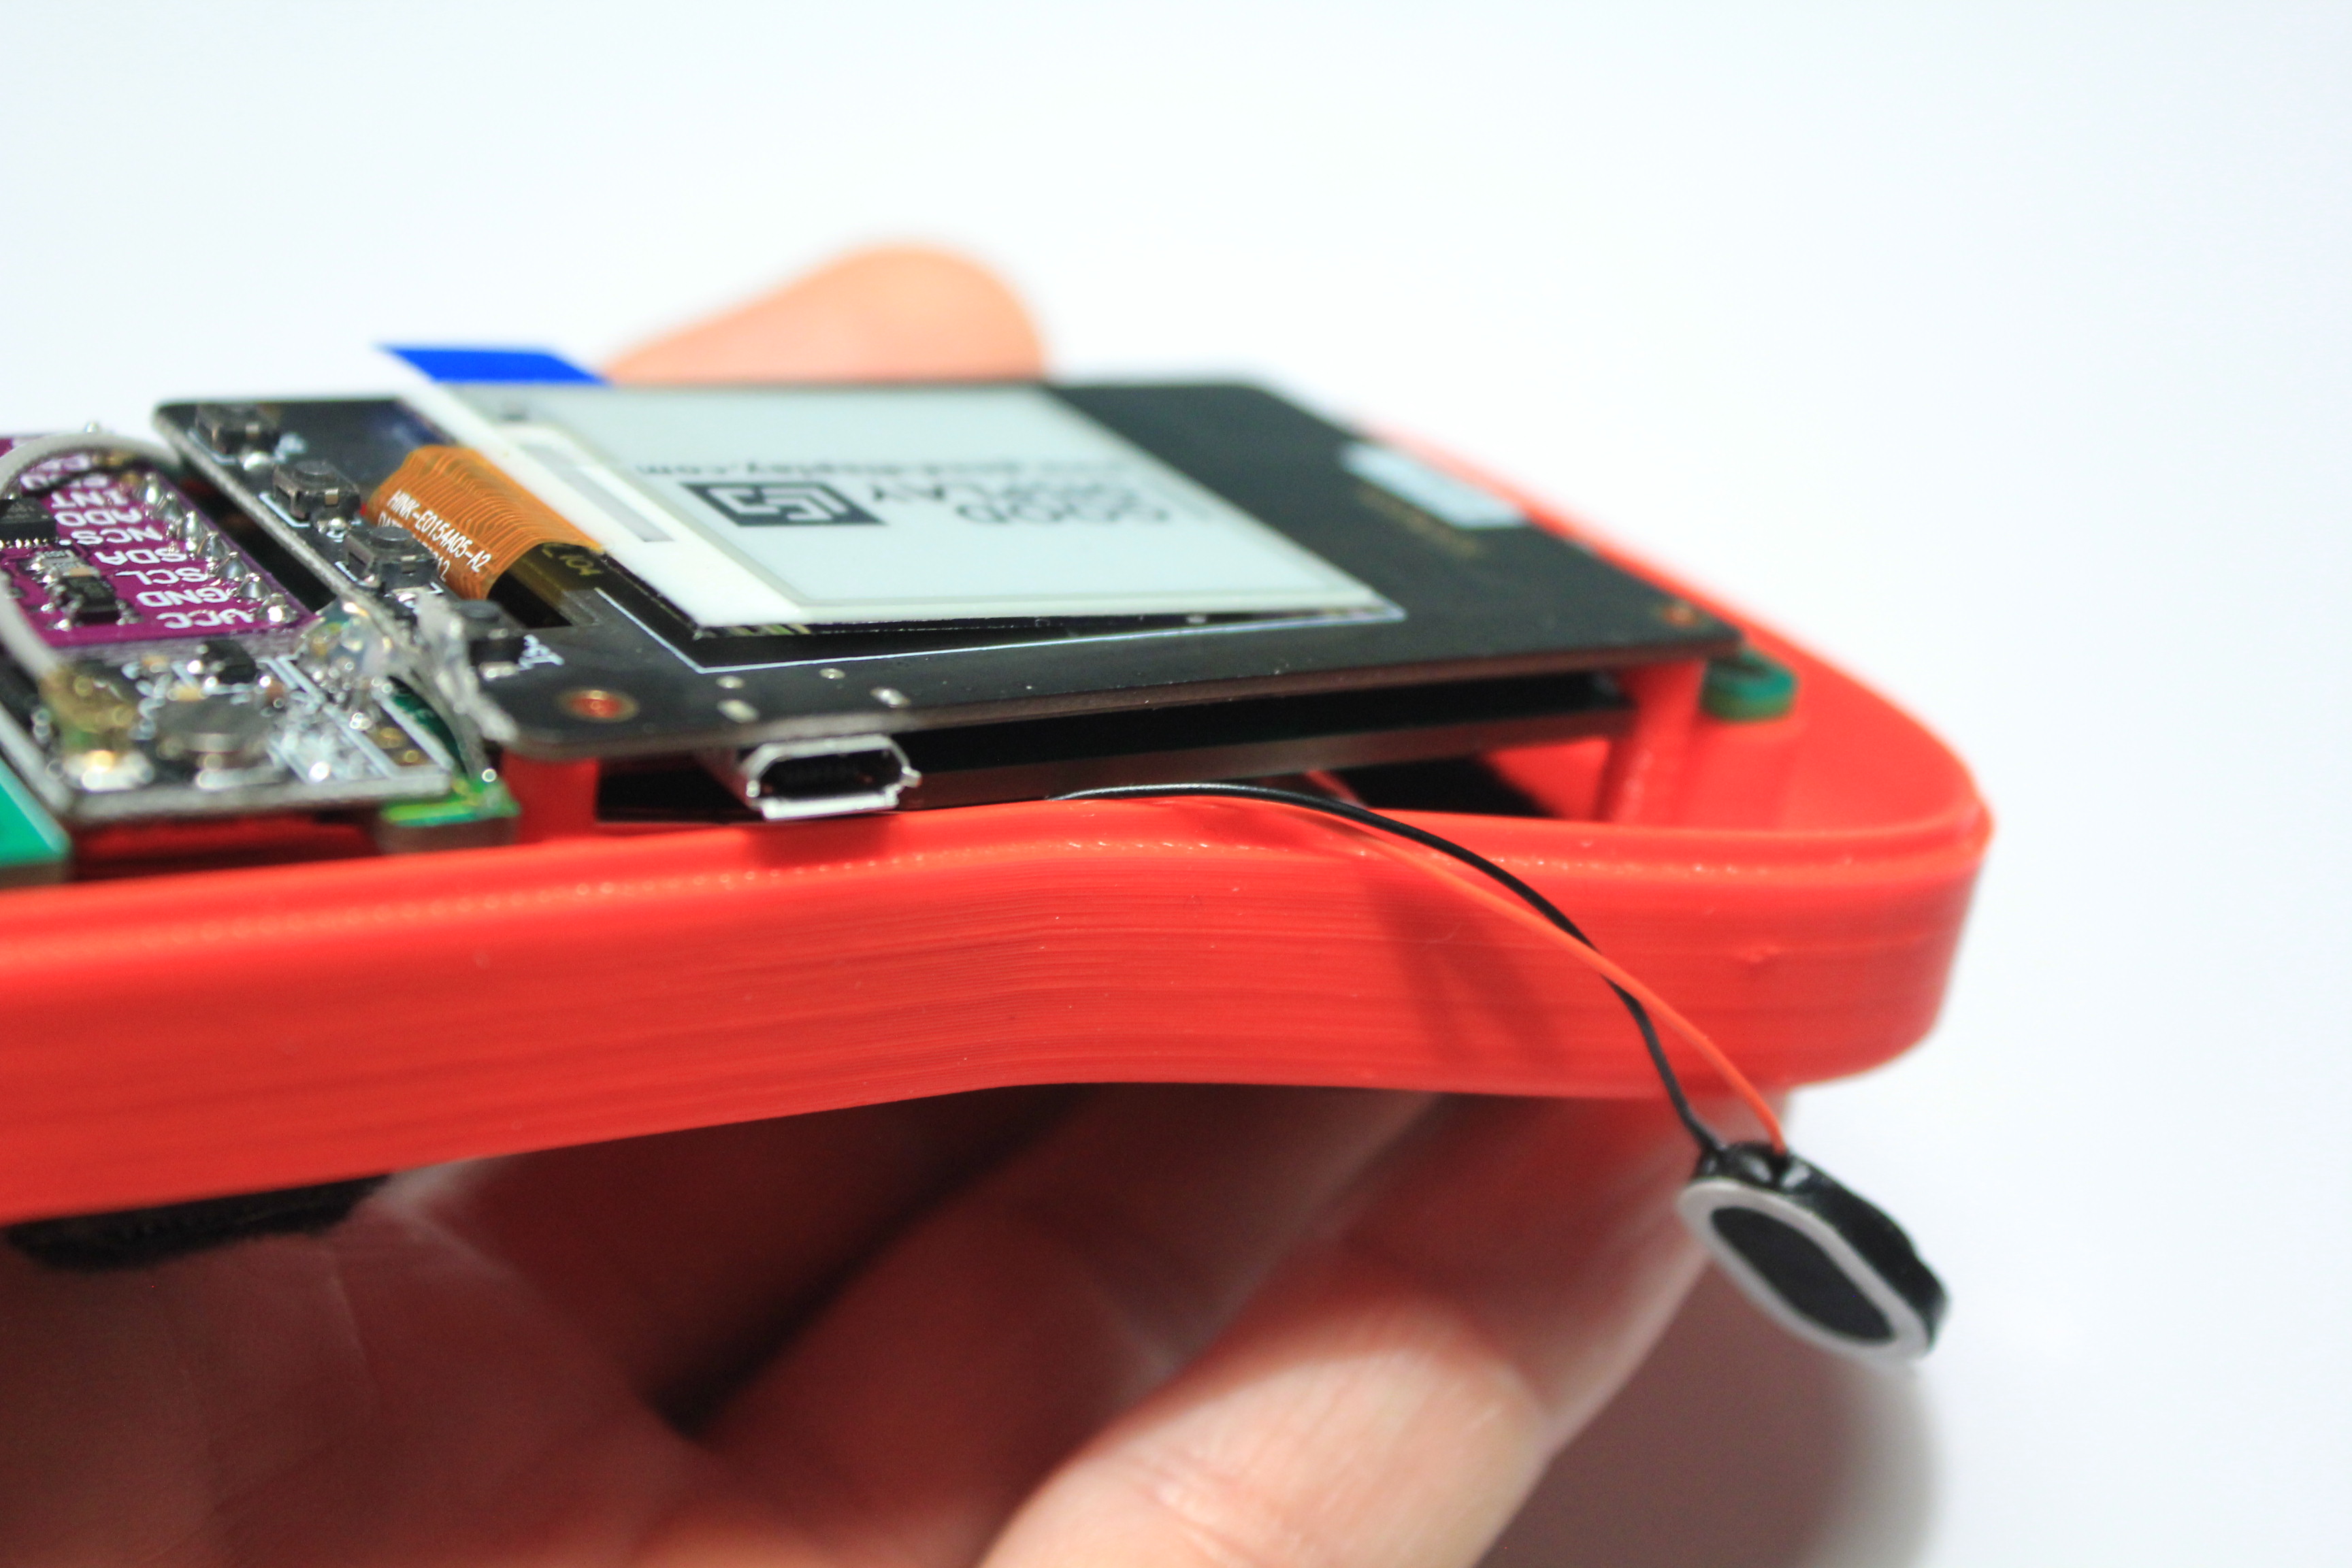
Place the PCB in the box by passing the antenna wire under the TTGO card.
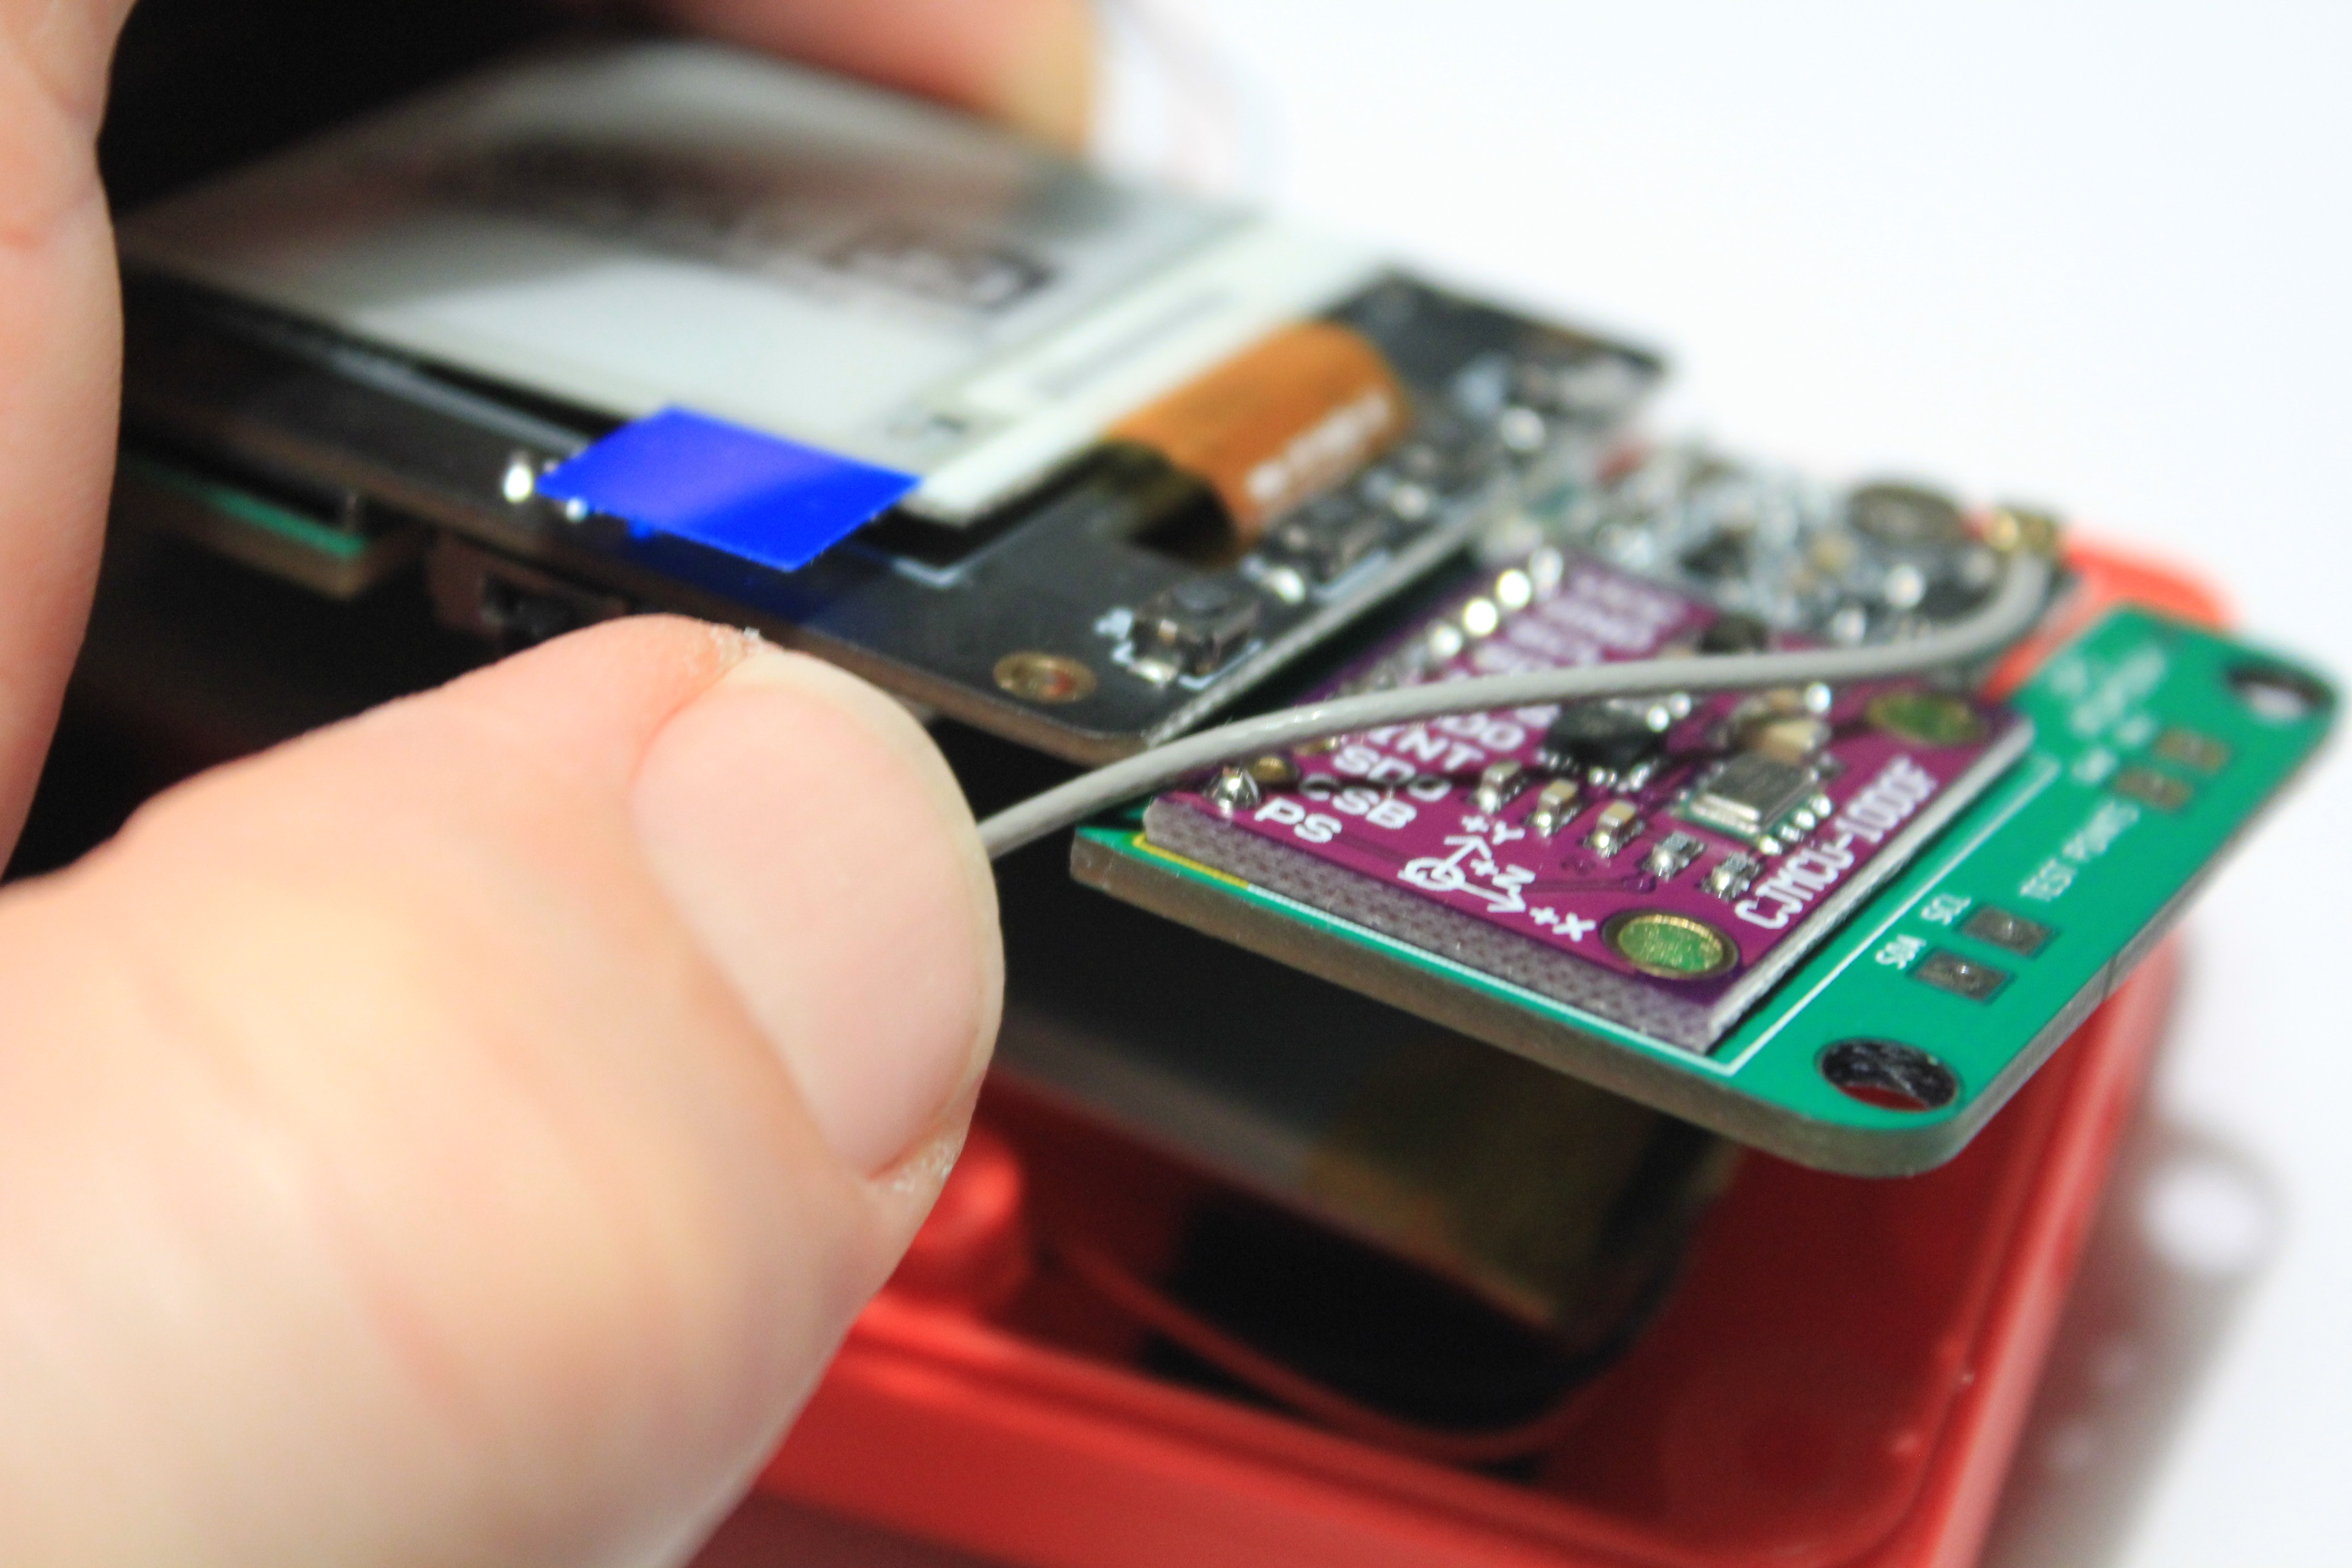
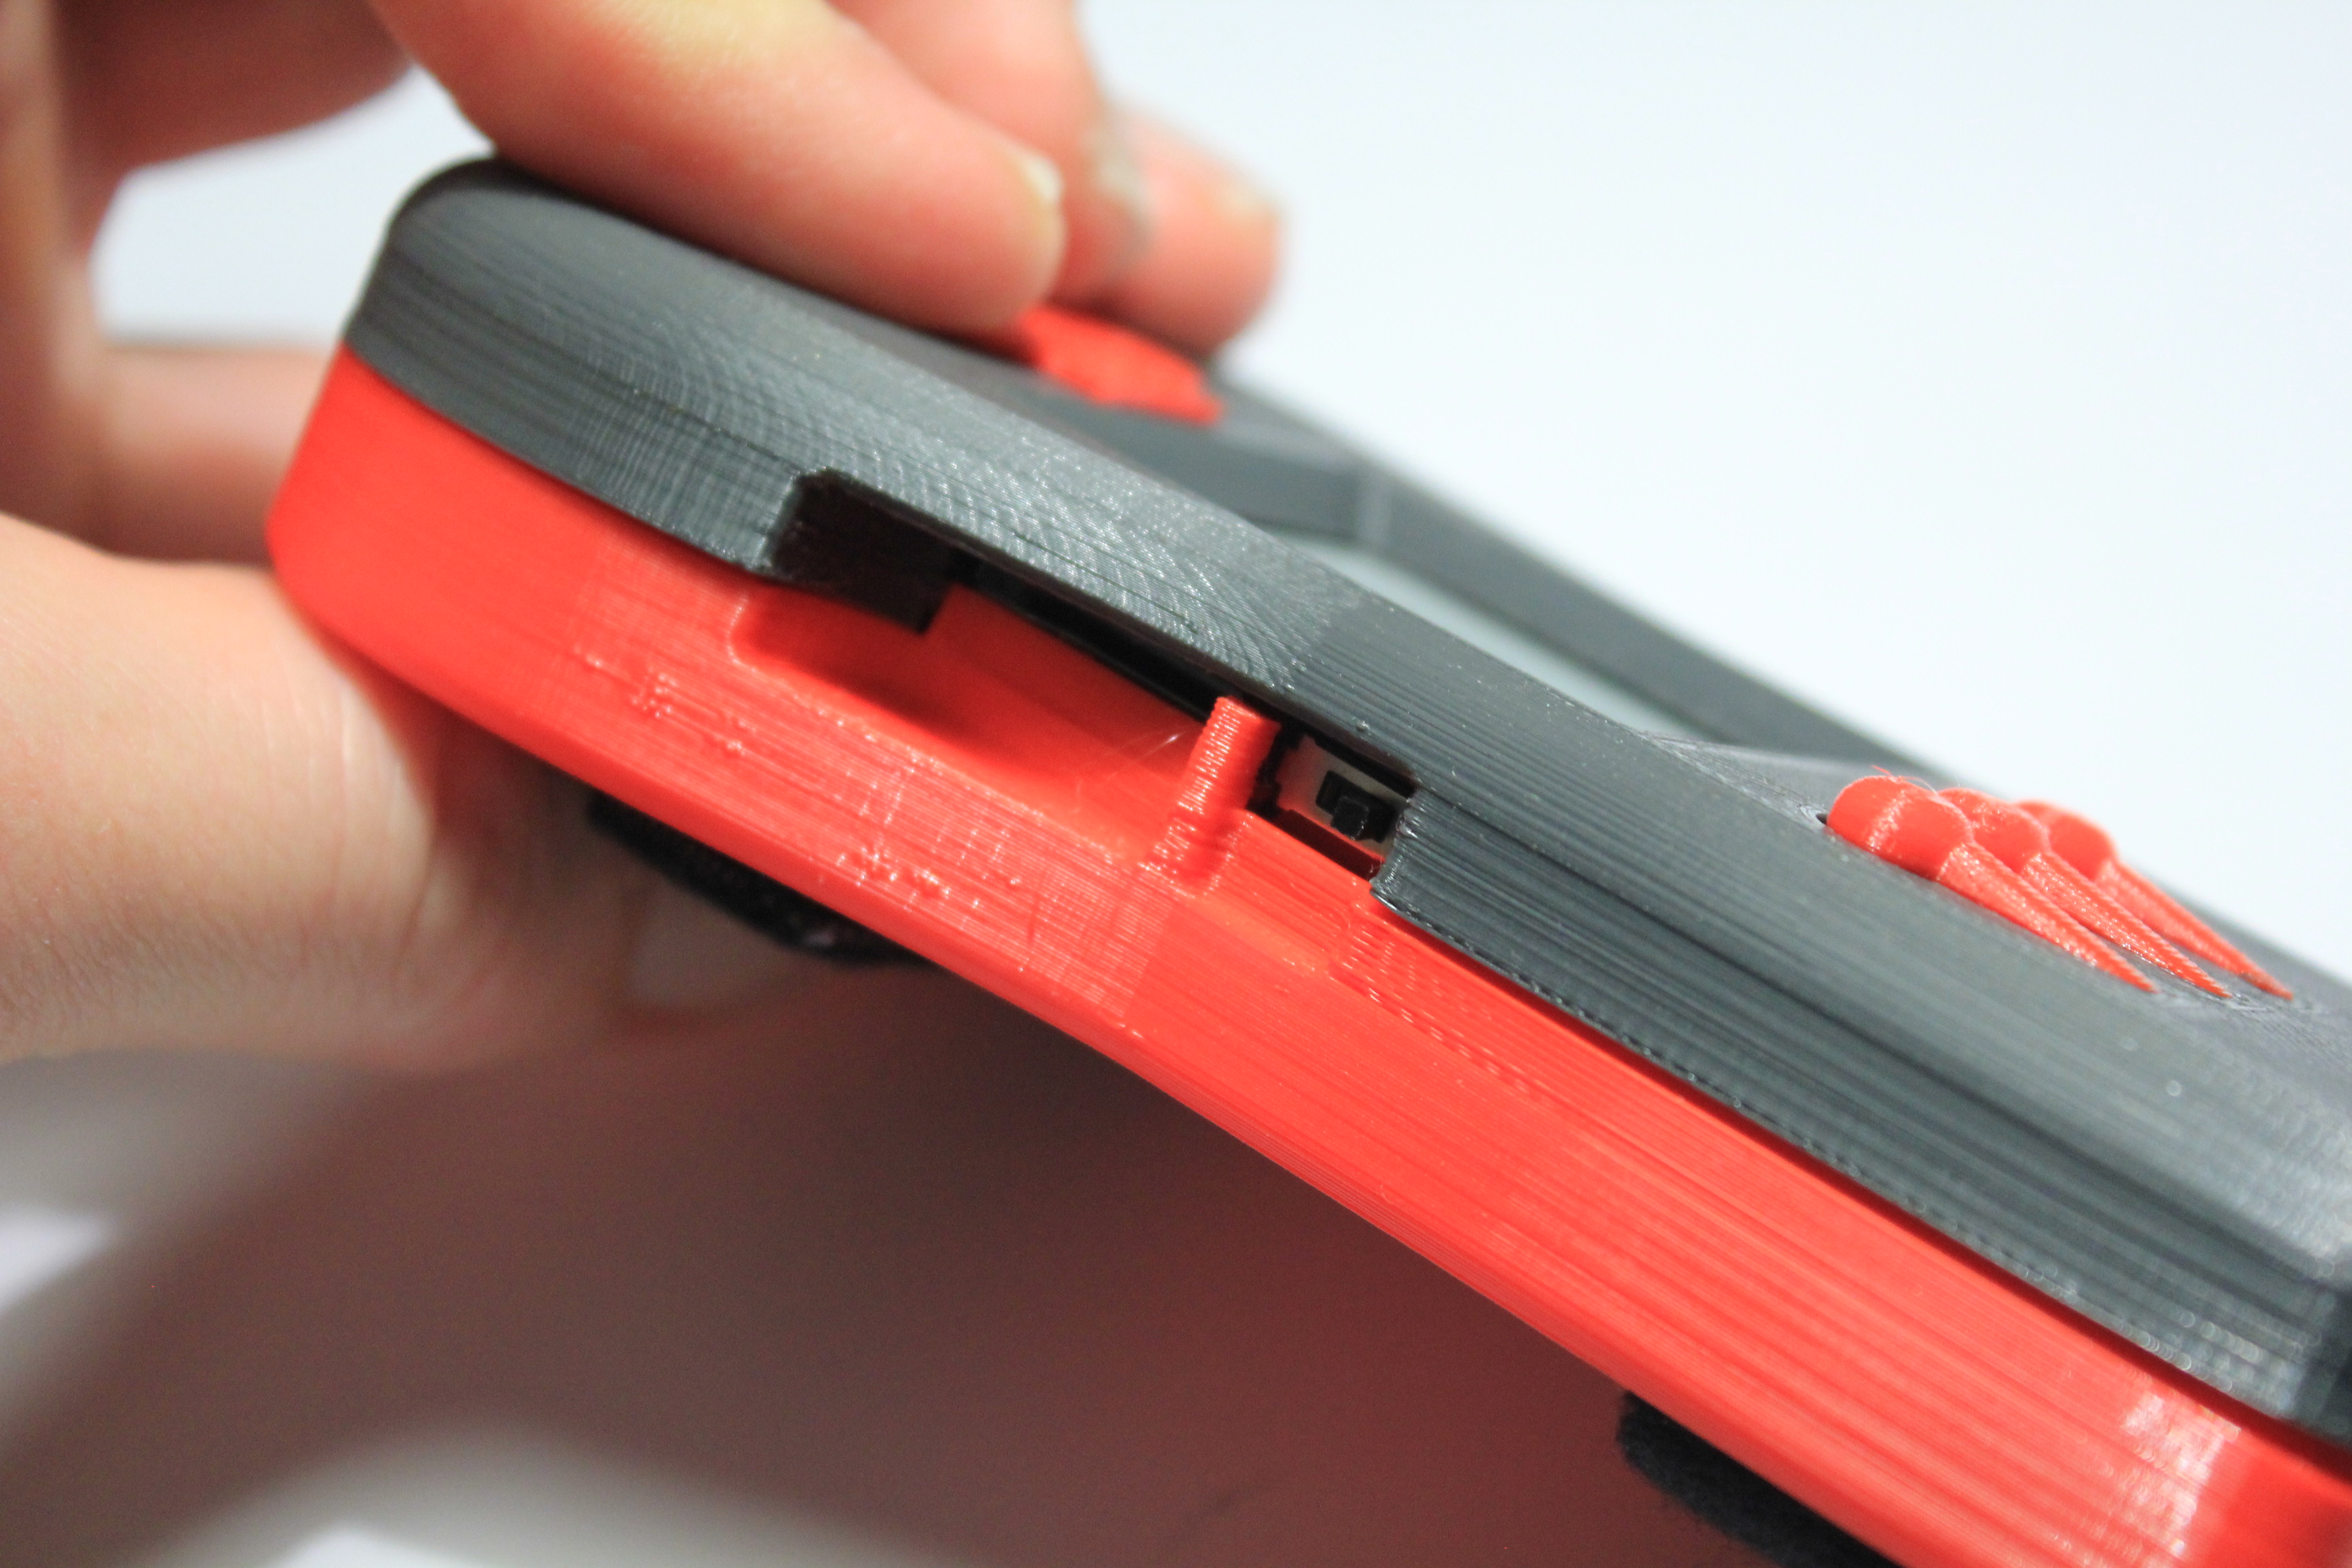
Place the antenna in the support provided in the bottom of the case.
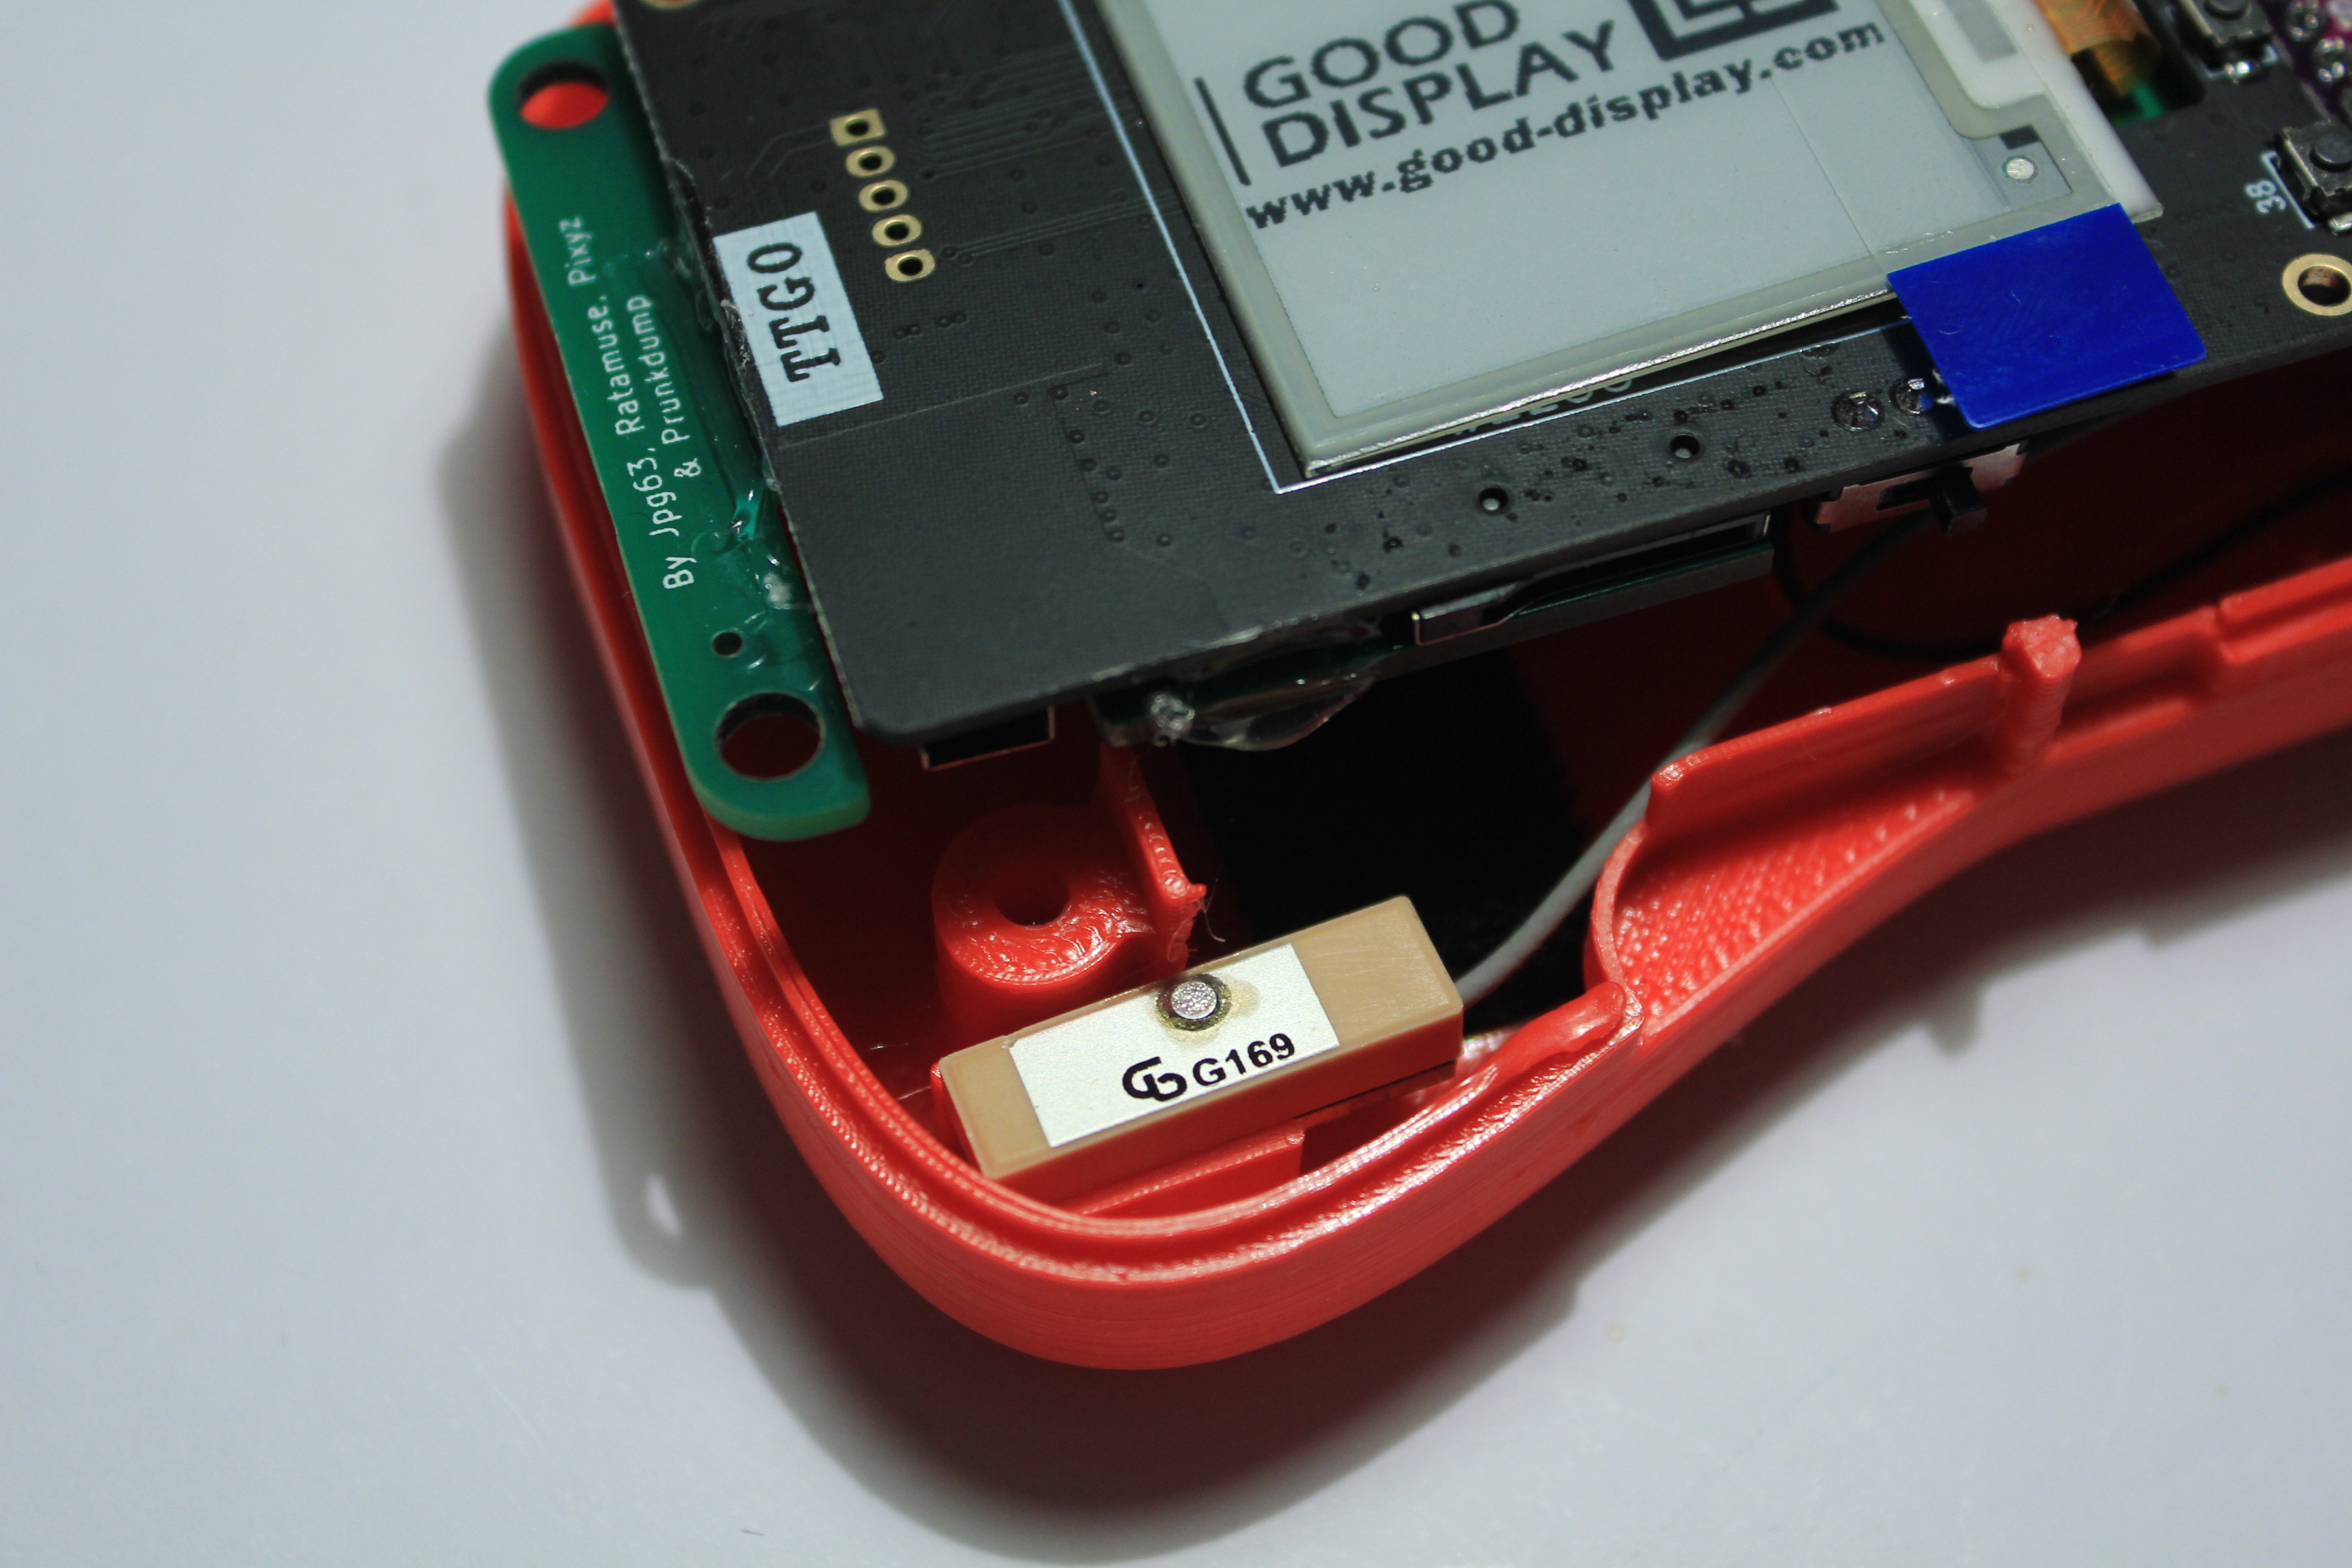
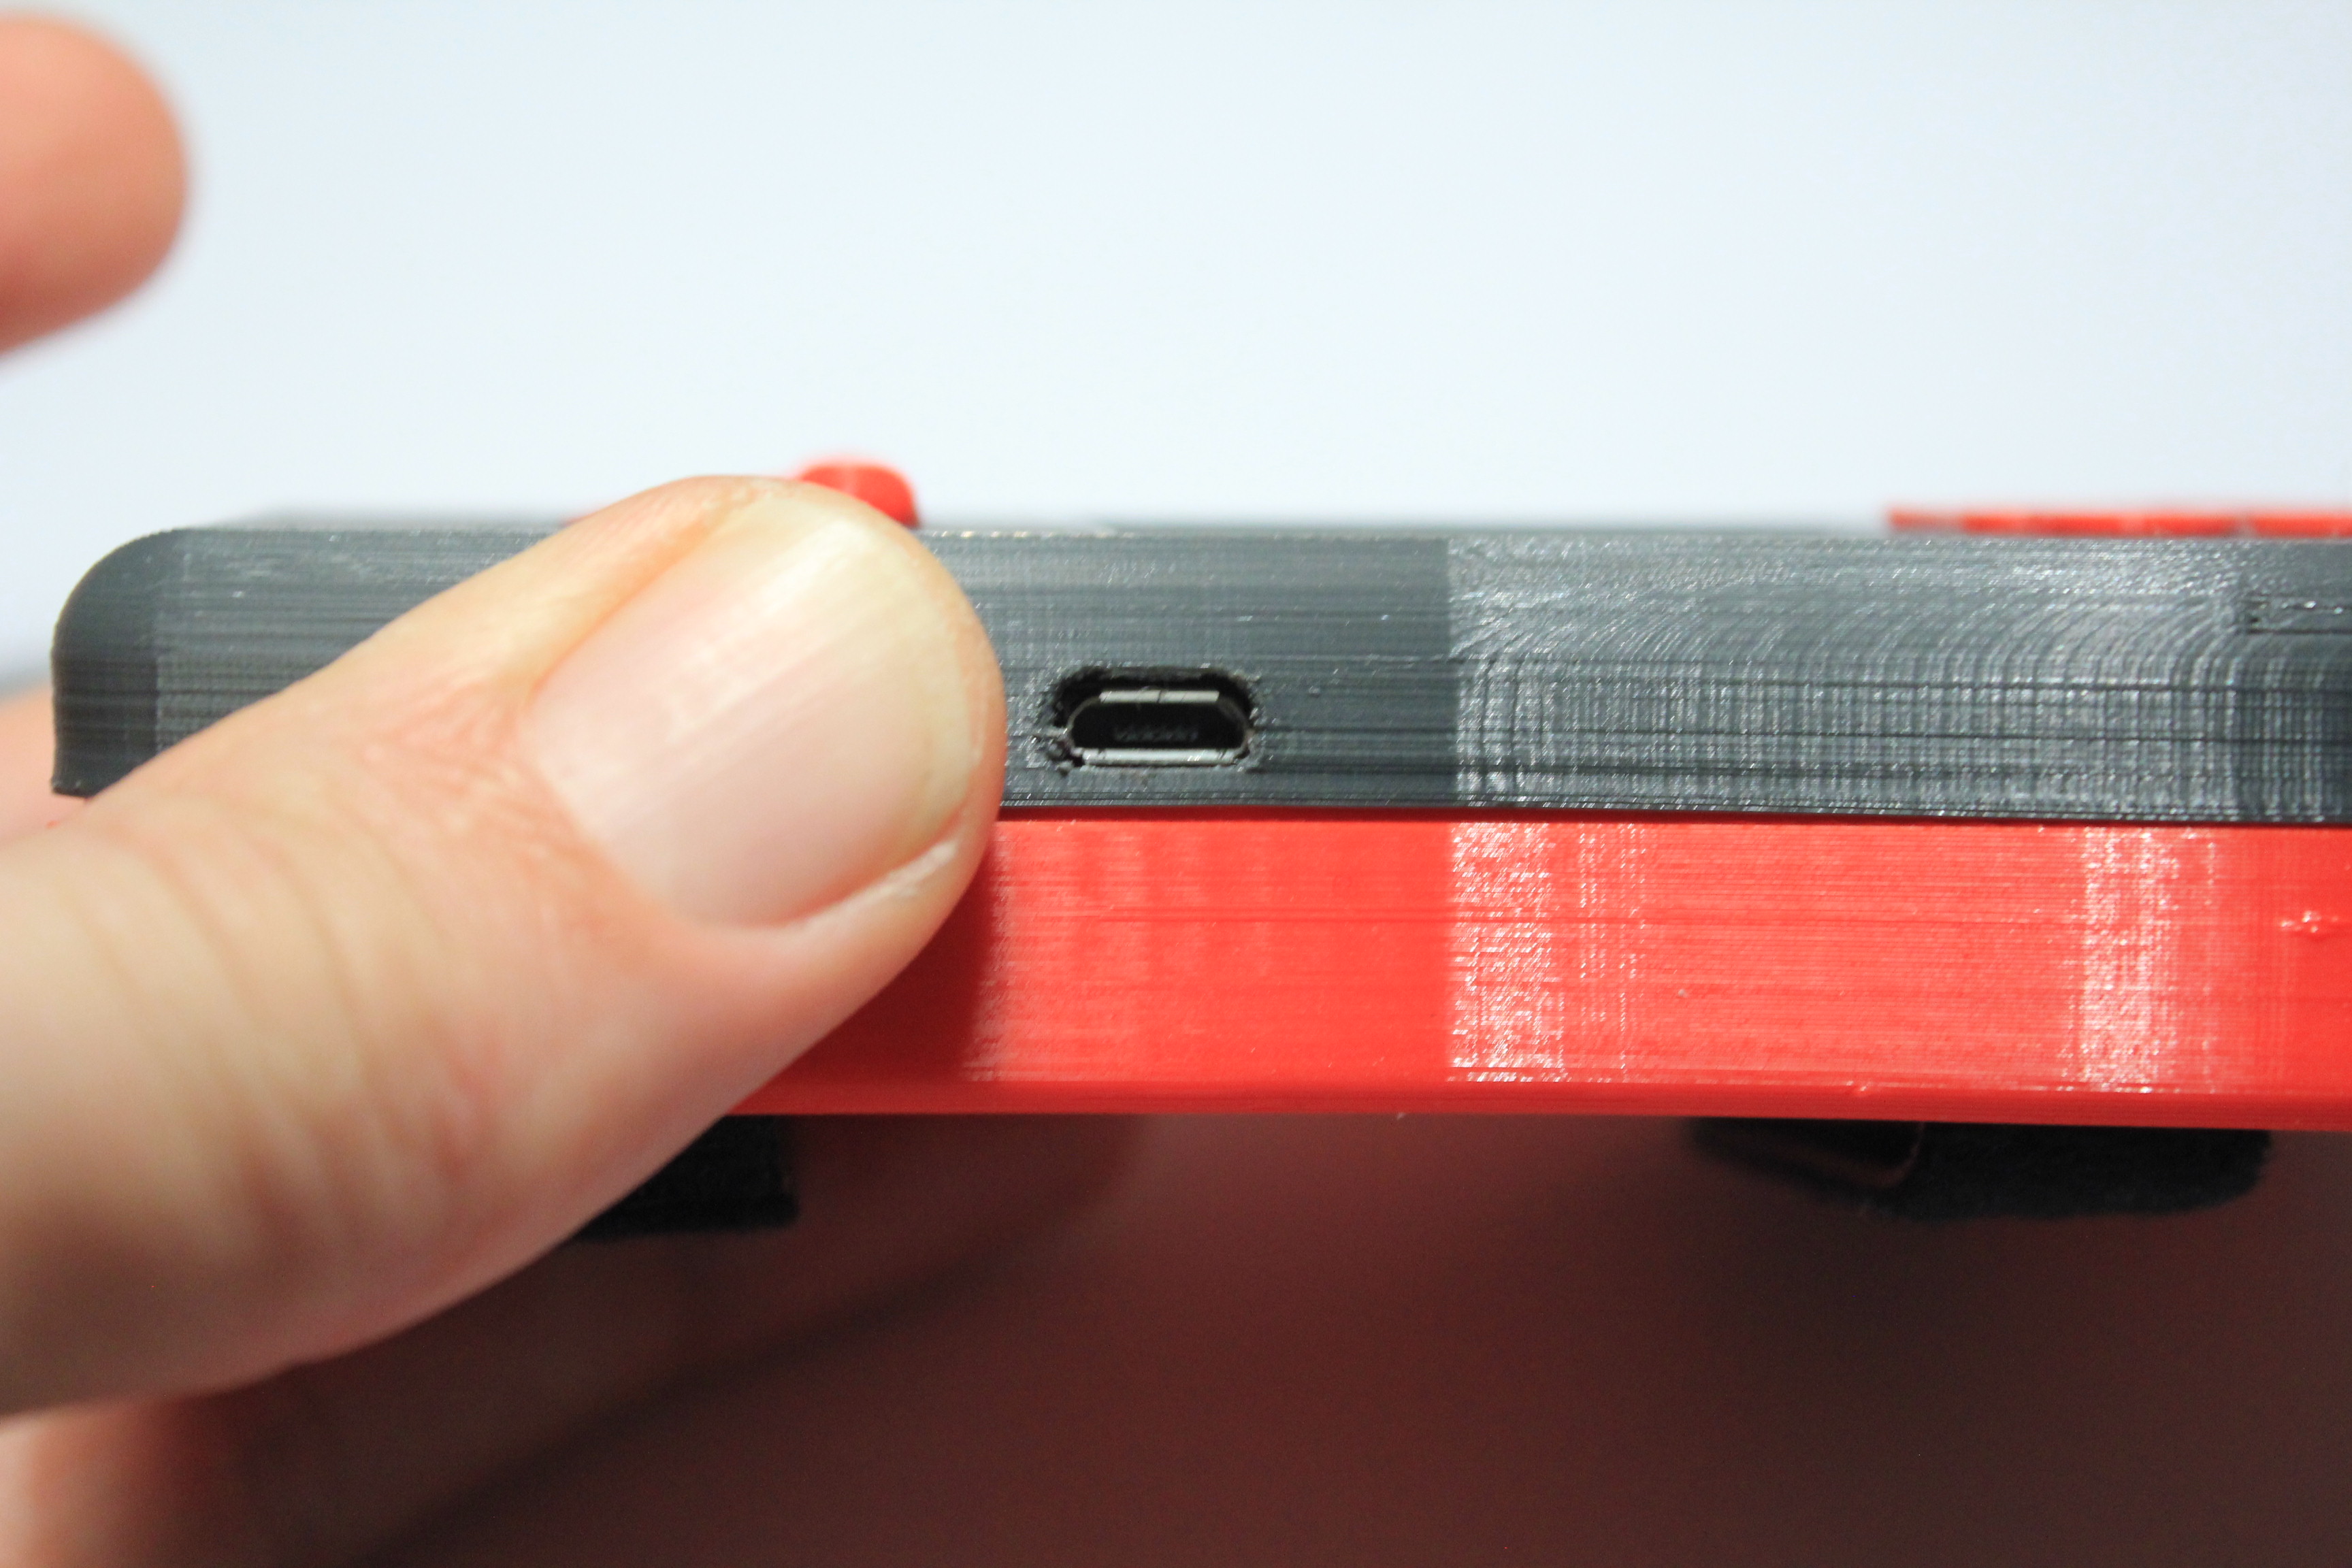
Make sure the antenna connector is not touching the GPS backup battery. This would cause a short circuit. Check again when closing the case.
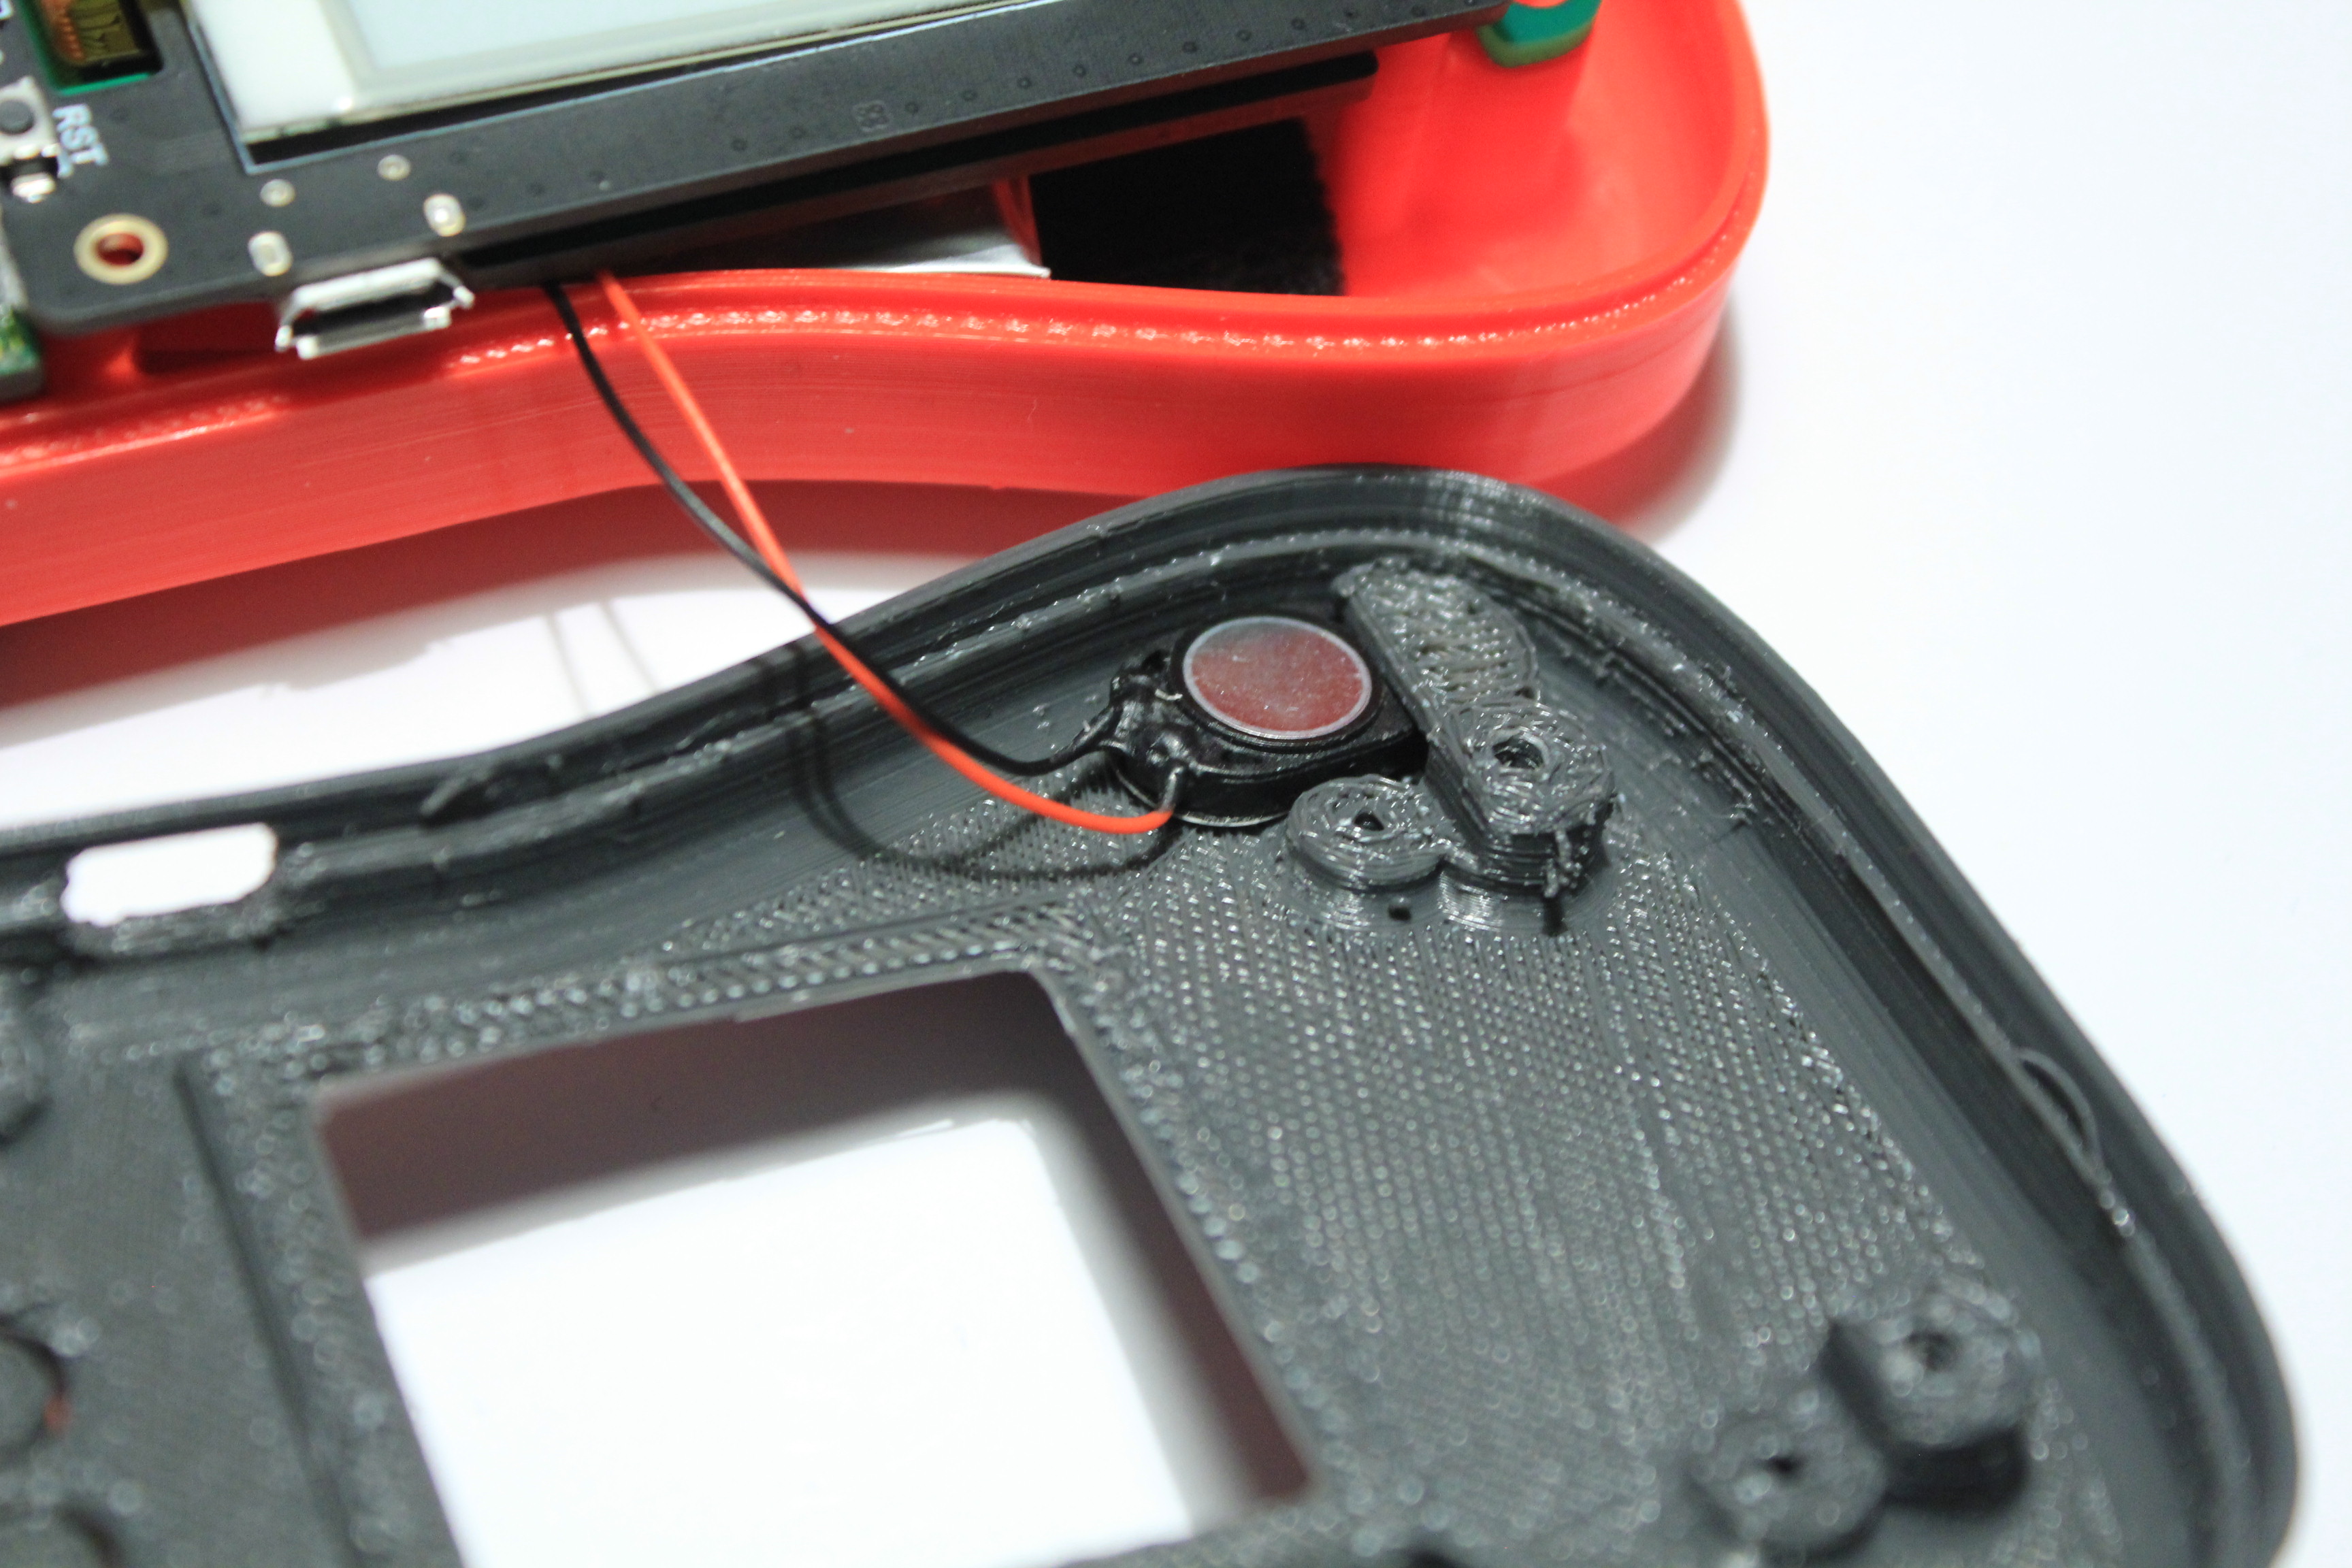
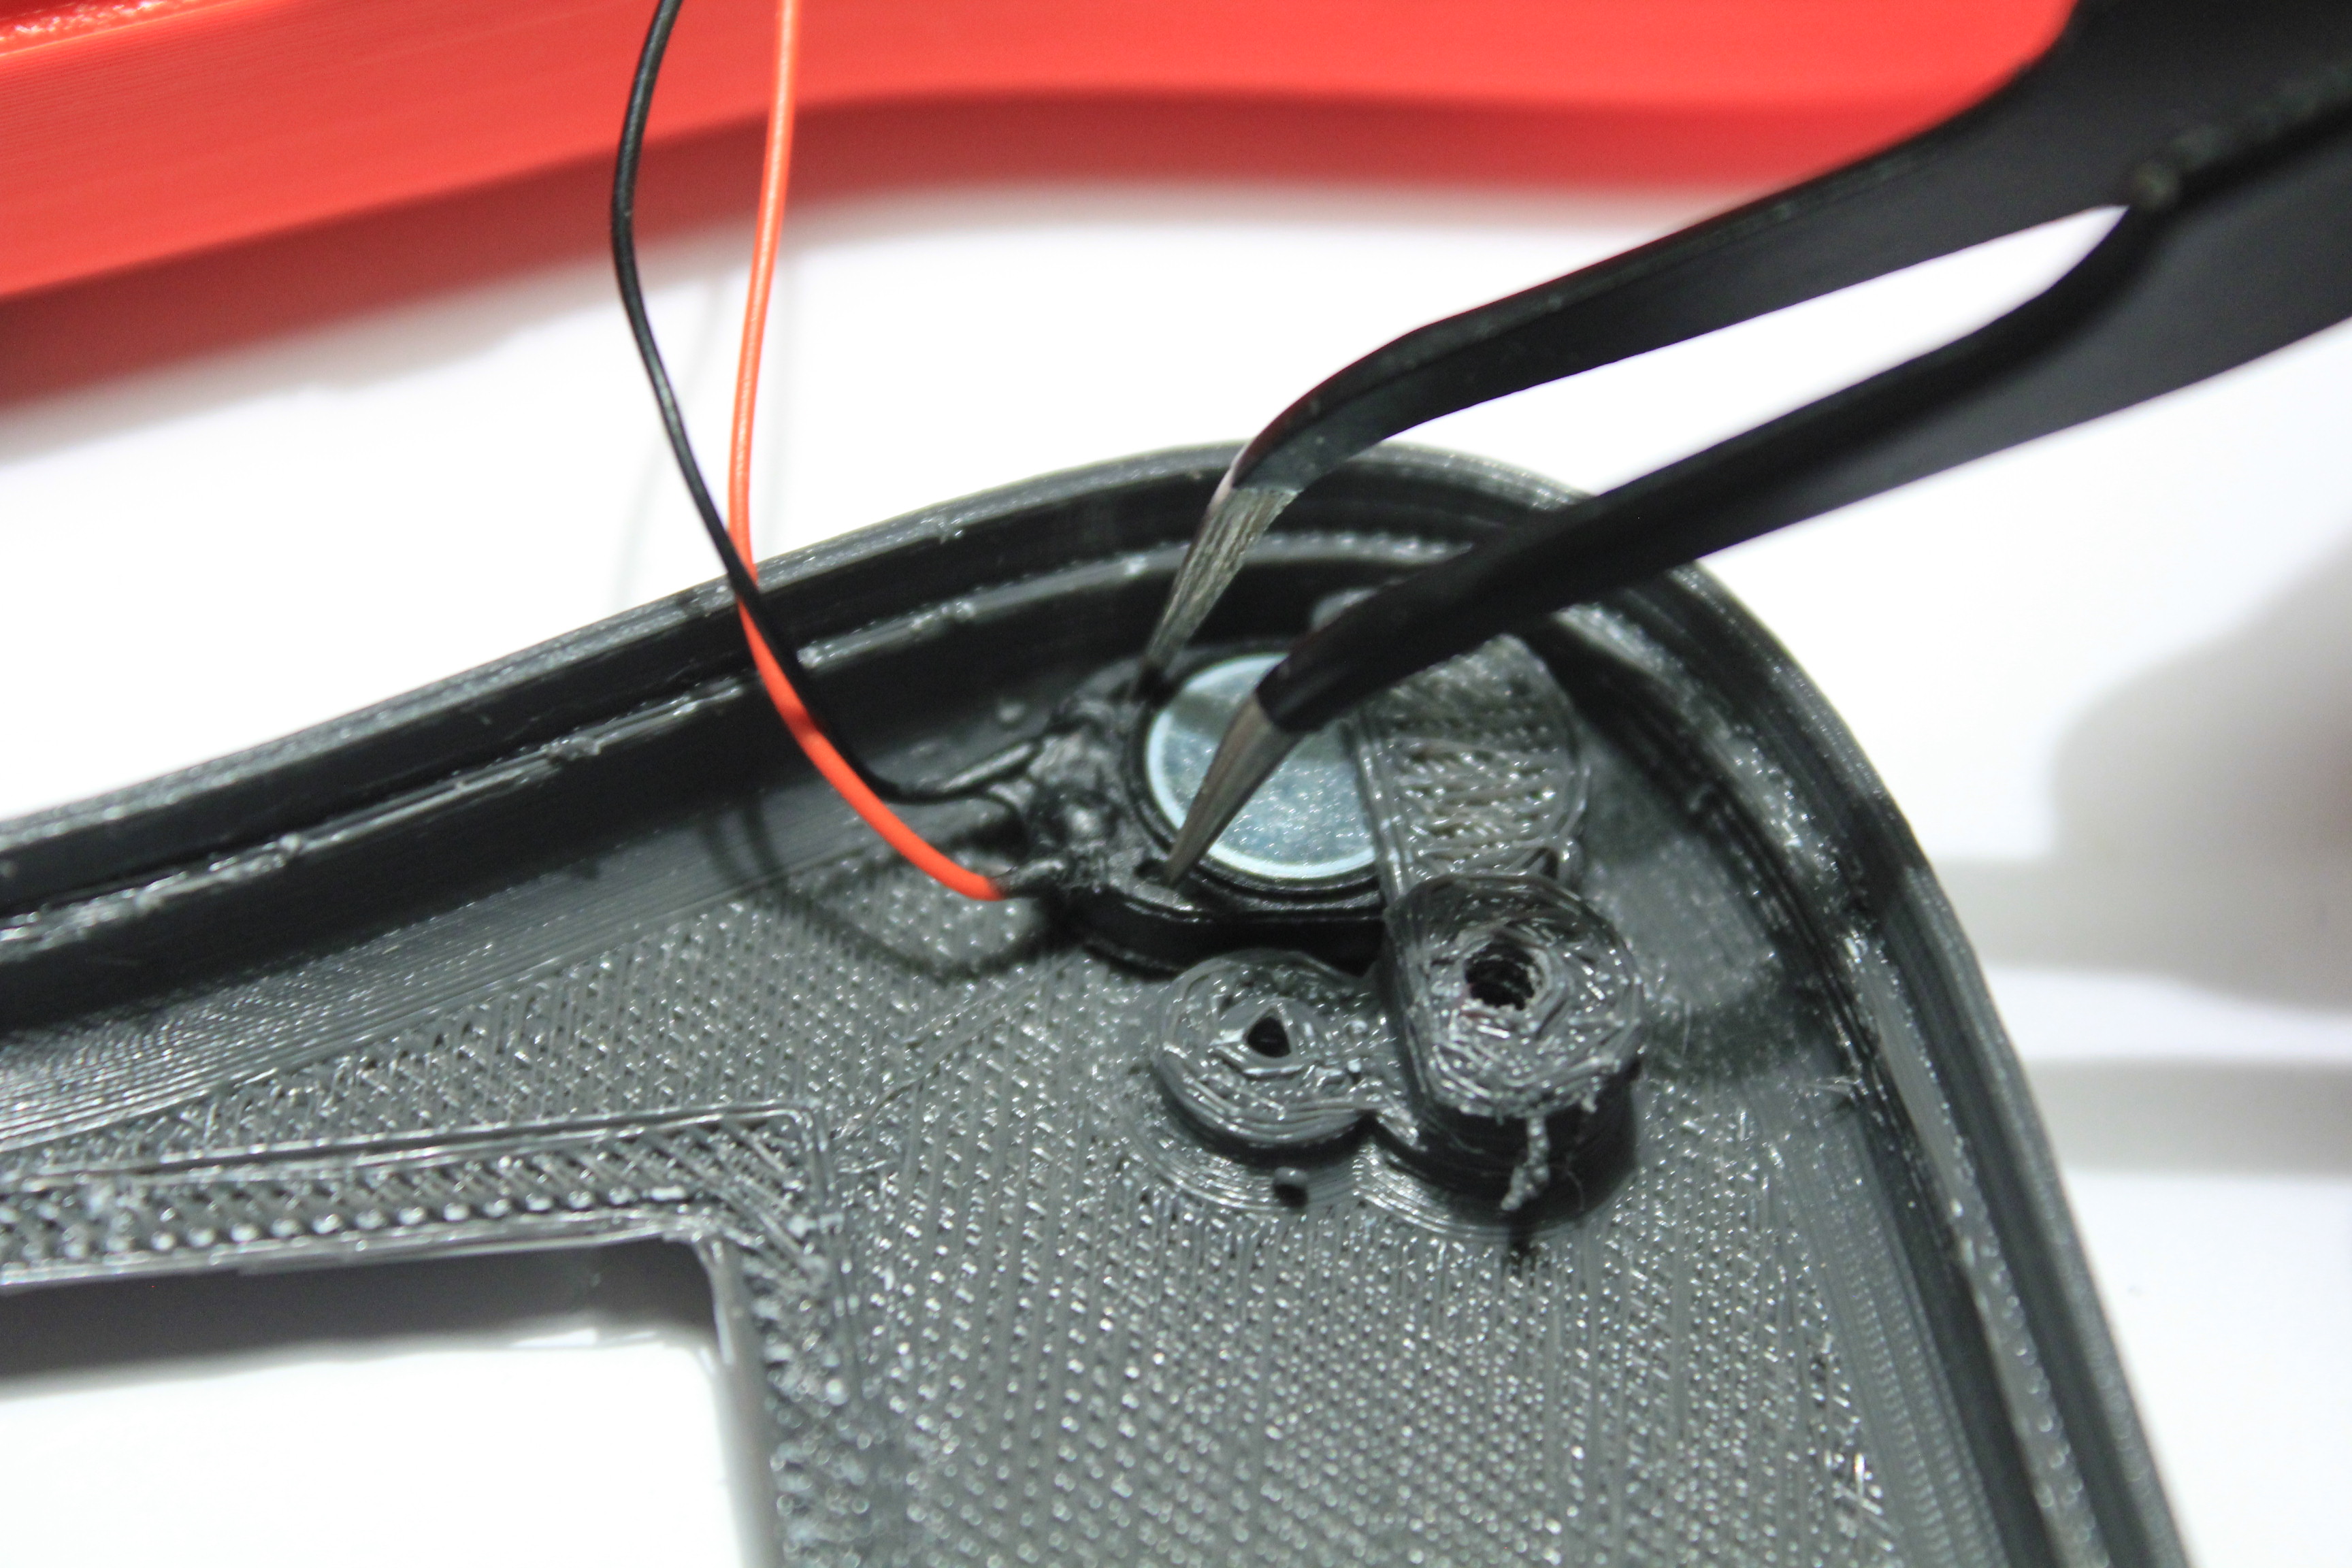
Place the speaker in the available bracket on the cover of the housing without pushing it completely in.
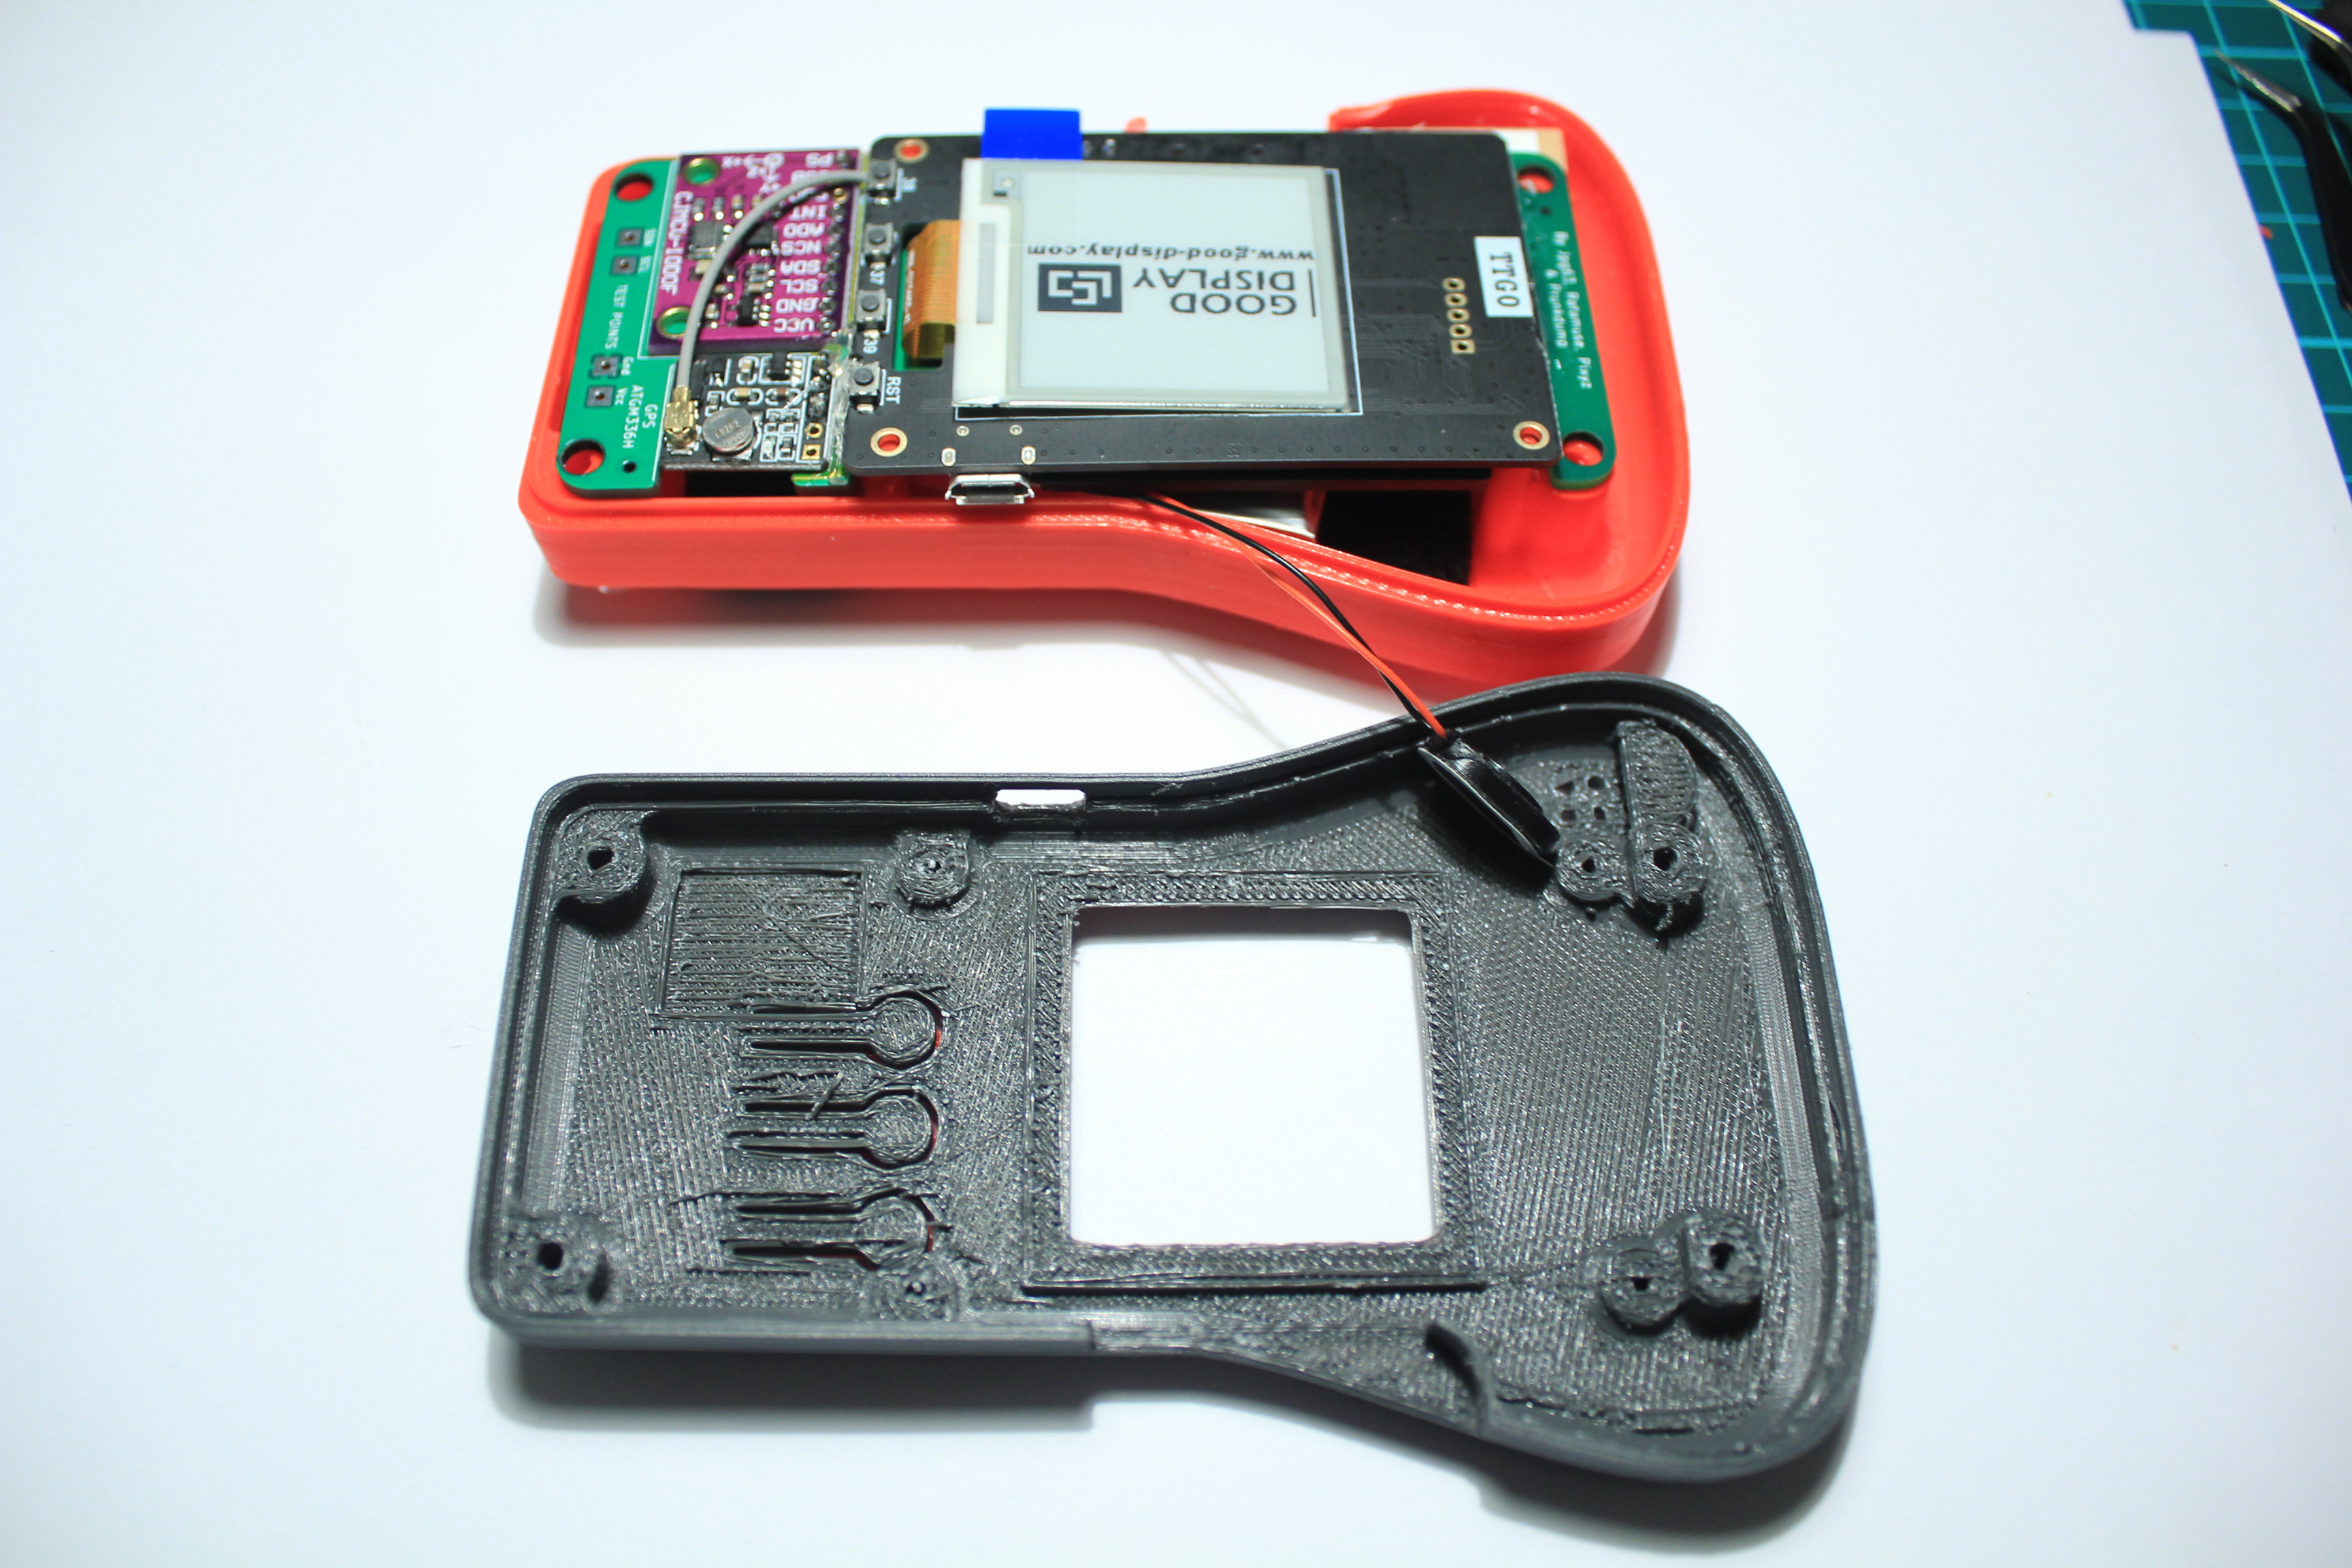
The MS5611 barometer soldered on the CJMCU-117 is very sensitive to sunlight. Put a small piece of foam or neoprene on the CJMCU-117 to protect it from direct sunlight that could pass through the case buttons.
Be careful to calculate the thickness correctly so as not to damage the components when the case is closed.
Check that the case closes properly. Do not apply too much pressure! You can place the screws.
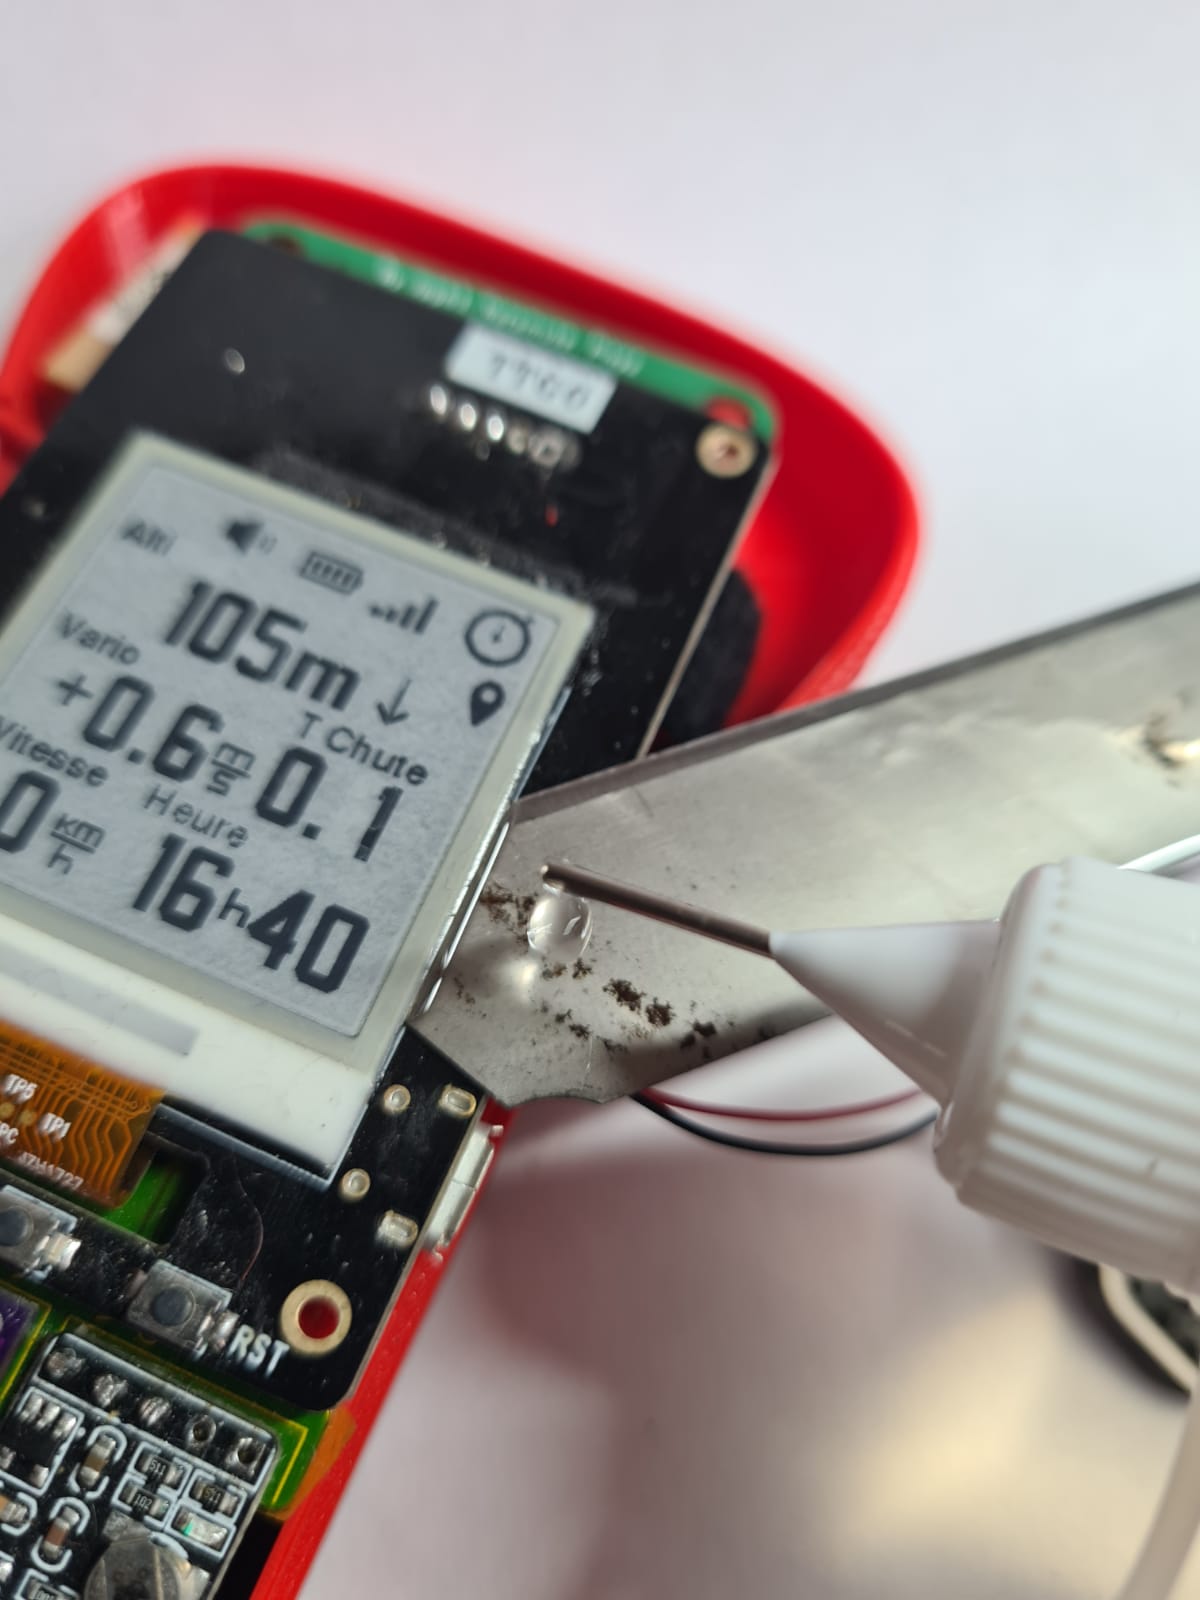
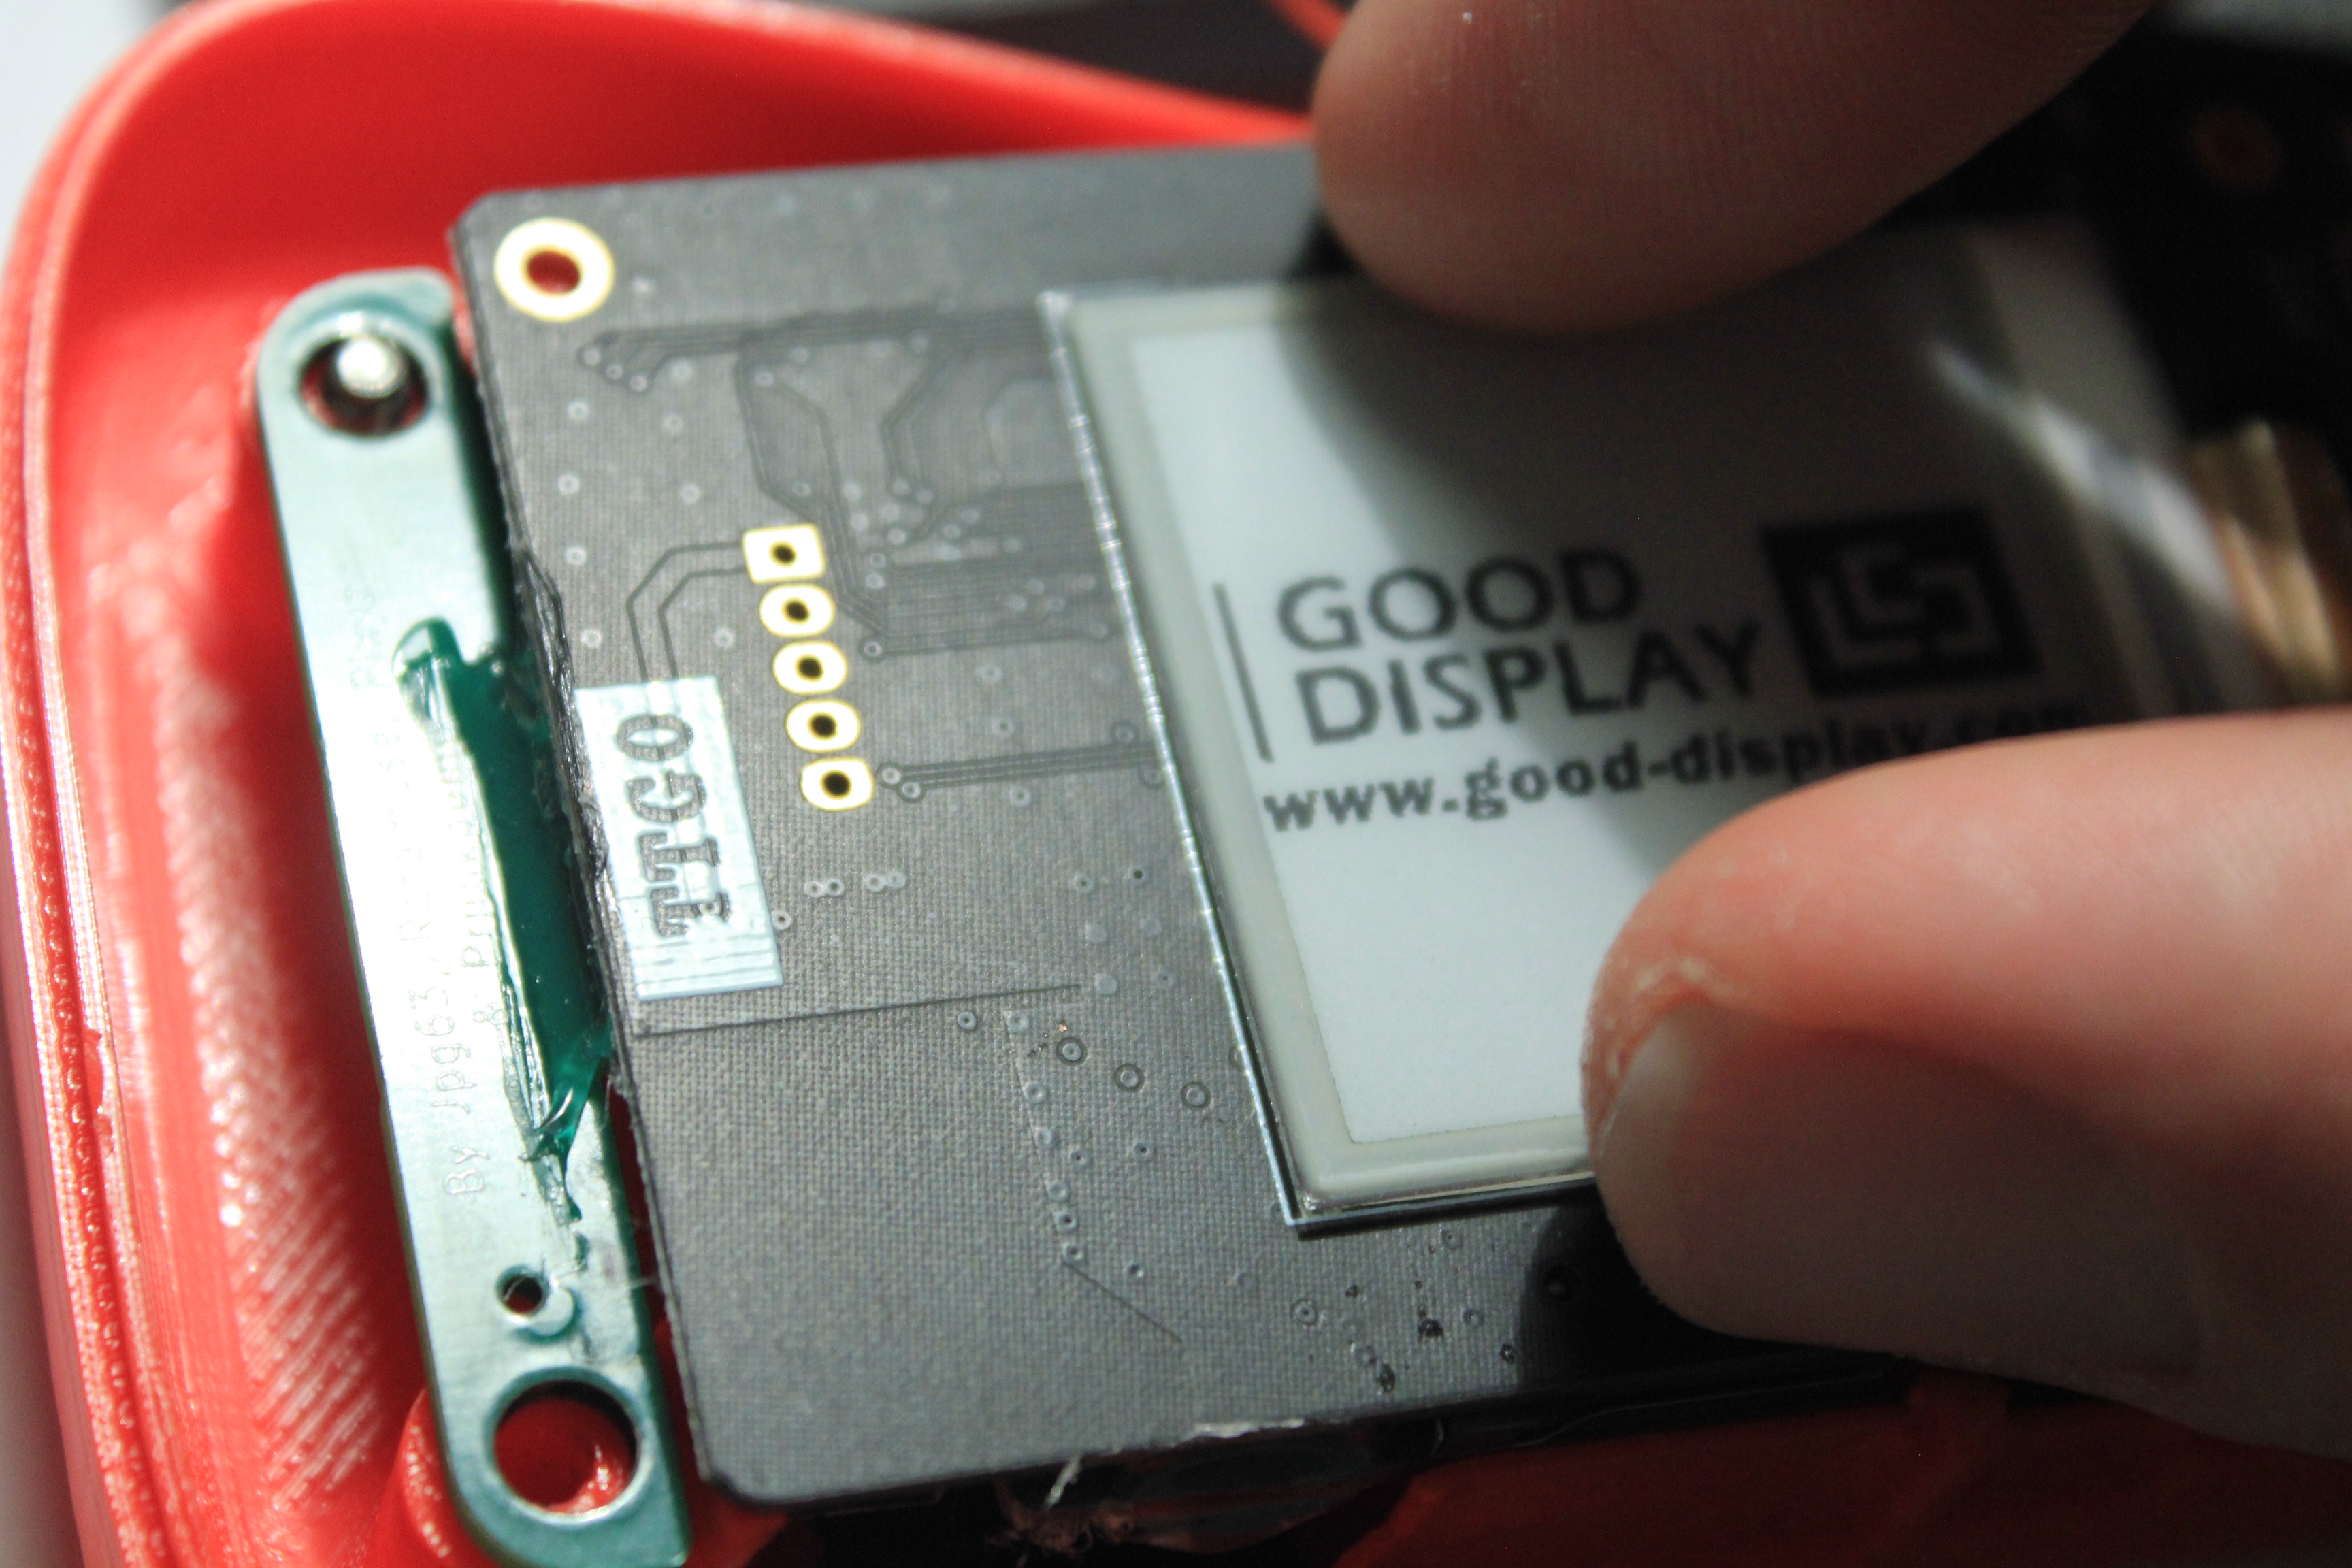
You can replace the screen if necessary. Gently peel off the double side and replace the screen carefully and do not apply too much pressure! The simplest is to use a cutter blade on which you will have put a few drops of alcohol to dissolve the glue.
Finish by placing the speaker at the bottom of the support and closing the case.
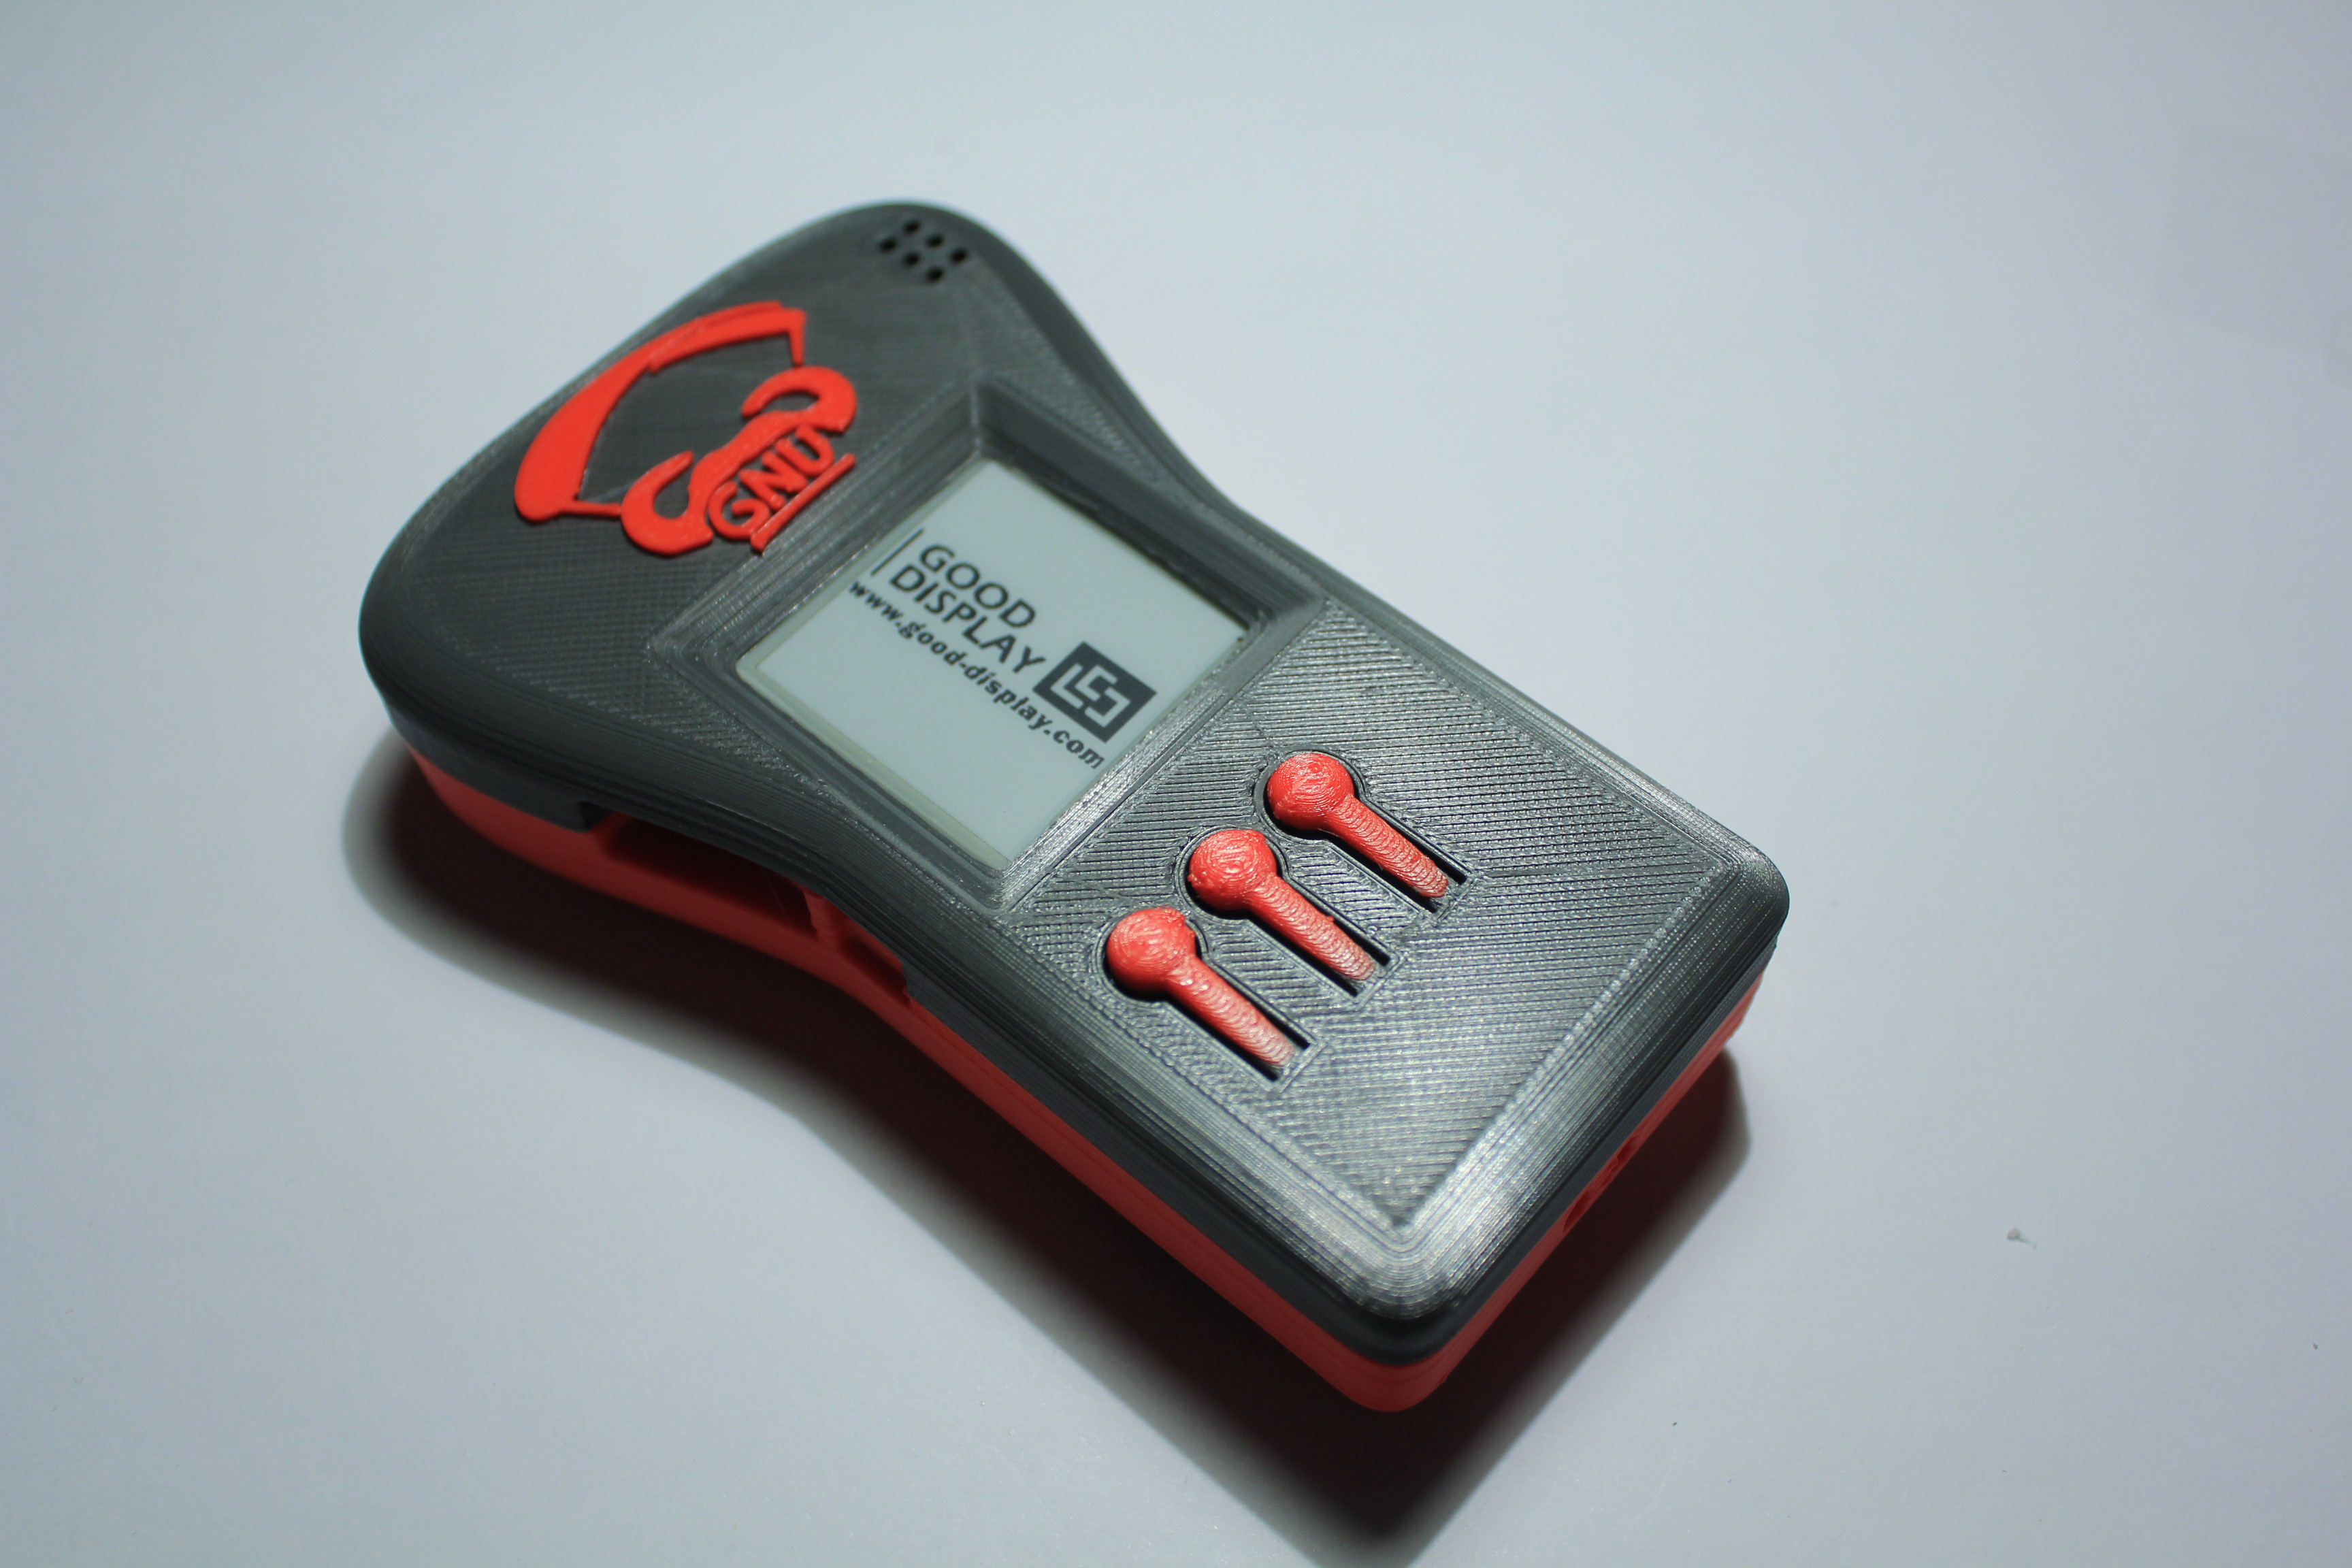
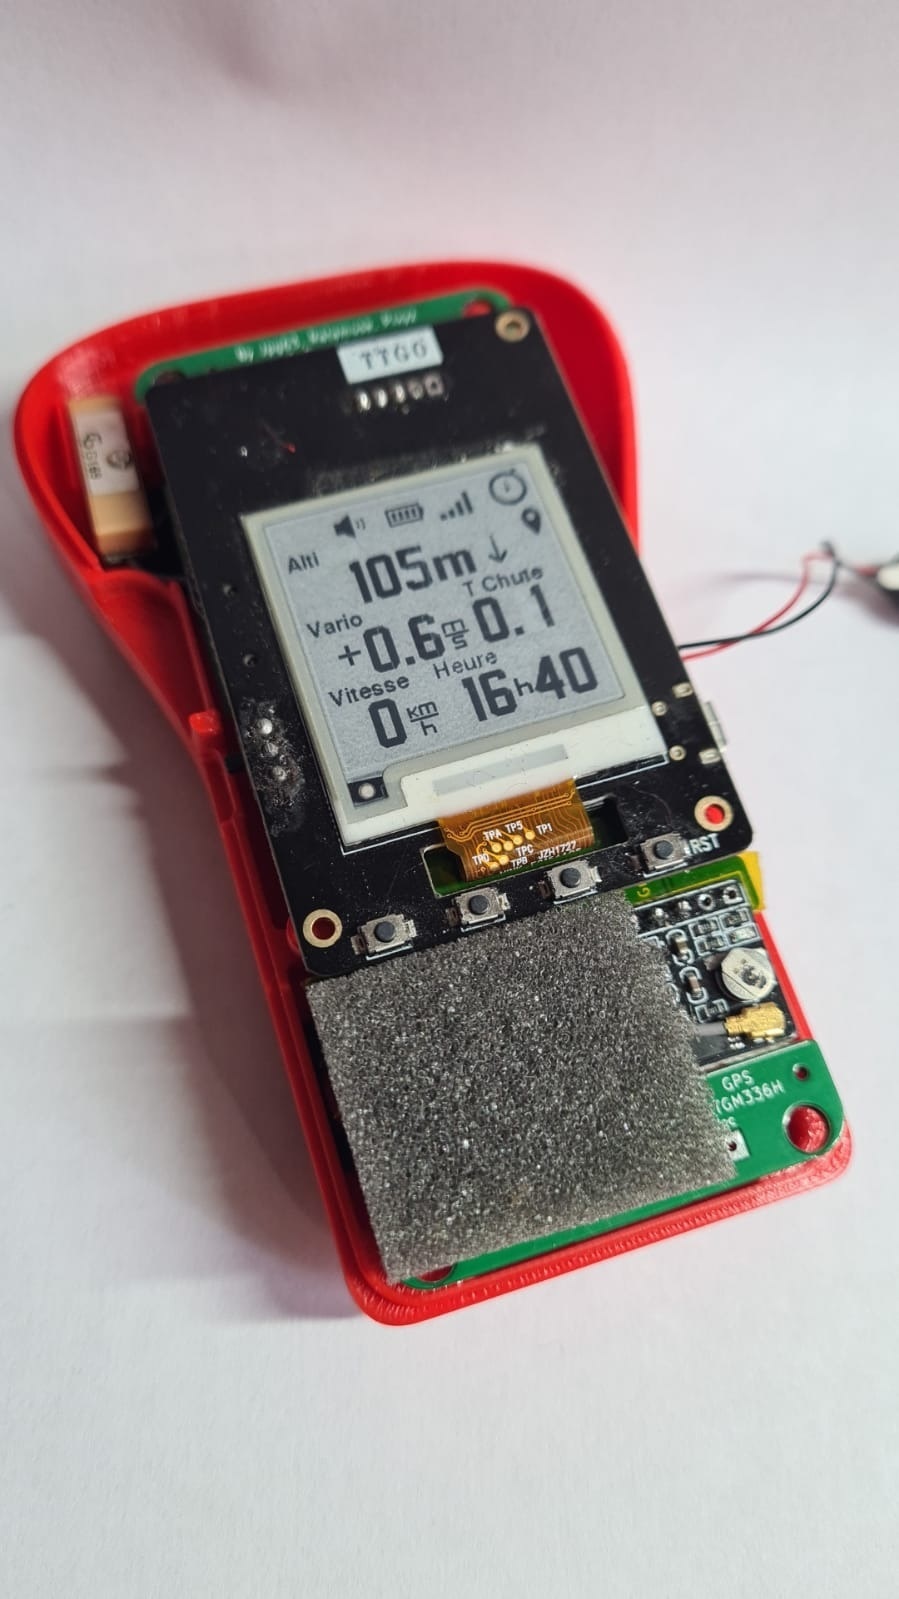
Your GnuVario-e is finished