Code
GNUVario-E source codes
Compiling with Arduino IDE
Compile the code
Beforehand, you must start the vario without the sdcard, then connect it to the PC via the USB socket. It will be recognized by the PC as a COMx serial interface (example: COM4).
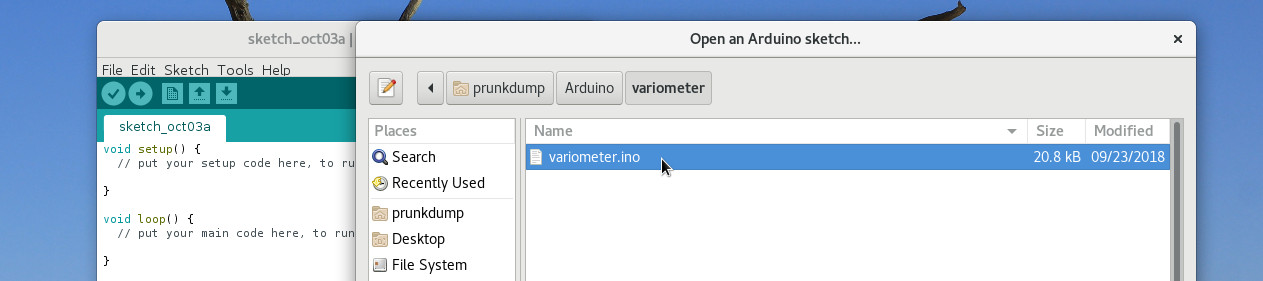
Now launch the Arduino IDE and open the sketch you want to compile. For example, the sketch Gnuvario-E.ino.
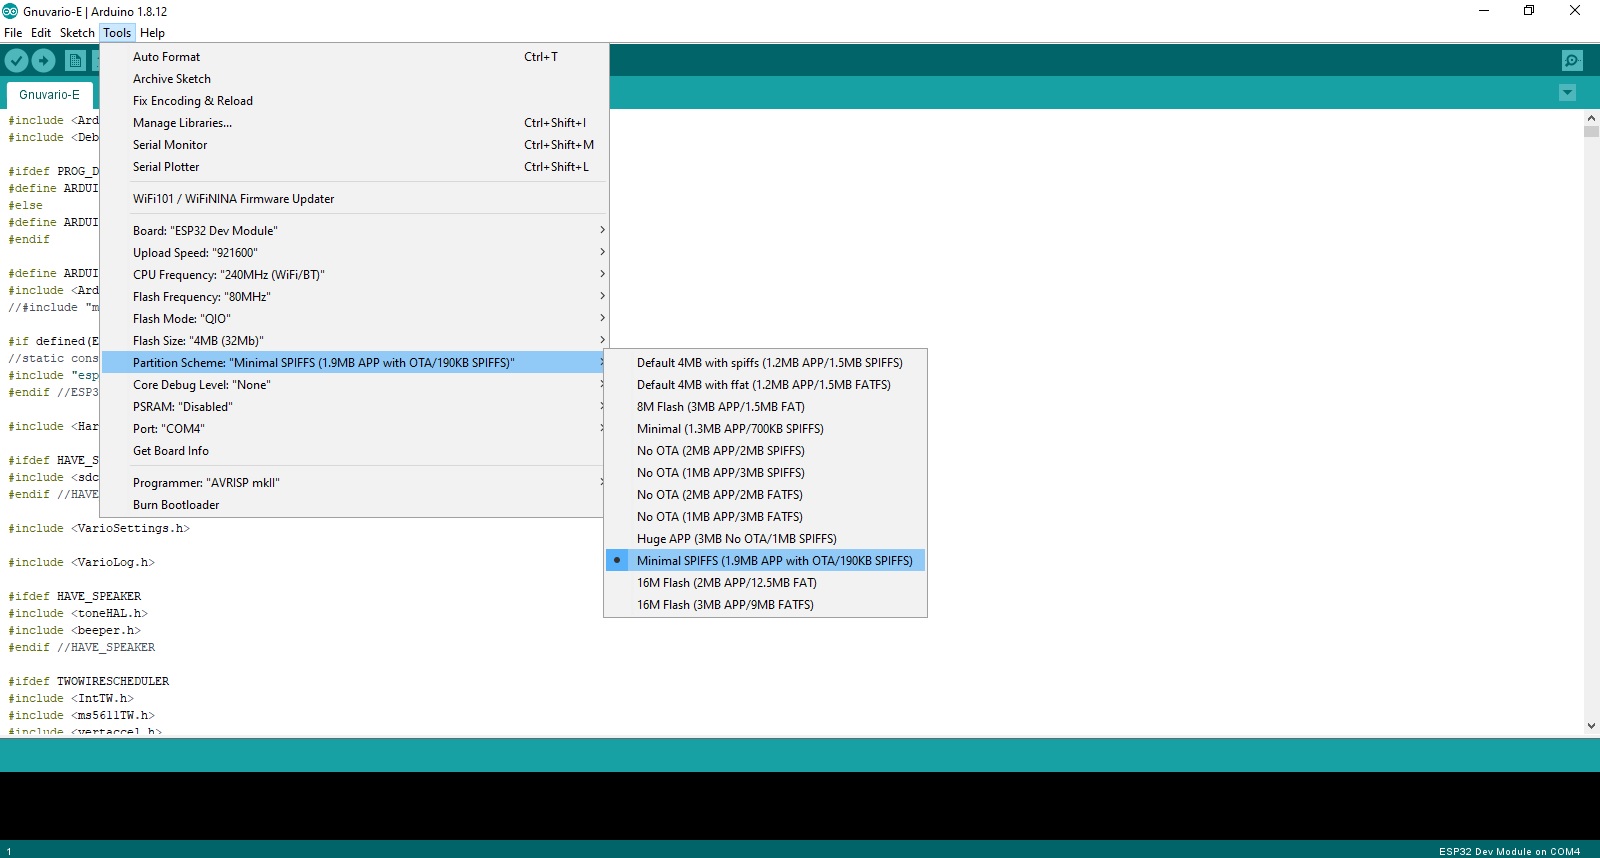
In the Tools menu, make sure you choose the right card. The most classic of this project is the ESP32 Dev Module.
and select partition scheme: Minimal SPIFFS (1.9 MB APP with OTA / 180 KB SPIFFS)
Still in the Tools menu, choose the serial port corresponding to the vario.
You must now choose the screen / PCB combination that you have. To do this, open with a text editor, for exemple Notepad ++, the file HardwareConfig.h located in the folder Arduino\libraries\HardwareConfig.
The choice of the combination is made by uncommenting the line corresponding to your combination. Here version 293.
//VERSION
//#define VARIOVERSION 154     //PCB Version 1 avec ecran 1.54 / PCB version 1 with 1.54" screen
//#define VARIOVERSION 254     //PCB Version 2 avec ecran 1.54 / PCB Version 2 with 1.54" screen
//#define VARIOVERSION 290     //PCB Version 2 avec ecran 2.9" paysage / PCB version 2 with 2.9" screen landscape (TTGO-T5-V2.4 before 12/2020)
//#define VARIOVERSION 291     //PCB Version 2 avec ecran 2.9" portrait / PCB version 2 with 2.9" screen portrait (TTGO-T5-V2.4 before 12/2020)
//#define VARIOVERSION 292     //PCB Version 2 avec ecran 2.9" paysage /PCB version 2 with 2.9" screen landscape  (Ecran/Screen Good Display GDEW029M06)
#define VARIOVERSION 293     //PCB Version 2 avec ecran 2.9" portrait / PCB version 2 with 2.9" screen portrait (Ecran/Screen Good Display GDEW029M06)
//#define VARIOVERSION 294     //PCB Version 2 avec ecran 2.9" portrait / PCB version 2 with 2.9" screen portrait (TTGO-T5-V2.4 after 12/2020 Screen number DKEG0290BNS800F6 /QYEG0290BNS800F6C02 ) For test purpose only
//#define VARIOVERSION 354     //PCB Version 3.1 avec ecran 1.54 / PCB Version 3.1 with 1.54" screen
//#define VARIOVERSION 390     //PCB Version 3.1 avec ecran 2.9" paysage / PCB version 3.1 with 2.9" screen landscape (TTGO-T5-V2.4 before 12/2021)
//#define VARIOVERSION 391     //PCB Version 3.1 avec ecran 2.9" portrait / PCB version 3.1 with 2.9" screen portrait (TTGO-T5-V2.4 before 12/2021)
//#define VARIOVERSION 392     //PCB Version 3.1 avec ecran 2.9" Good Display GDEW029M06 paysage / PCB version 3.1 with 2.9" screen landscape  (Ecran/Screen Good Display GDEW029M06)
//#define VARIOVERSION 393	   //PCB Version 3.1 avec ecran 2.9" Good Display GDEW029M06 portrait / PCB version 3.1 with 2.9" screen portrait (Ecran/Screen Good Display GDEW029M06)
//#define VARIOVERSION 395     //PCB Version 3.5 avec ecran 2.9" paysage (futur BNO085/86)
//#define VARIOVERSION 396     //PCB Version 3.5 avec ecran 2.9" portrait (futurBNO085/86)
Save the file then go back to the Arduino IDE.
Now all you need to do is click on the upload button.
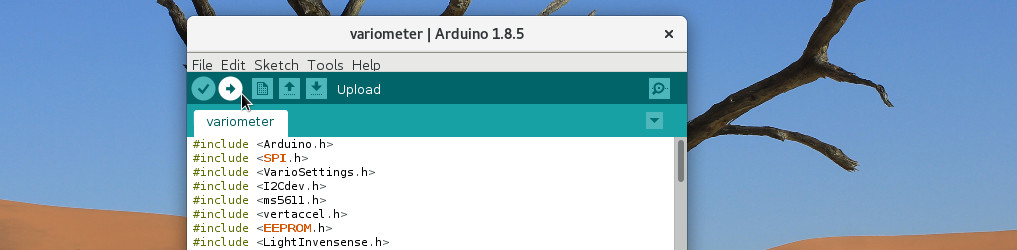
This will start the compilation of the code, then update the vario. The vario will restart on its own at the end of the procedure.
You can now unplug the USB cable and stop the vario.
To prepare the microSD card, it’s HERE