Manual
User manual summary
Calibration
The GnuVario-E incorporates an accelerometer, which must be calibrated.
Calibration procedure:
The calibration is carried out in several steps:
- Cleaning the SD card
- Measurement of experimental points
- Calculation of calibration values
- Saving the calibration values on the SD card
Since version 0.10.2 of the web server, steps 3 and 4 are simplified.
Cleaning the SD card
1. Resetting the file variocal.cfg

From the web server, “SD card” tab or directly on the card
SD, check that the file variocal.cfg is the available blank file
in the RootSD folder, here is an overview:
Blank variocal.cfg file

[VERSION=1.0]

/* Calibration */
[VERTACCEL_GYRO_CAL_BIAS_00=0x00]
[VERTACCEL_GYRO_CAL_BIAS_01=0x00]
[VERTACCEL_GYRO_CAL_BIAS_02=0x00]
[VERTACCEL_GYRO_CAL_BIAS_03=0x00]
[VERTACCEL_GYRO_CAL_BIAS_04=0x00]
[VERTACCEL_GYRO_CAL_BIAS_05=0x00]
[VERTACCEL_GYRO_CAL_BIAS_06=0x00]
[VERTACCEL_GYRO_CAL_BIAS_07=0x00]
[VERTACCEL_GYRO_CAL_BIAS_08=0x00]
[VERTACCEL_GYRO_CAL_BIAS_09=0x00]
[VERTACCEL_GYRO_CAL_BIAS_10=0x00]
[VERTACCEL_GYRO_CAL_BIAS_11=0x00]
[VERTACCEL_ACCEL_CAL_BIAS_00=0]
[VERTACCEL_ACCEL_CAL_BIAS_01=0]
[VERTACCEL_ACCEL_CAL_BIAS_02=0]
[VERTACCEL_ACCEL_CAL_SCALE=0]
[VERTACCEL_MAG_CAL_BIAS_00=0]
[VERTACCEL_MAG_CAL_BIAS_01=0]
[VERTACCEL_MAG_CAL_BIAS_02=0]
[VERTACCEL_MAG_CAL_PROJ_SCALE=-16689]
[VERTACCEL_ACCEL_CAL_BIAS_MULTIPLIER=6]
[VERTACCEL_MAG_CAL_BIAS_MULTIPLIER=4]
2. Delete the RECORD00.CAL file if it is present.
Measures
Restart the vario then perform the calibration manipulation:
Enter calibration mode by pressing the right button at start-up (at the time of the init screen). You have a few seconds to place the vario flat and press the center button.
To be optimal, the calibration should not be done on a north/south axis. If you know where north is, try shifting the vario 45 ° from north (when it is flat on the table)
Wait for the 3 beeps then start rotating the vario in all directions using a support (cardboard, book) to stabilize it on its edge. You must do about 5 to 6 moves per side while waiting for the beep between each move The more measurements you take, the more accurate the calibration will be. ATTENTION it is essential not to forget any face.
At the end, press the left button of the vario for at least two seconds to complete the calibration. The vario restarts.
Calculation and saving of calibration values
Return to the web server then go to the “Configuration” tab, then “CALIBRATION”
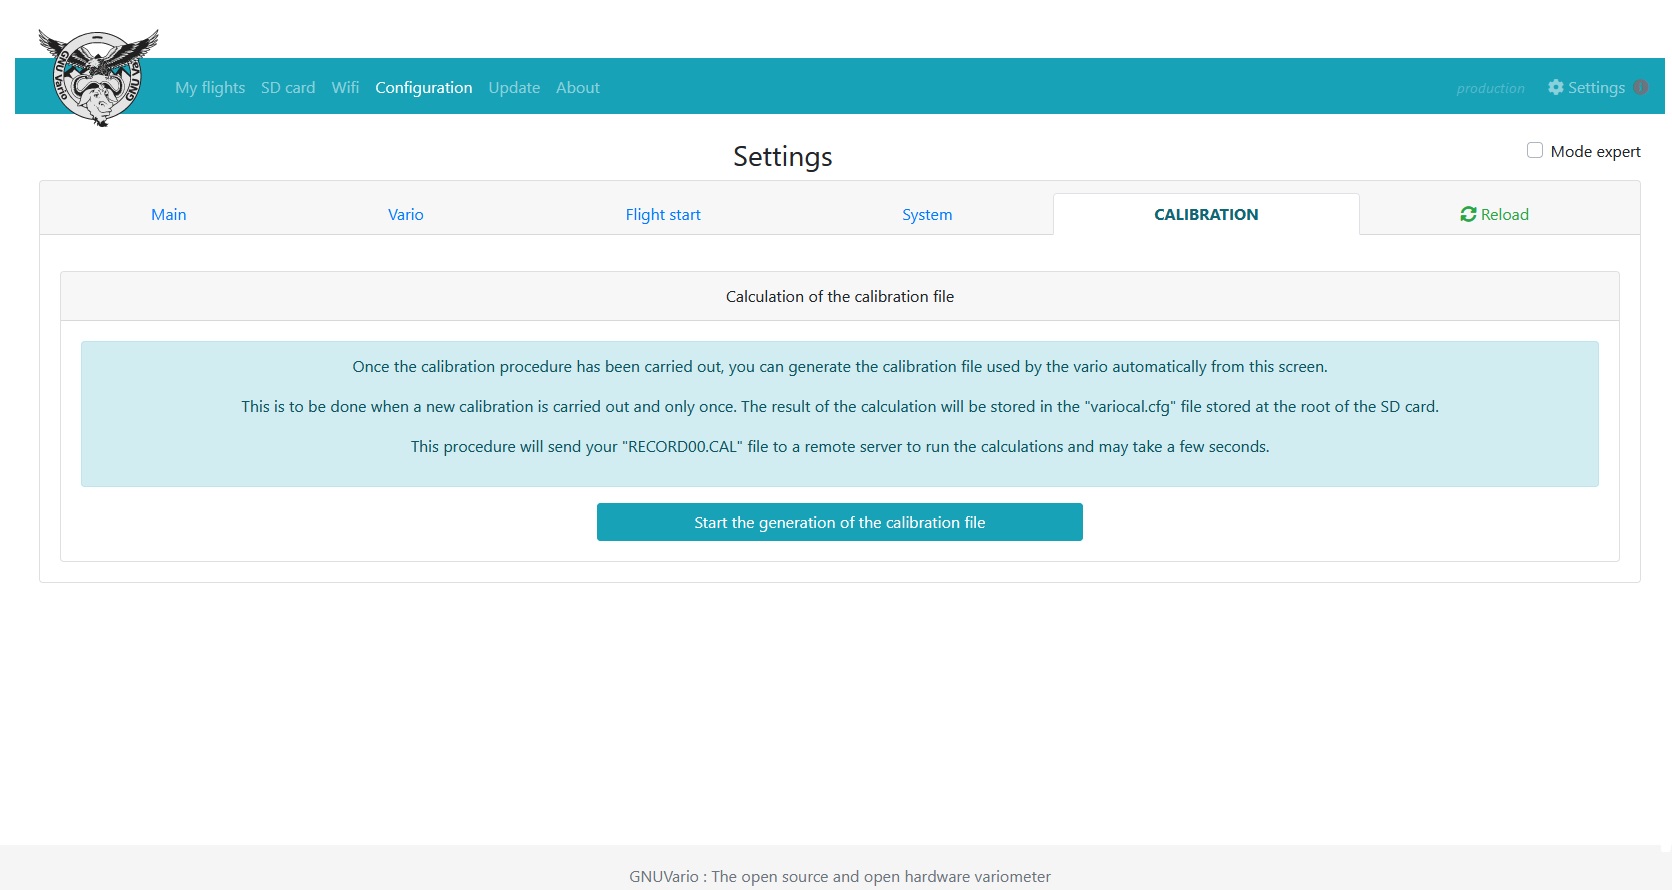
Press “Start the generation of the calibration file”. The RECORD00.CAL file created during the calibration phase is sent to a remote server which calculates the correct values and updates the Variocal.cfg file.
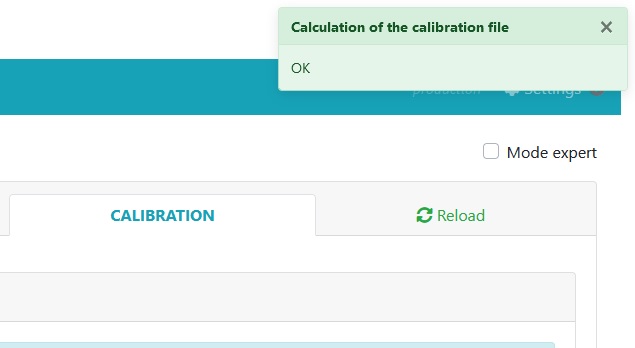
If the message “Calculation of the calibration file OK appears, it means that everything has gone well. Your vario is calibrated.
If the semi-automatic procedure described above does not work not, you can calculate the calibration values with a python script, after performing cleaning the SD card and the measurement of experimental points.
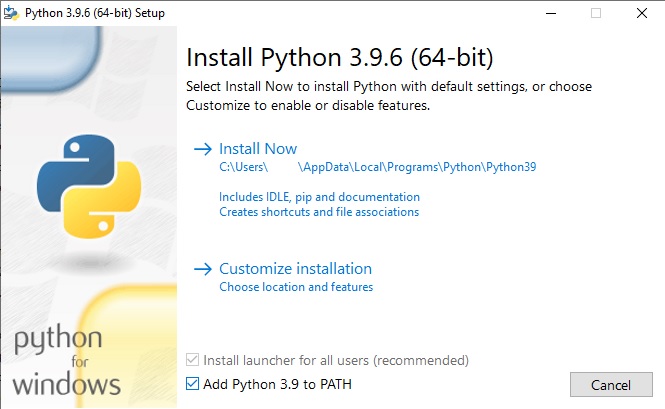
Instructions for Windows users
1. Install the Python program . Make sure to check the add Python x.x to PATH option.
2. Copy the “calibration” folder located in the RootSD folder to your desktop.
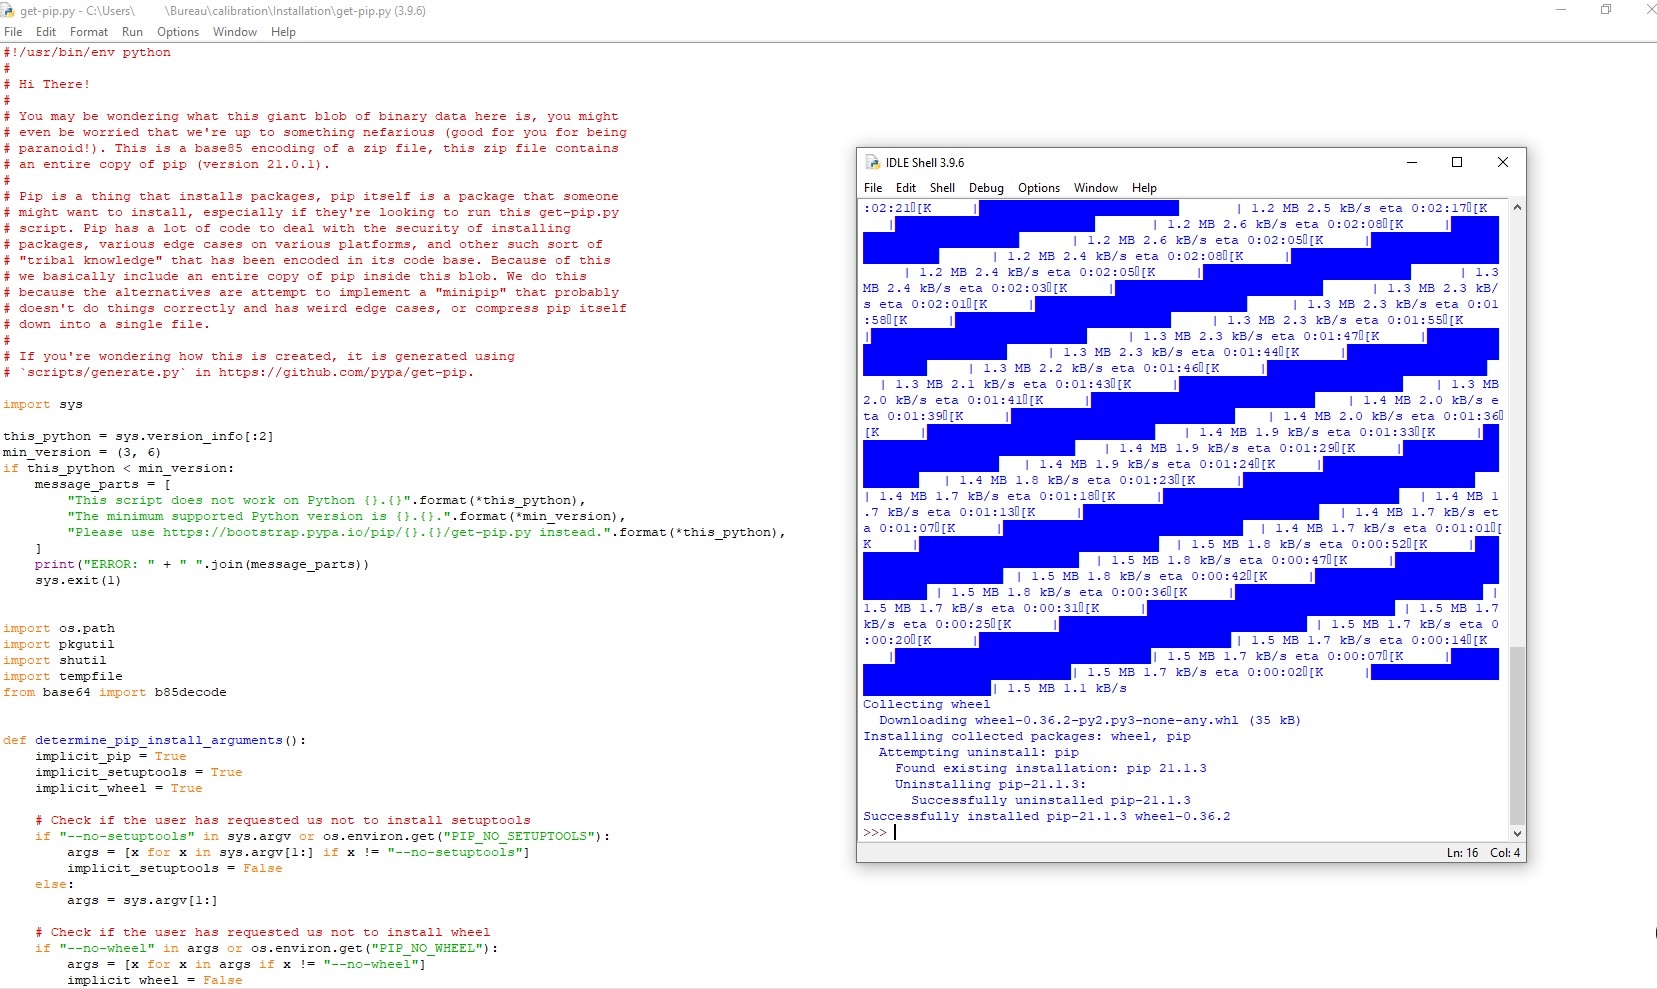
3. Start IDLE python, in IDLE: File> Open and open the get-pip.py file located in the /calibration/Installation folder
Press F5 once the file is open to run the get-pip.py program
4. When execution is complete, open a Windows command prompt.
Copy and run the following command: python -m pip install --user numpy scipy matplotlib ipython jupyter pandas sympy nose
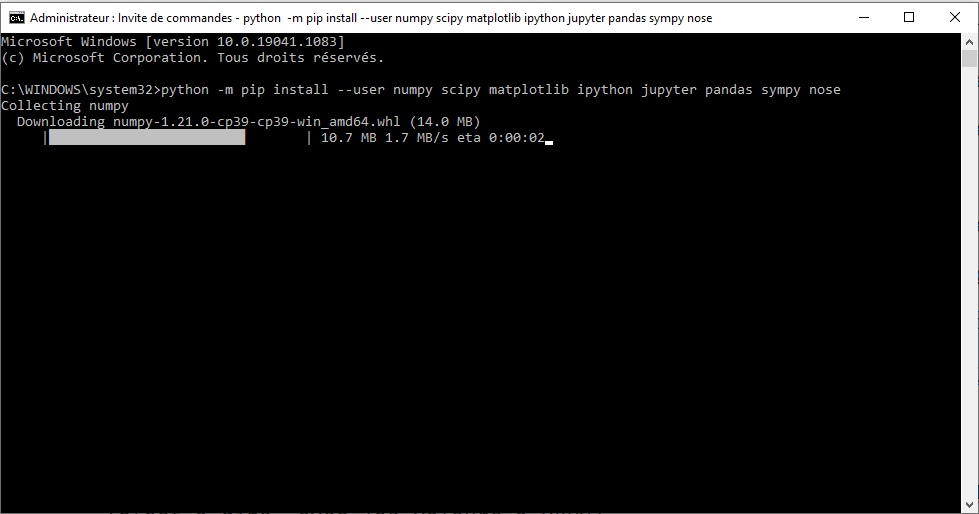
Restart the computer after the command is executed and completed.
5. Delete the RECORD00.CAL file already present in the calibration folder on your desktop
6. Copy the RECORD00.CAL file from the SD card to the calibration folder on your desktop
7. Launch IDLE python, in IDLE: File> Open and open the calibrate.py file located in the calibration folder on your desktop
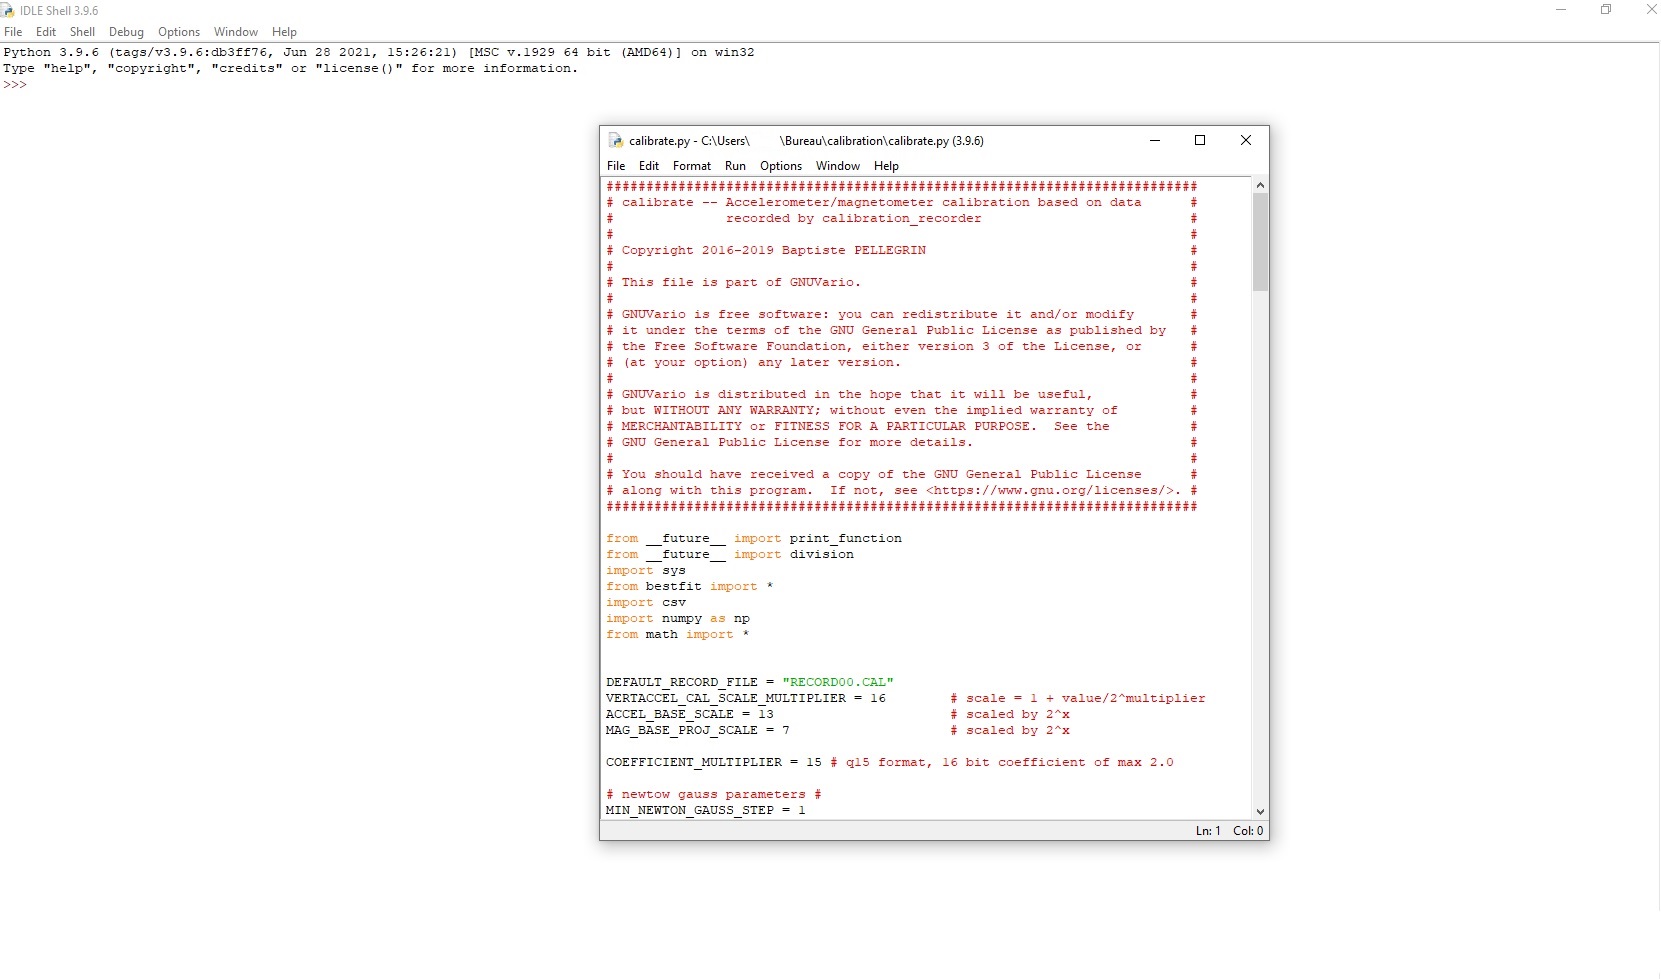
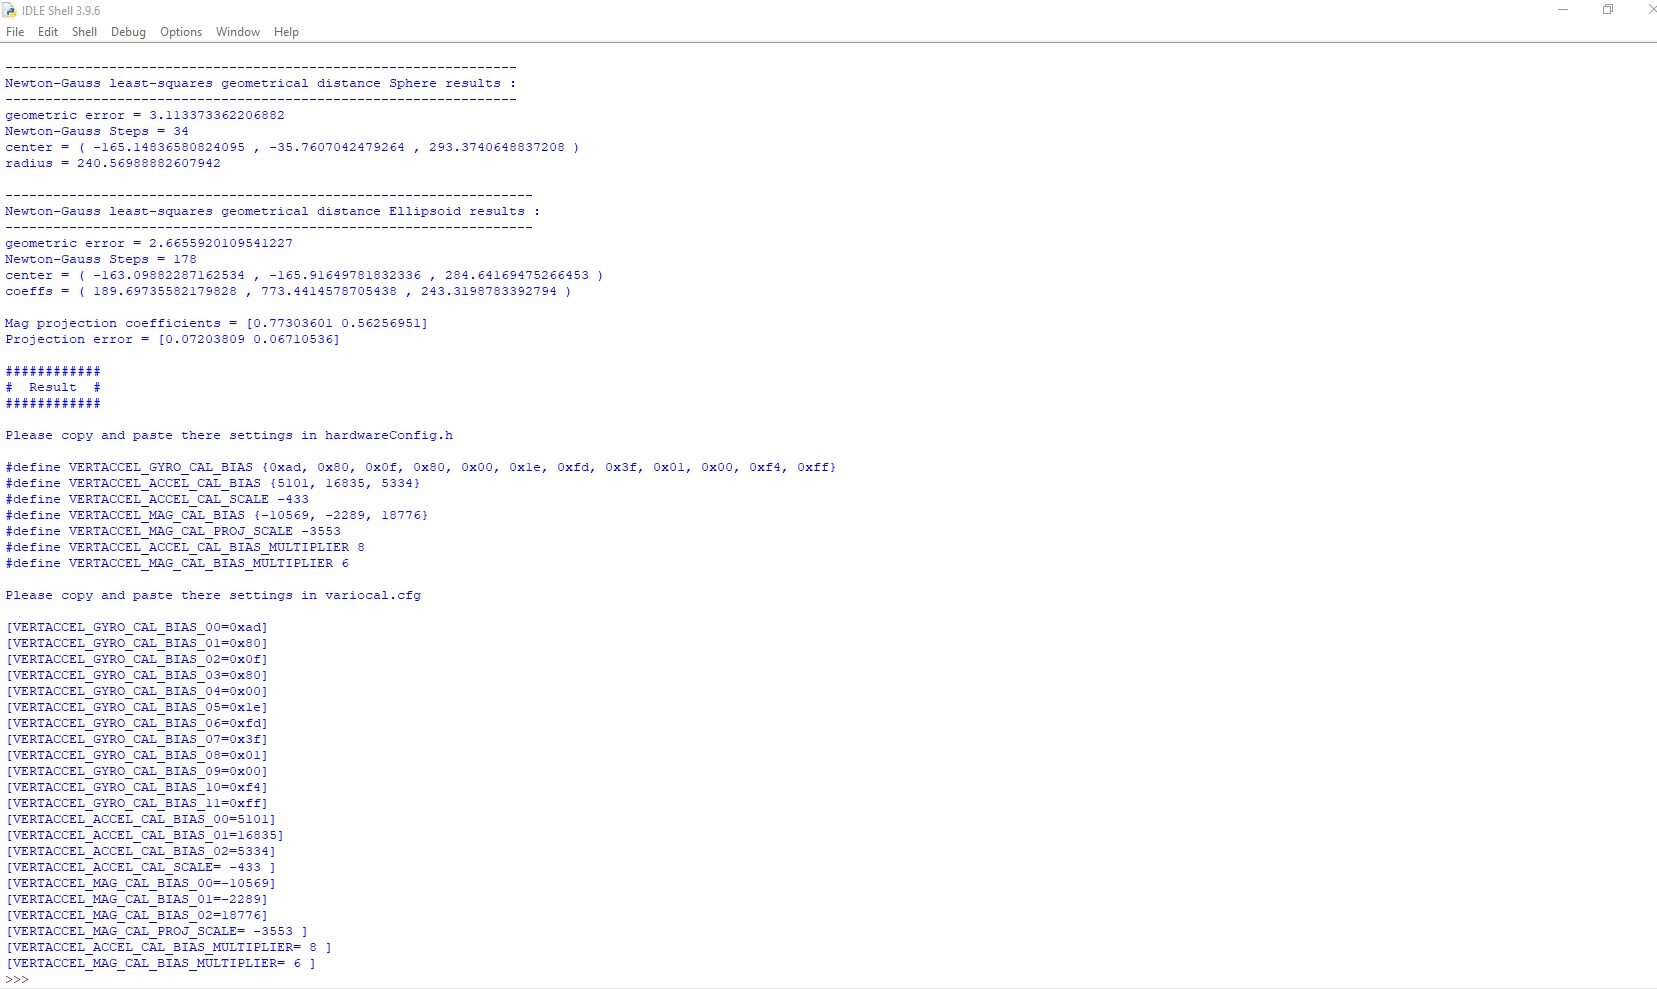
8. Press F5 to launch the program
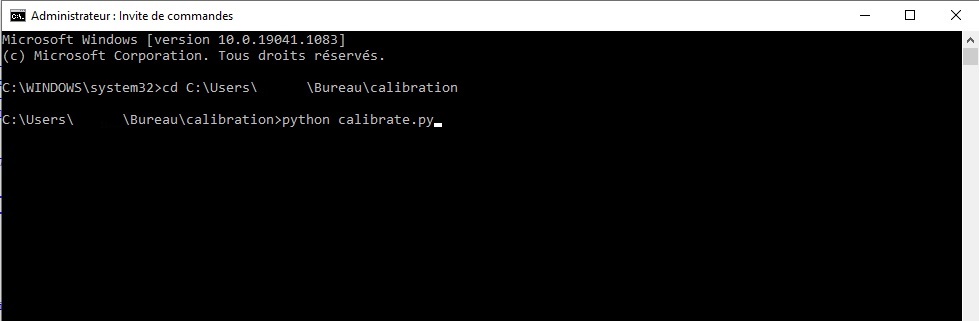
9. You can also directly write the command python
calibrate.py on a windows command prompt, after changing
directory (cd command) to place you in the calibration folder:
10. At the end of the execution of the program, copy all the parameters of the calibration in the variocal.cfg file on the SD card.
Example of updated `variocal.cfg` file with calibration values:
[VERSION=1.0]
/* Calibration */
[VERTACCEL_GYRO_CAL_BIAS_00=0xad]
[VERTACCEL_GYRO_CAL_BIAS_01=0x80]
[VERTACCEL_GYRO_CAL_BIAS_02=0x0f]
[VERTACCEL_GYRO_CAL_BIAS_03=0x80]
[VERTACCEL_GYRO_CAL_BIAS_04=0x00]
[VERTACCEL_GYRO_CAL_BIAS_05=0x1e]
[VERTACCEL_GYRO_CAL_BIAS_06=0xfd]
[VERTACCEL_GYRO_CAL_BIAS_07=0x3f]
[VERTACCEL_GYRO_CAL_BIAS_08=0x01]
[VERTACCEL_GYRO_CAL_BIAS_09=0x00]
[VERTACCEL_GYRO_CAL_BIAS_10=0xf4]
[VERTACCEL_GYRO_CAL_BIAS_11=0xff]
[VERTACCEL_ACCEL_CAL_BIAS_00=5101]
[VERTACCEL_ACCEL_CAL_BIAS_01=16835]
[VERTACCEL_ACCEL_CAL_BIAS_02=5334]
[VERTACCEL_ACCEL_CAL_SCALE= -433 ]
[VERTACCEL_MAG_CAL_BIAS_00=-10569]
[VERTACCEL_MAG_CAL_BIAS_01=-2289]
[VERTACCEL_MAG_CAL_BIAS_02=18776]
[VERTACCEL_MAG_CAL_PROJ_SCALE= -3553 ]
[VERTACCEL_ACCEL_CAL_BIAS_MULTIPLIER= 8 ]
[VERTACCEL_MAG_CAL_BIAS_MULTIPLIER= 6 ]11. Put back the SD card in your variometer. It is now calibrated.
Instructions for Linux users
-
Open an operating terminal
-
Create a temporary directory, in which to perform the calibration (in the example below is called
demo), then move to this new directory.mkdir demo cd demo -
Copy the
calibrationfolder fromRootSDto thedemofolder, then move to this new directory.If you have the
gitsoftware, which is not a very elegant way to do this, is to clone the repository software from Github, then to retrieve the folder there:git clone https://github.com/prunkdump/GNUVario-TTGO-T5.git cp -r "./GNUVario-TTGO-T5/Sources/RootSd/Pour v0.8b6 / RootSD / calibration". cd calibration -
Since it’s not very clean, you might as well do a little cleaning before you start.
rm -rf *.pyc *.old __pycache__ -
Copy the measurements taken previously - i.e. the
RECORD00.CALfile that was generated on the SD card - in the foldercalibration -
Update of
pip, and recovery ofpipenv(which will allow all do in a virtual environment with the right version of Python, then erase it afterwards, so as not to pollute your computer)python -m pip install --upgrade pip python -m pip install pipenv -
Creation and launch of the virtual environment
python -m pipenv --python 3.7 python -m pipenv shell -
Installation of the required libraries in the environment
python -m pip install numpy scipy matplotlib ipython jupyter pandas sympy nose -
Calibration
python calibrate.pyCopy the generated values into a
variocal.cfgfile (see above the example filevariocal.cfgupdated with values of calibration) -
Exit the virtual environment, then delete the virtual environment and the temporary working folder
exit
pip -m pipenv --rm
cd ..
cd ..
rm -rf demo