Hardware
Building tutorial summary
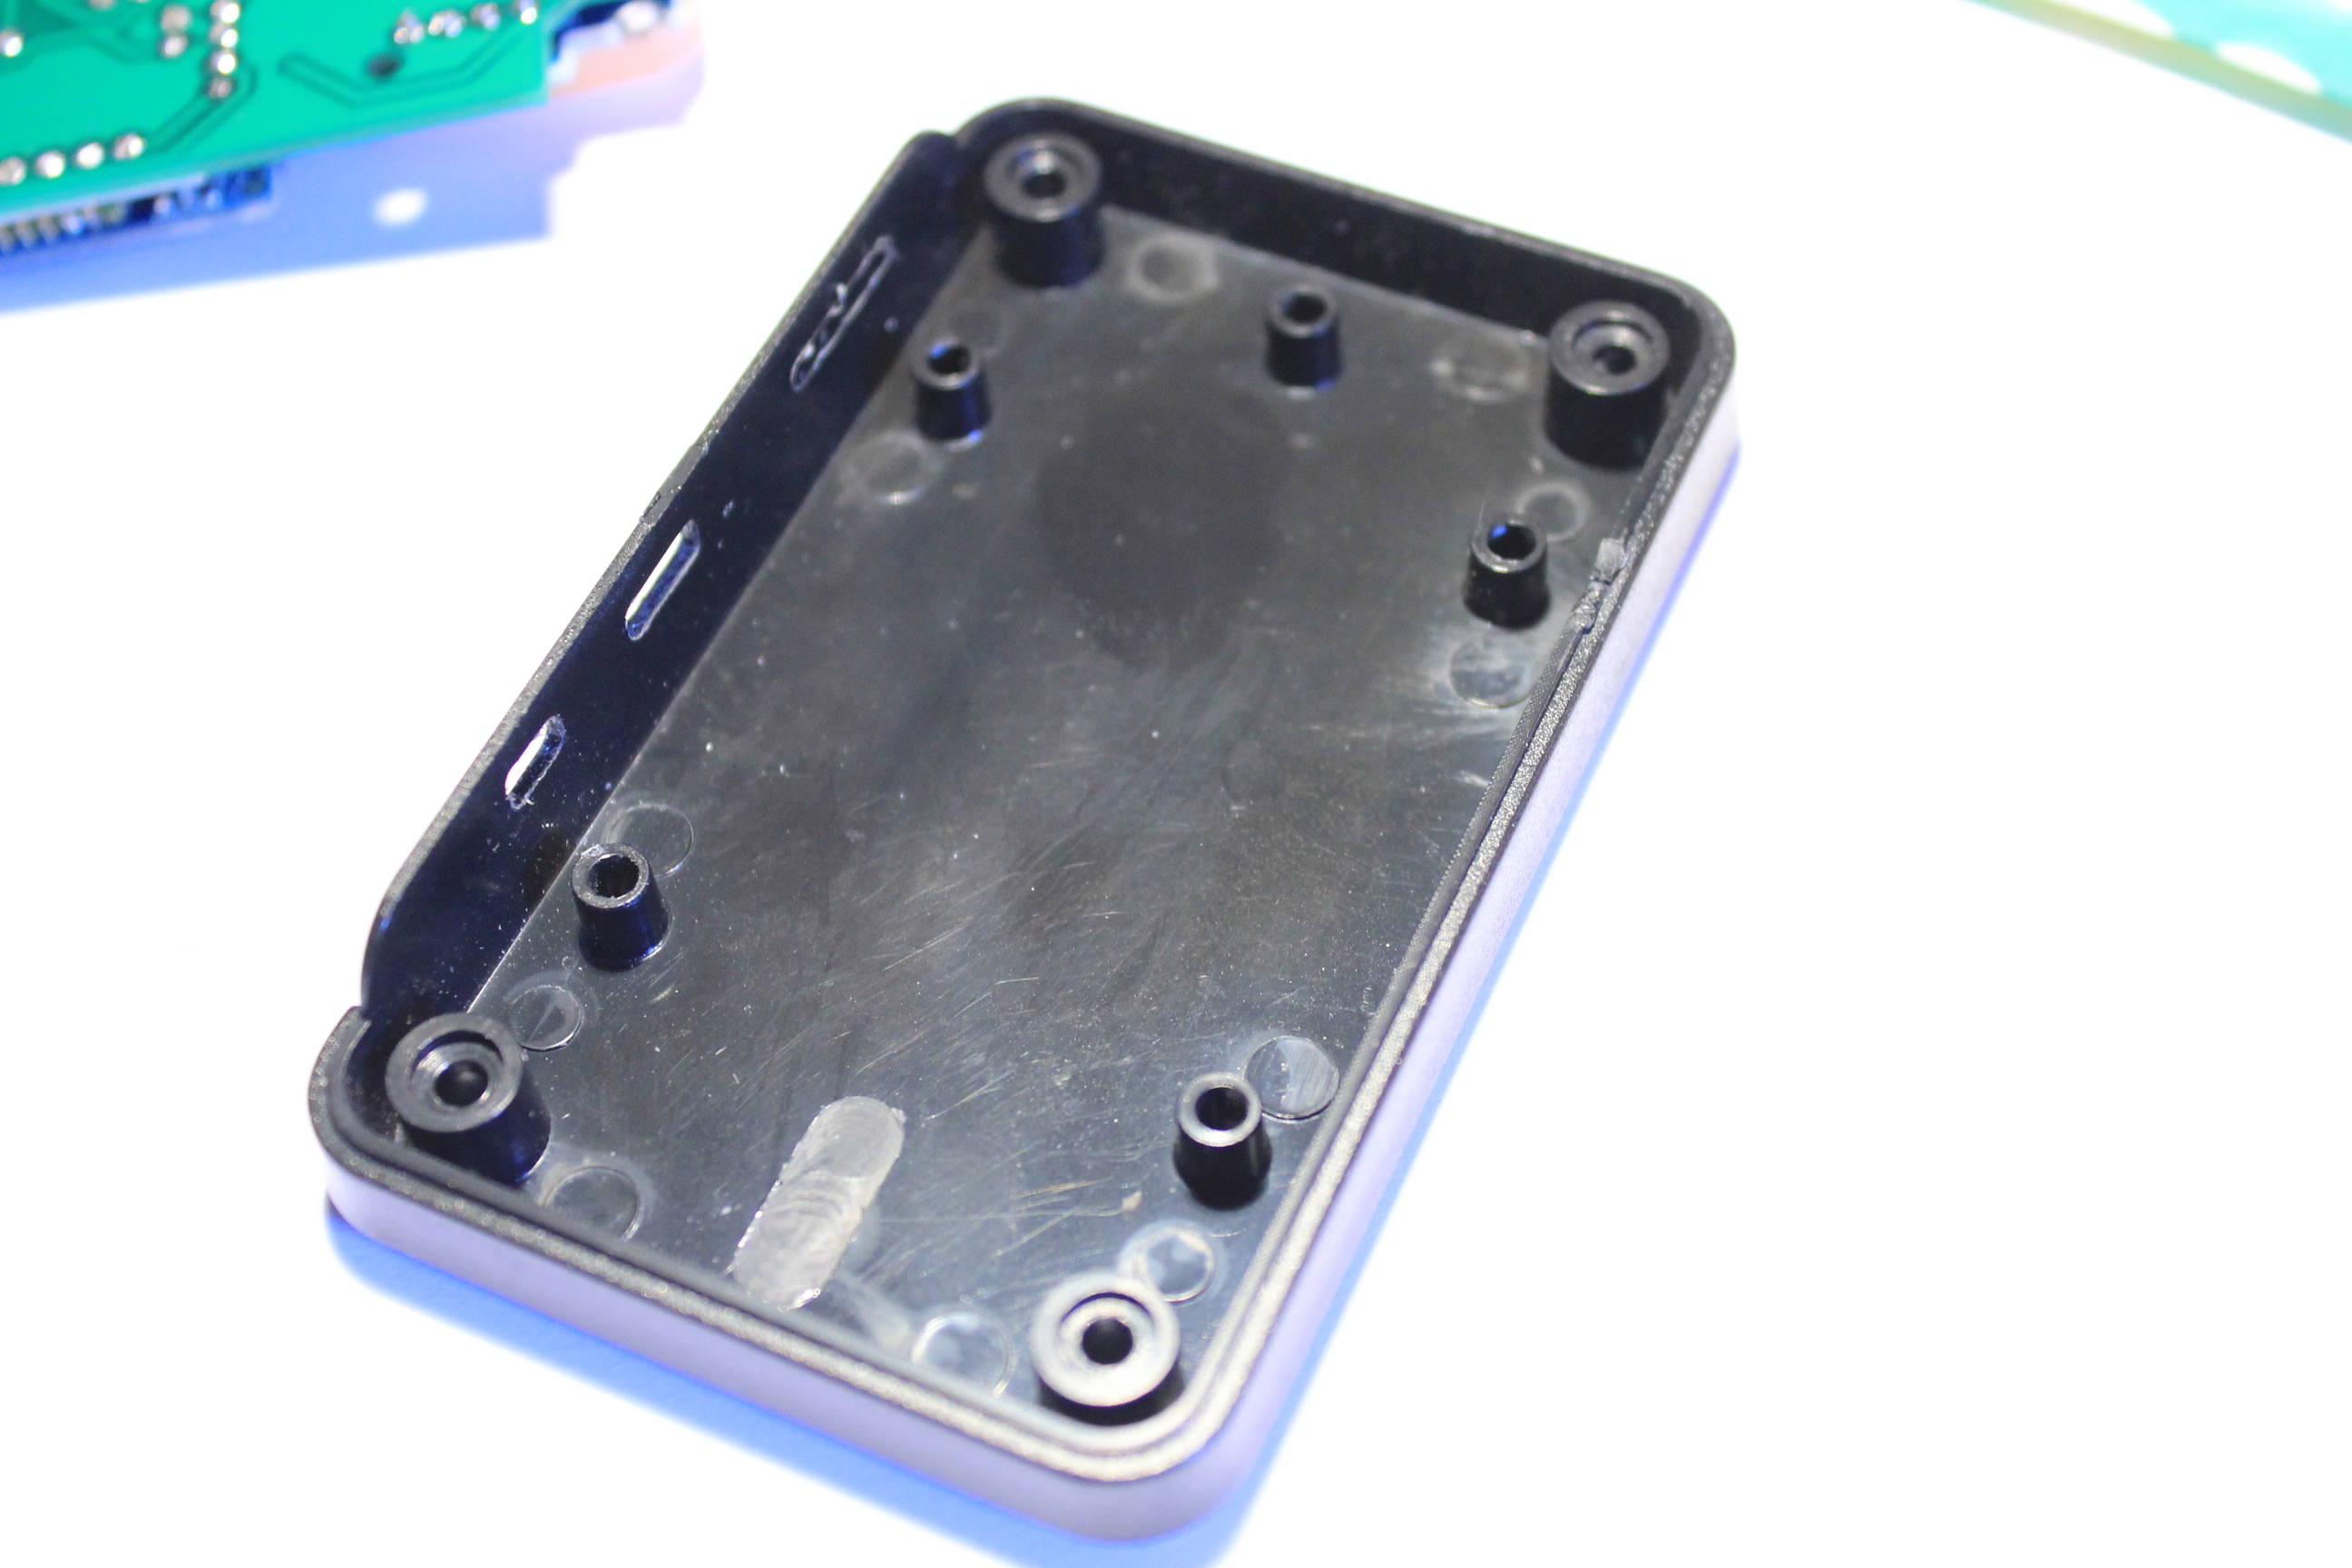
Closing the case
Ensure the power switch is in the OFF position and connect the battery.

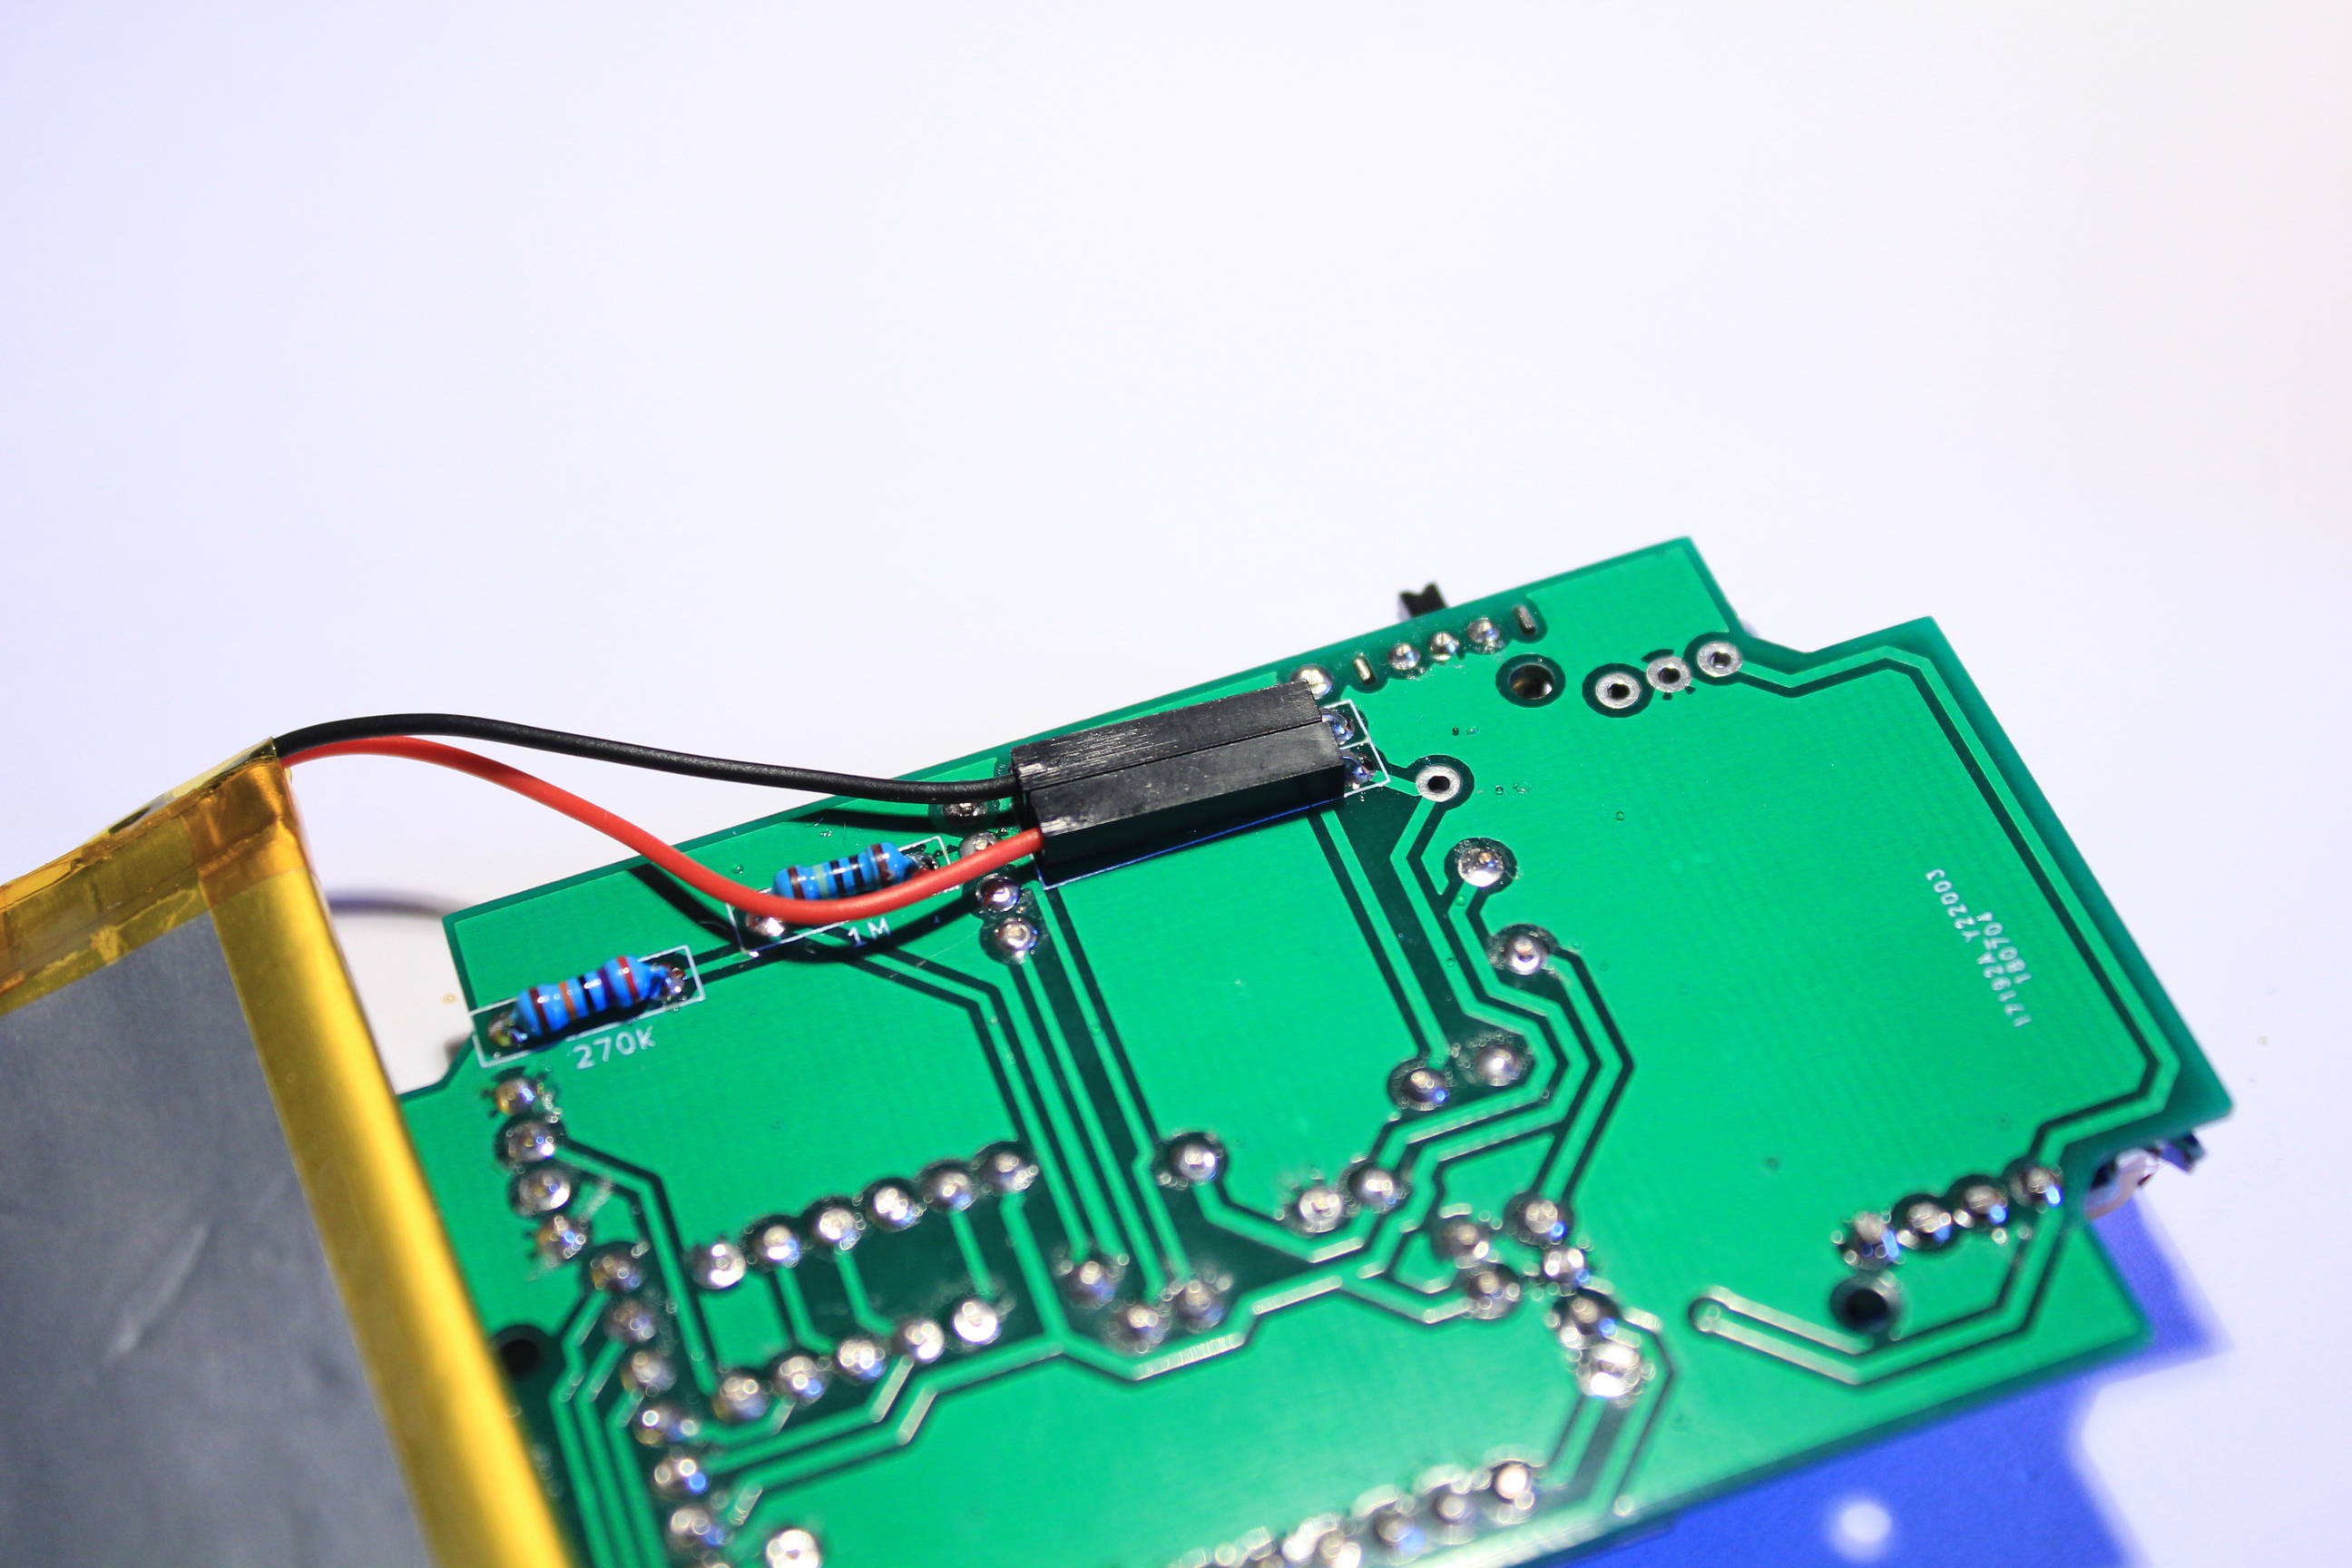
Take now the case bottom and put the battery inside.
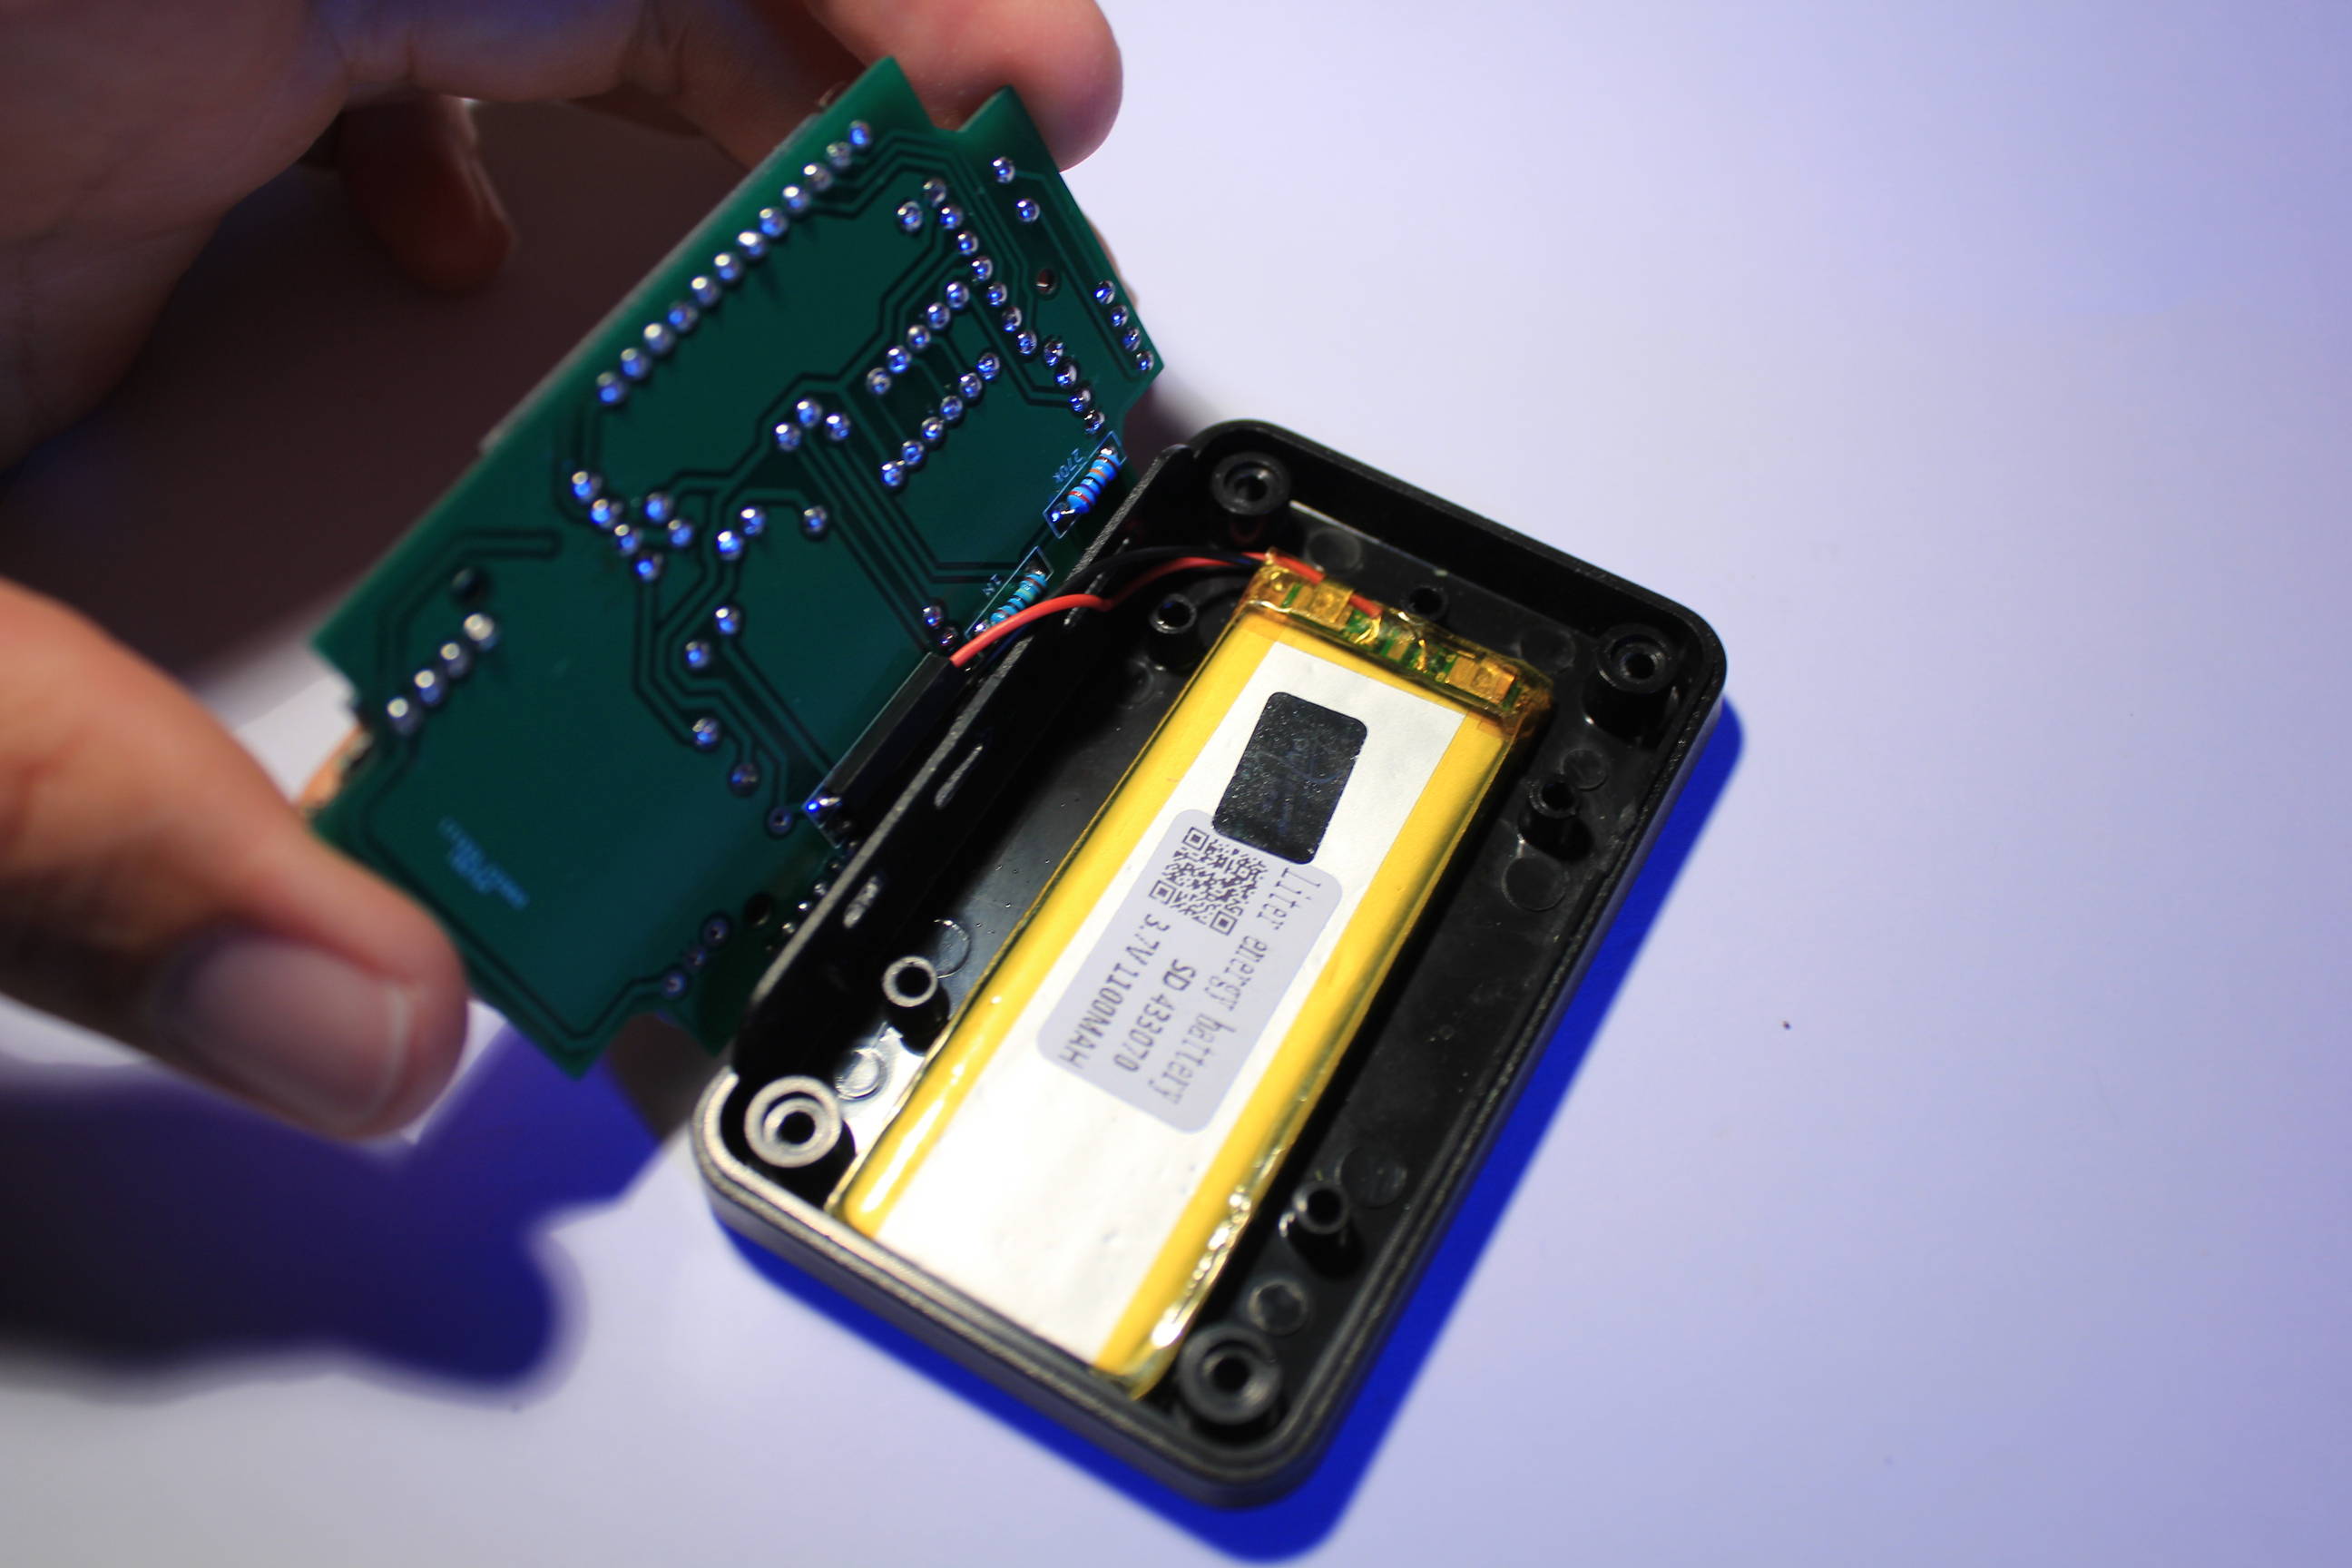
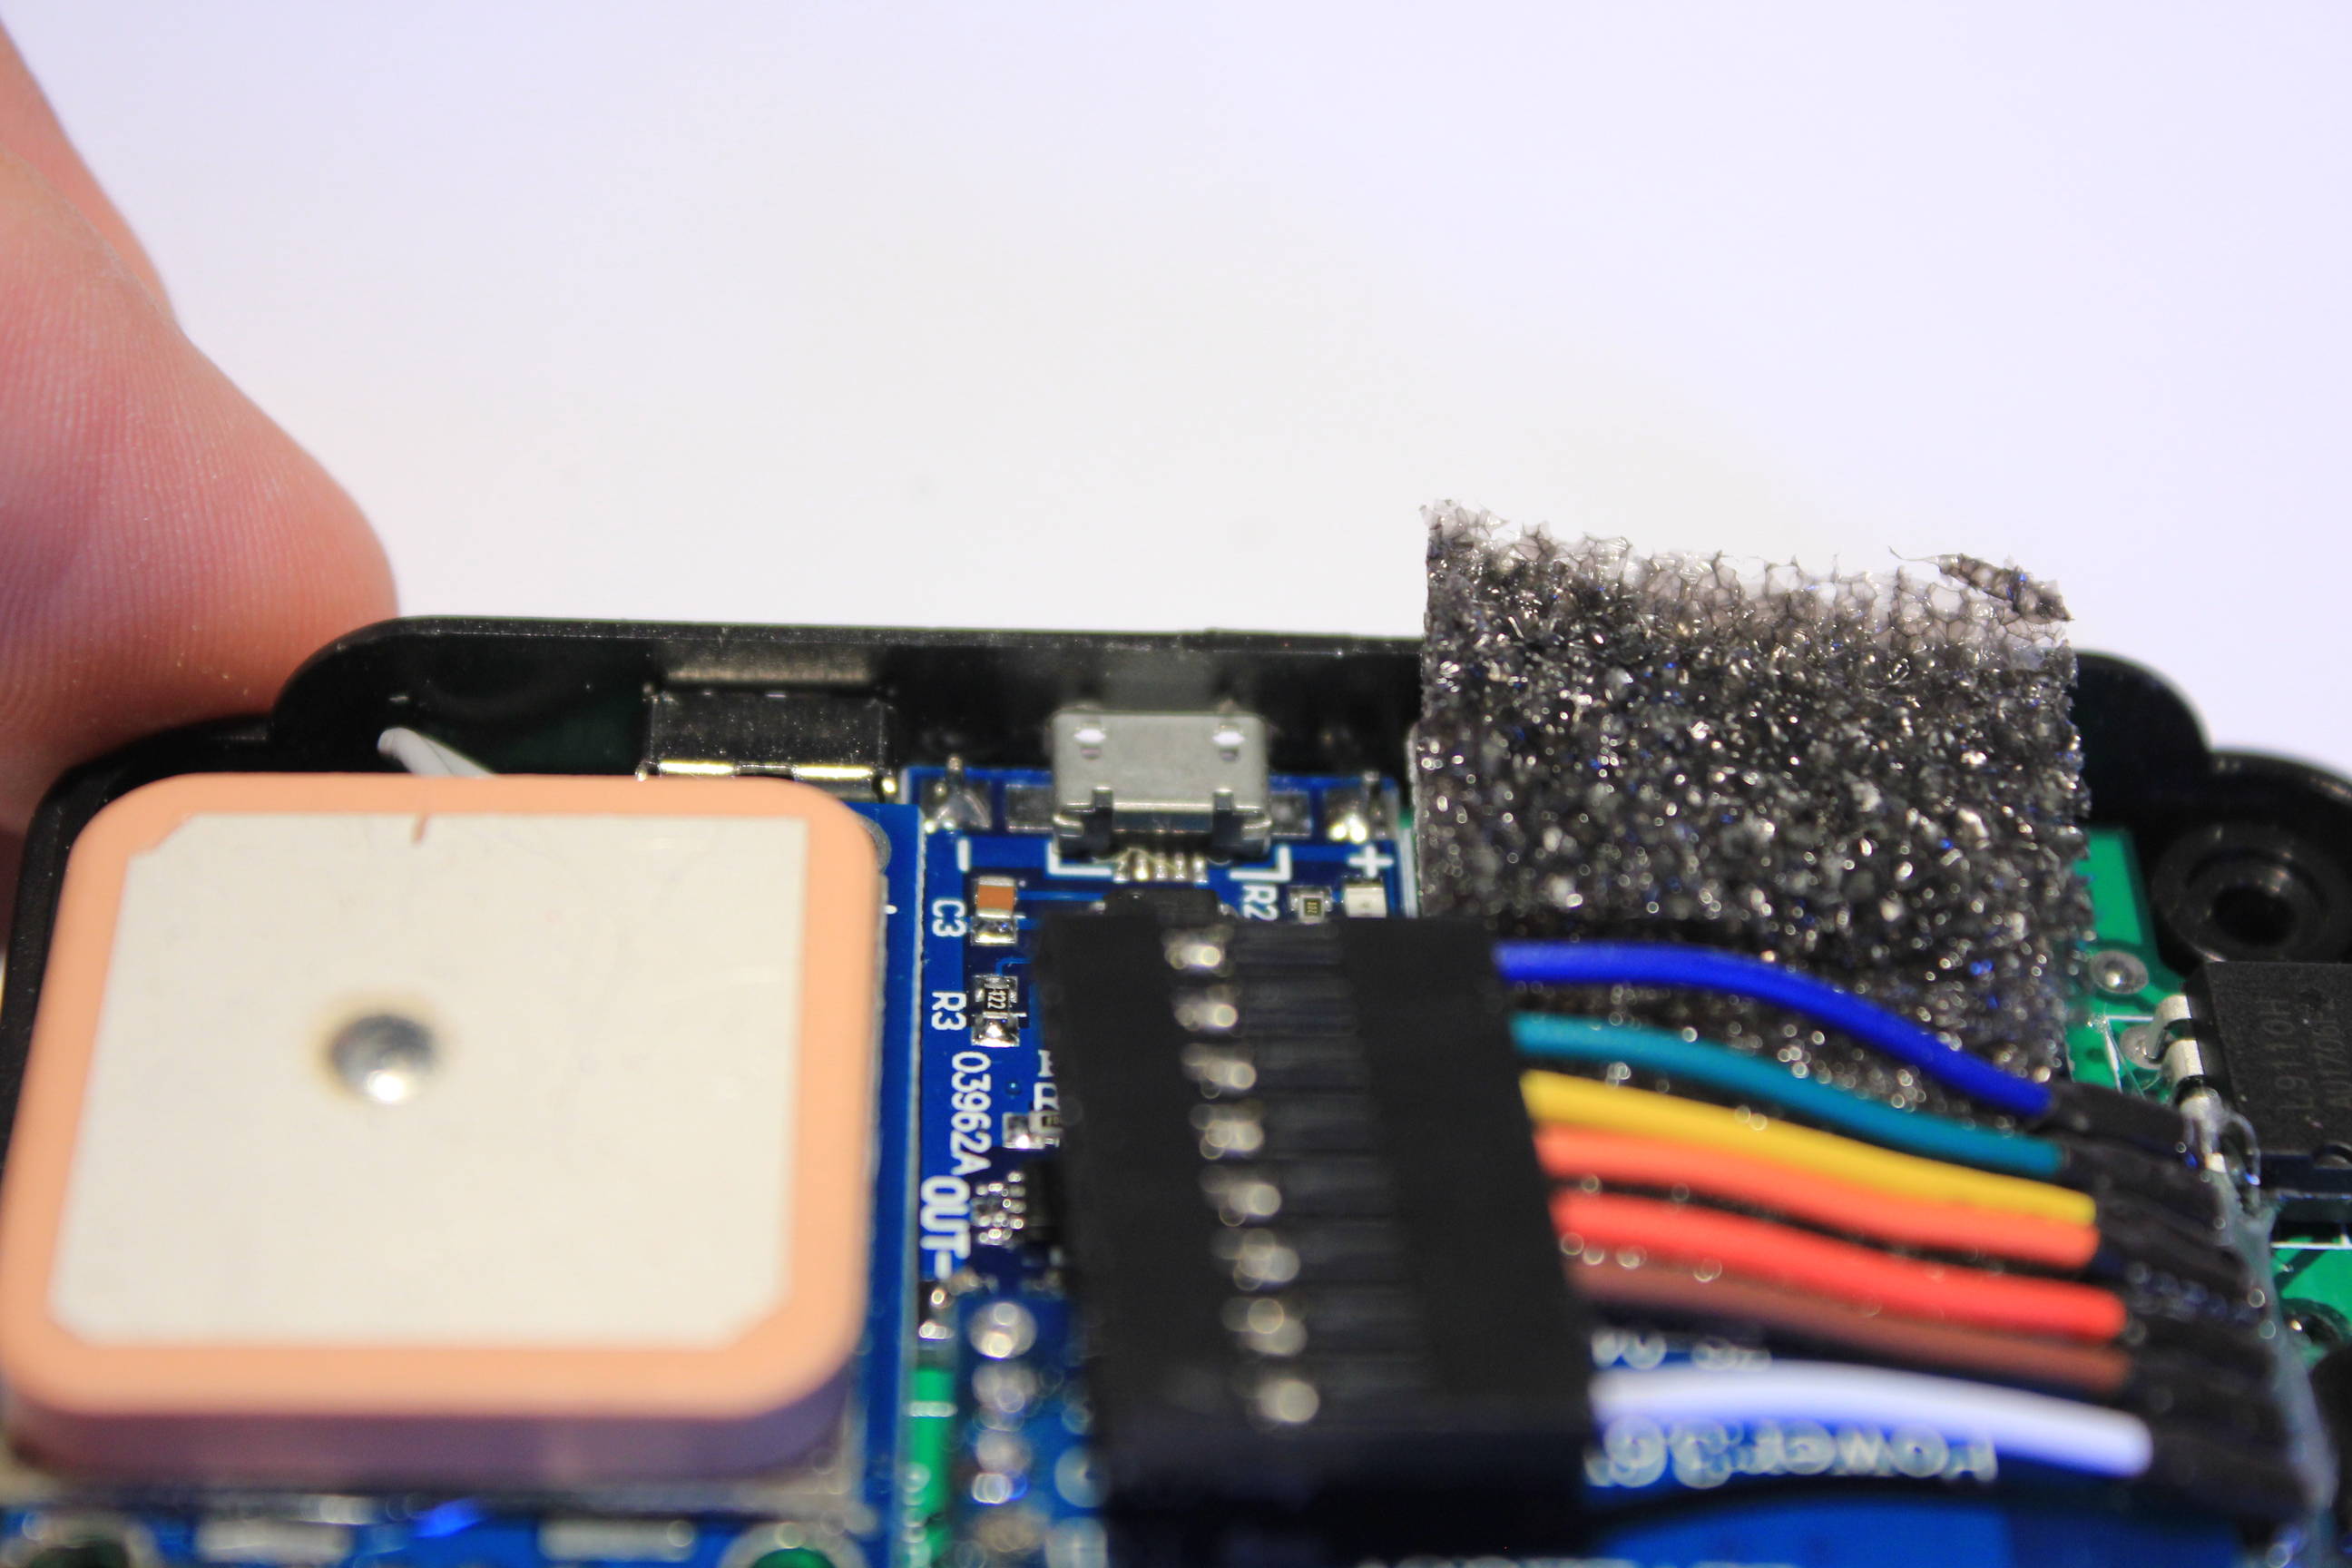
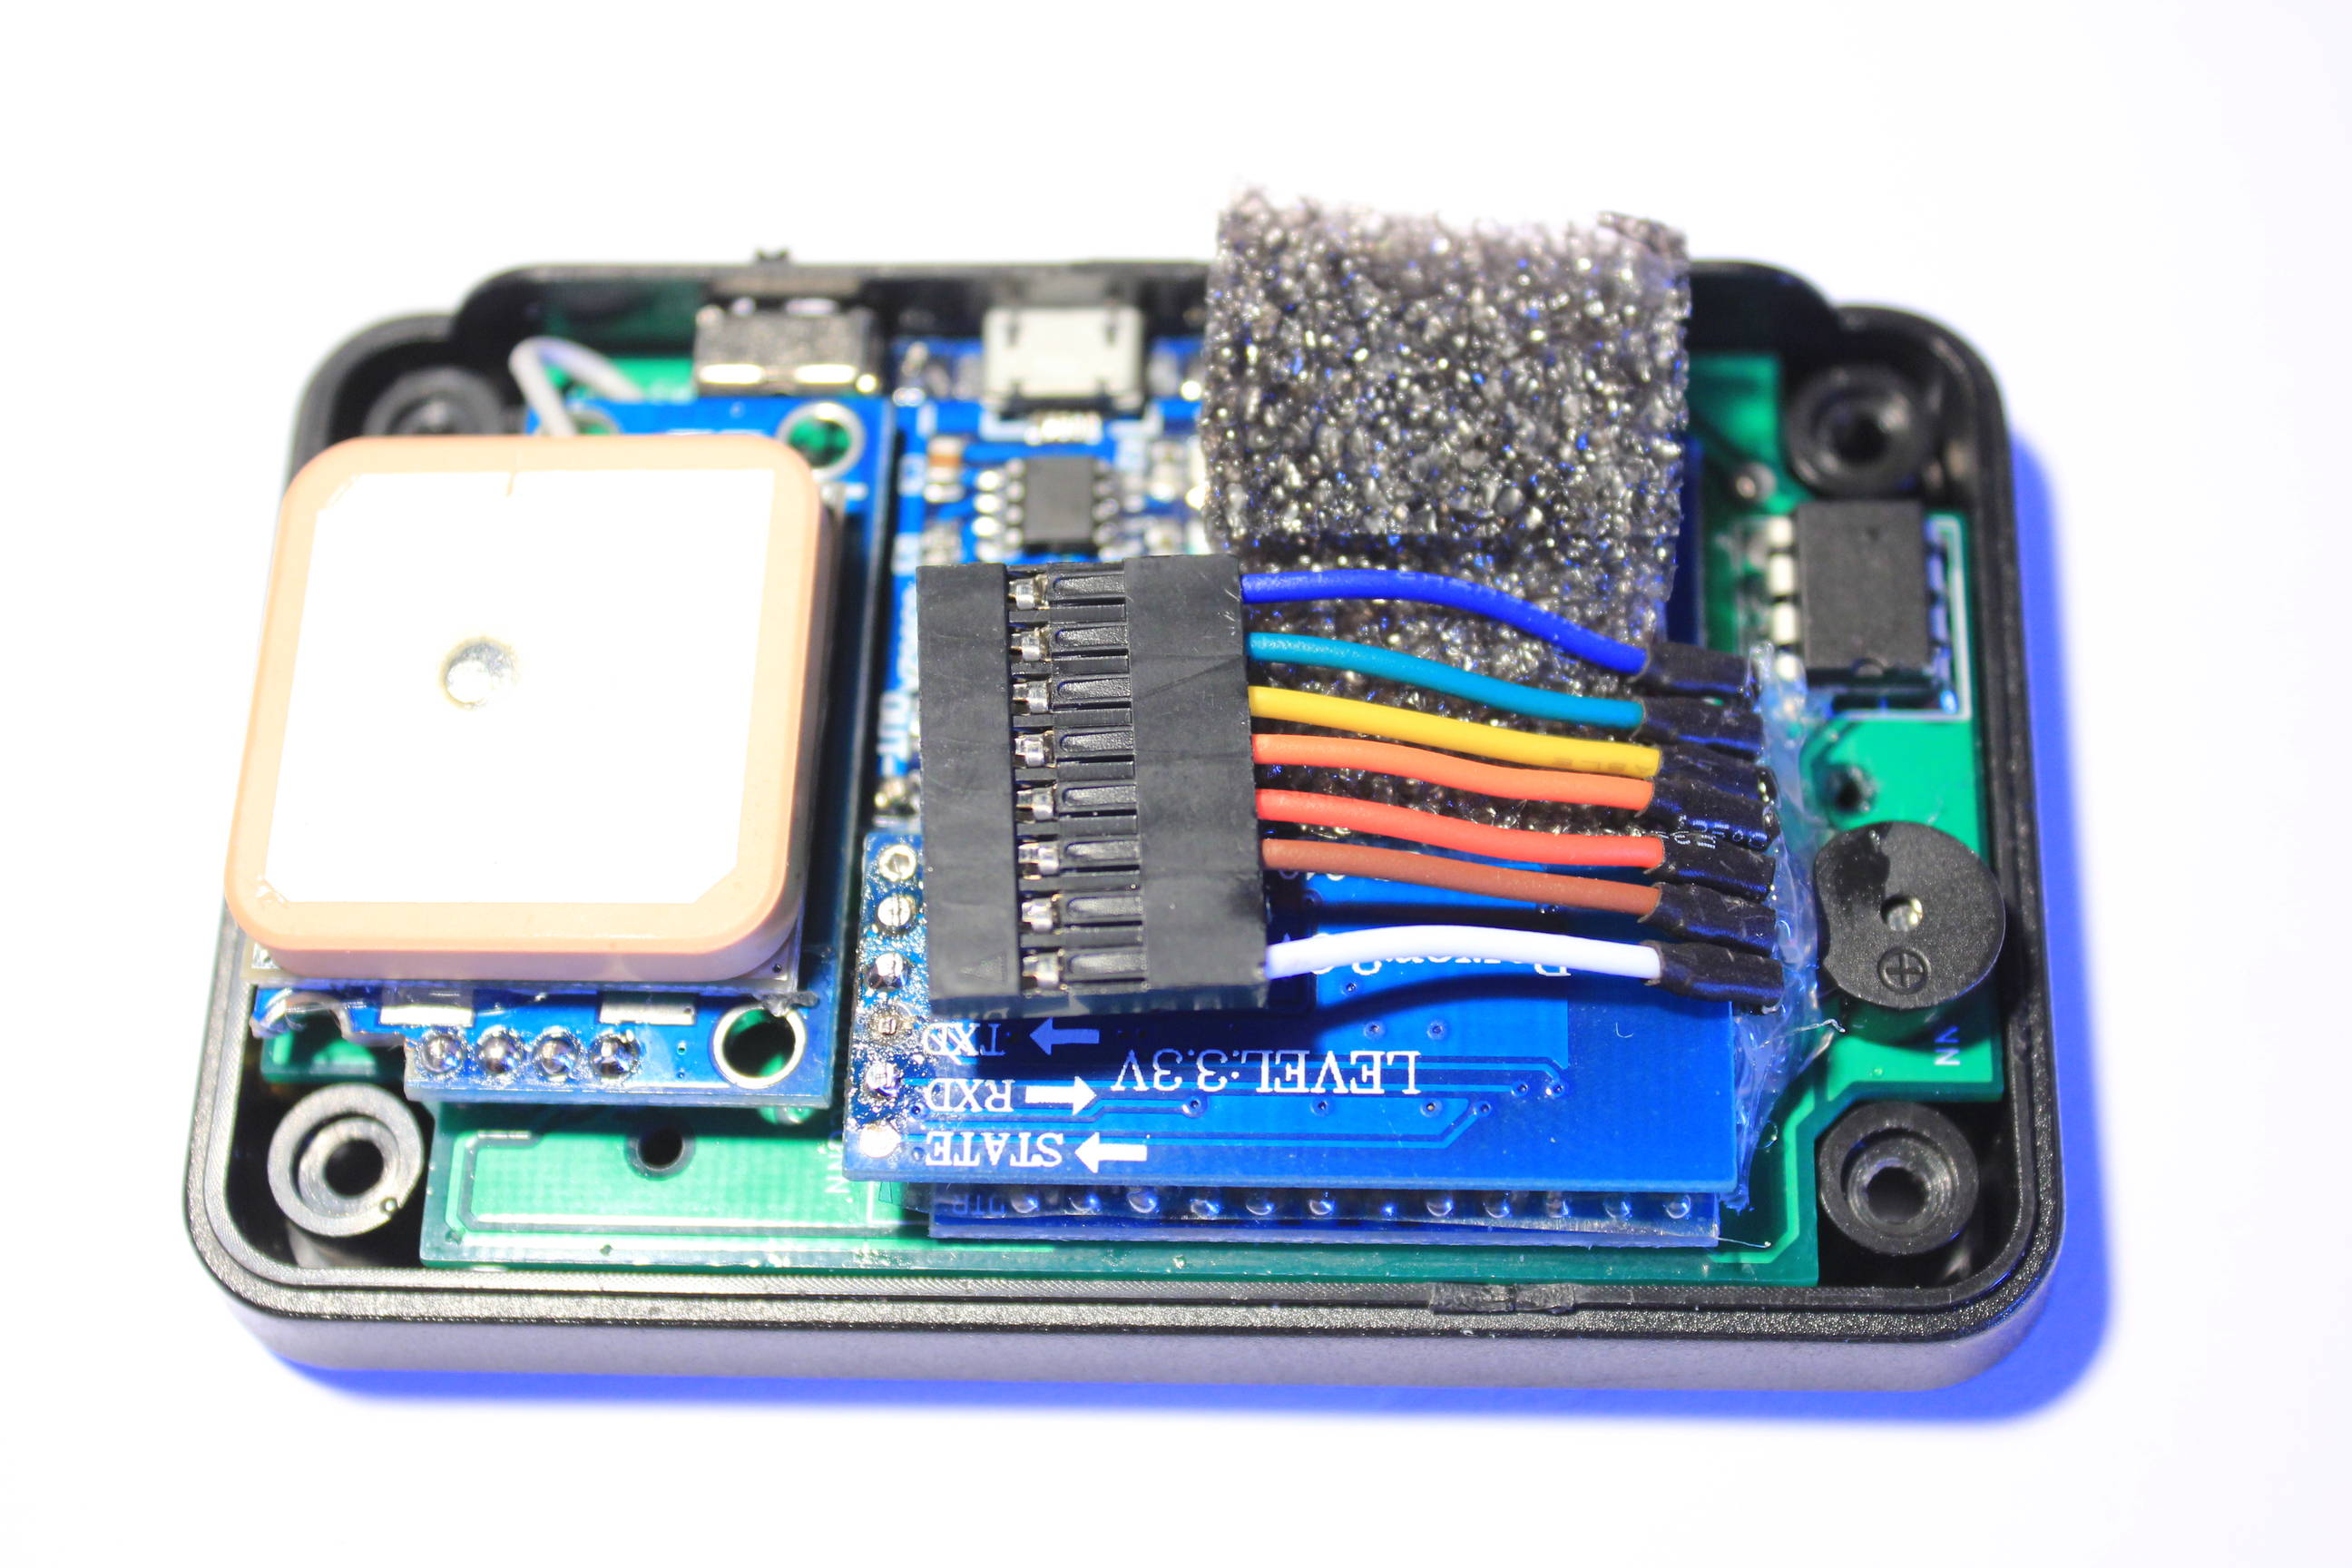
Insert the PCB by the USB connector. Check that the battery’s wires are well under the PCB.
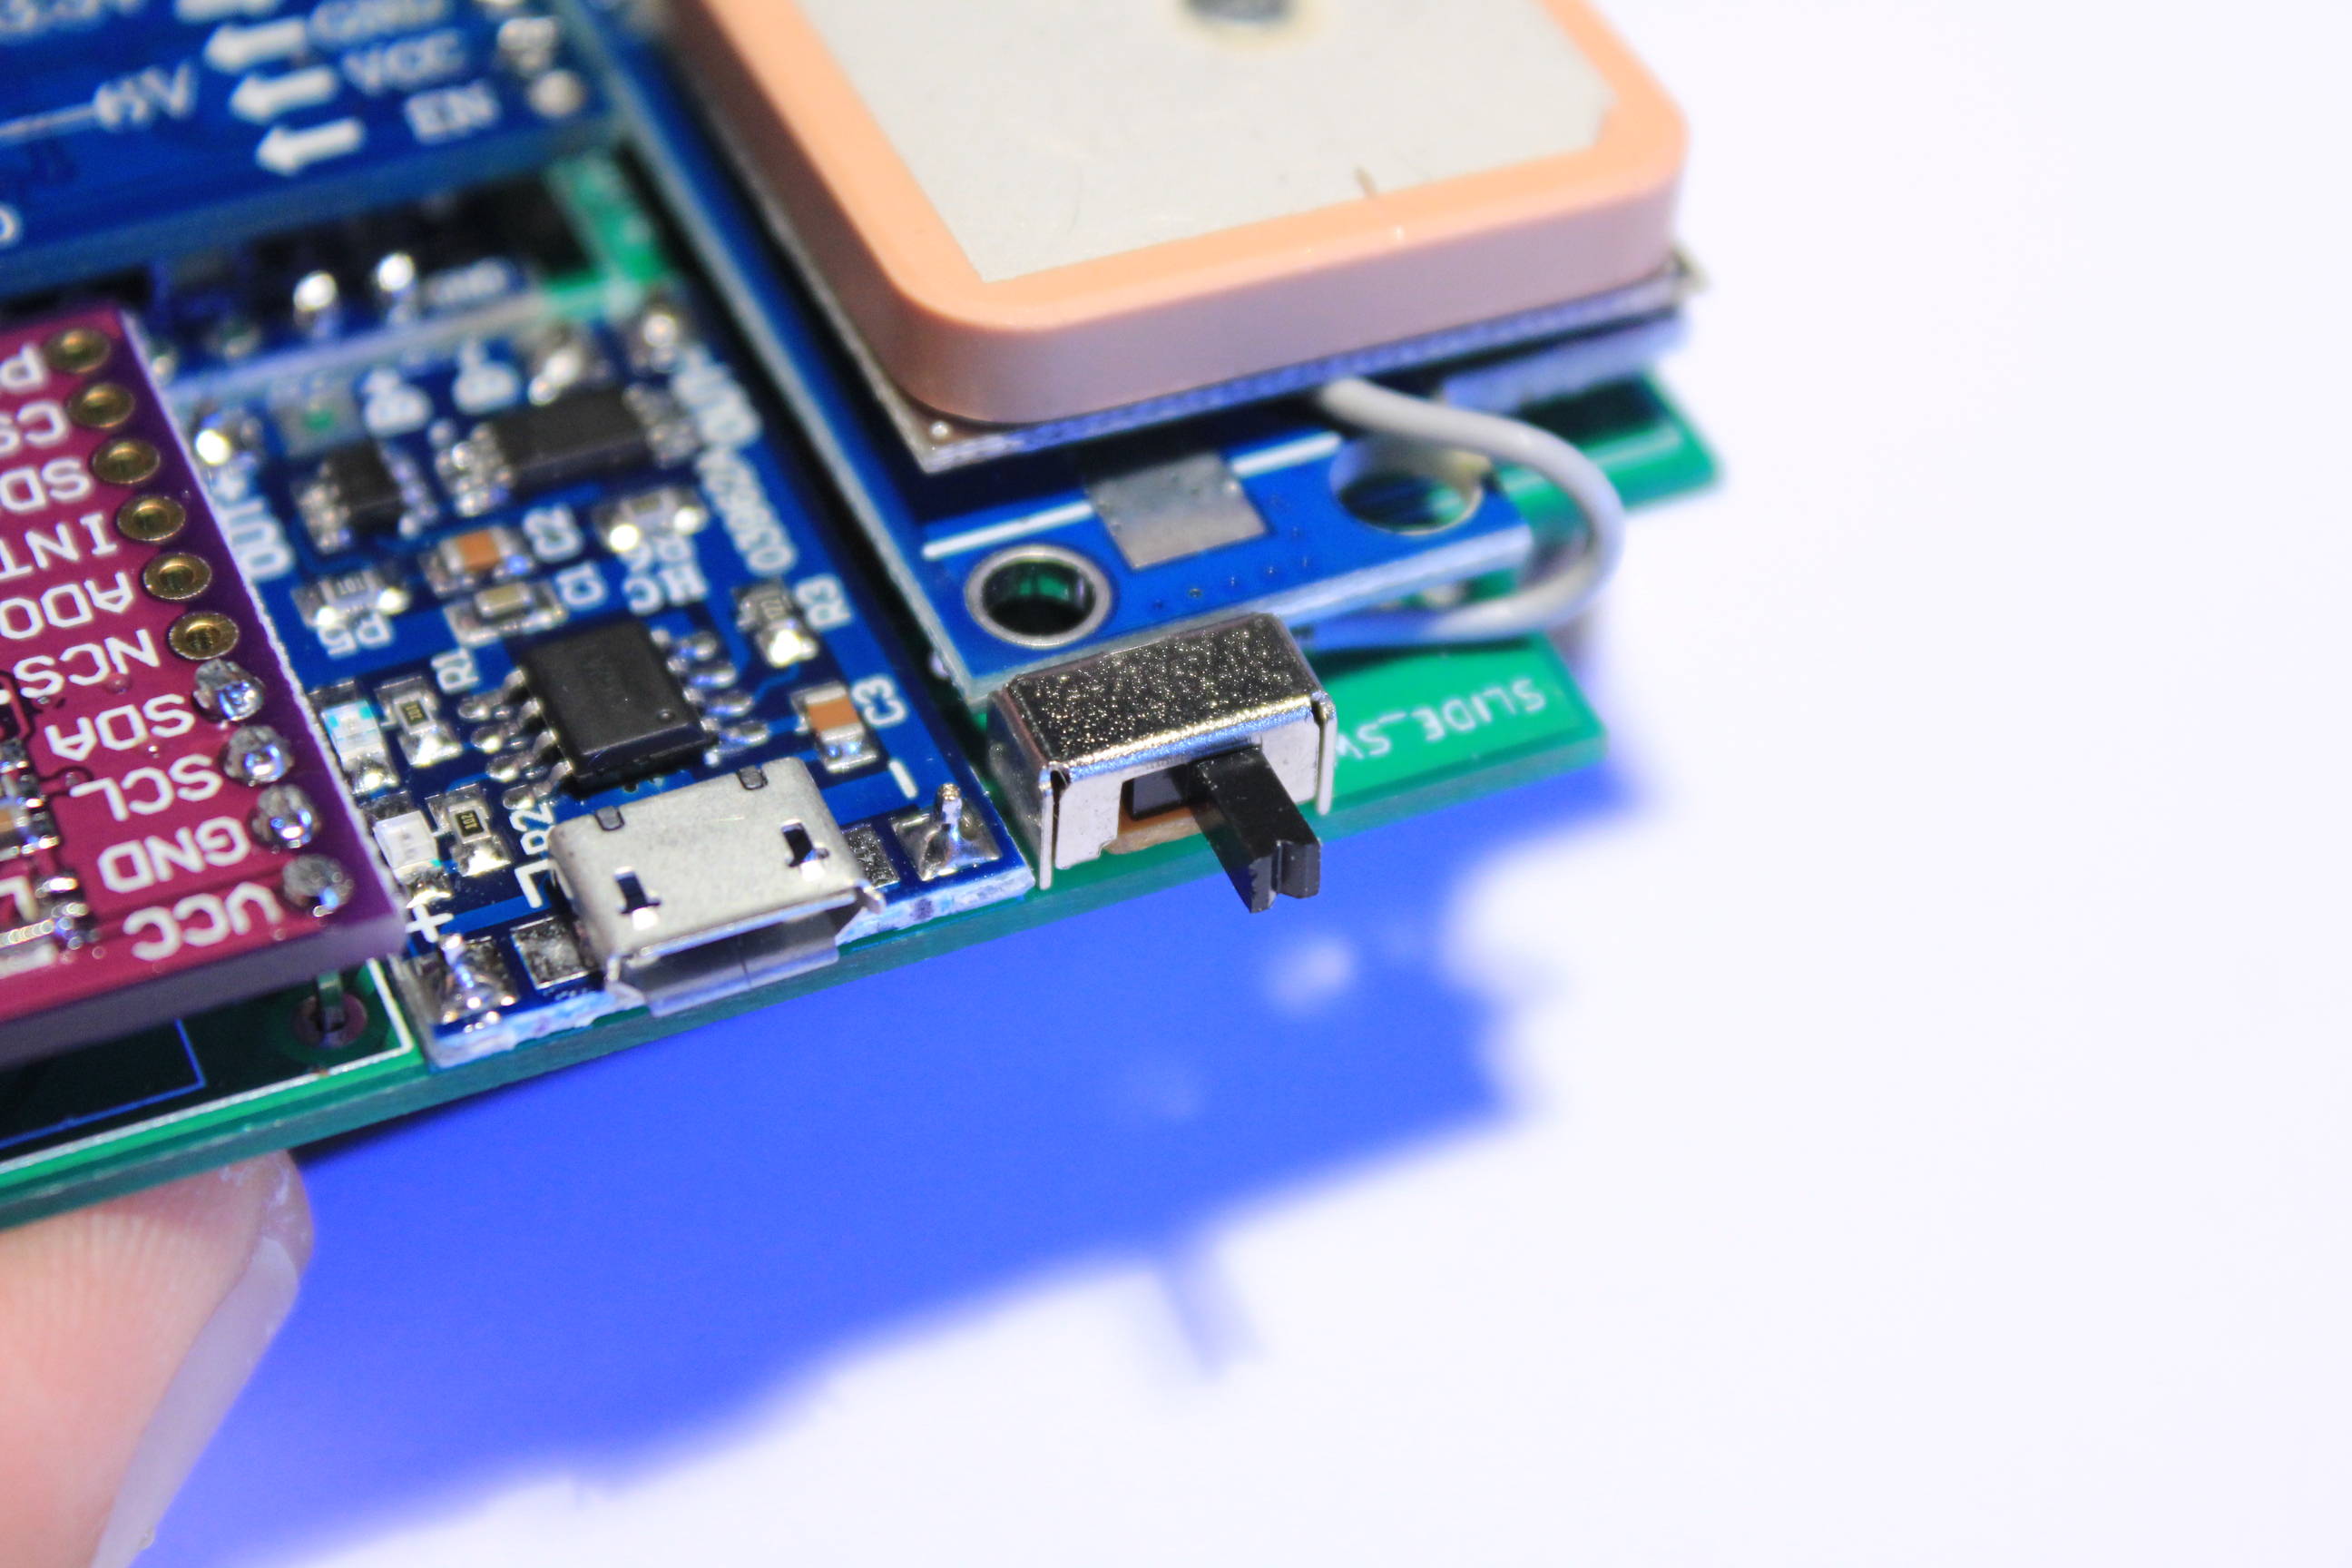
Now take the case middle part and align it on the back side and just over the switch on the other side.
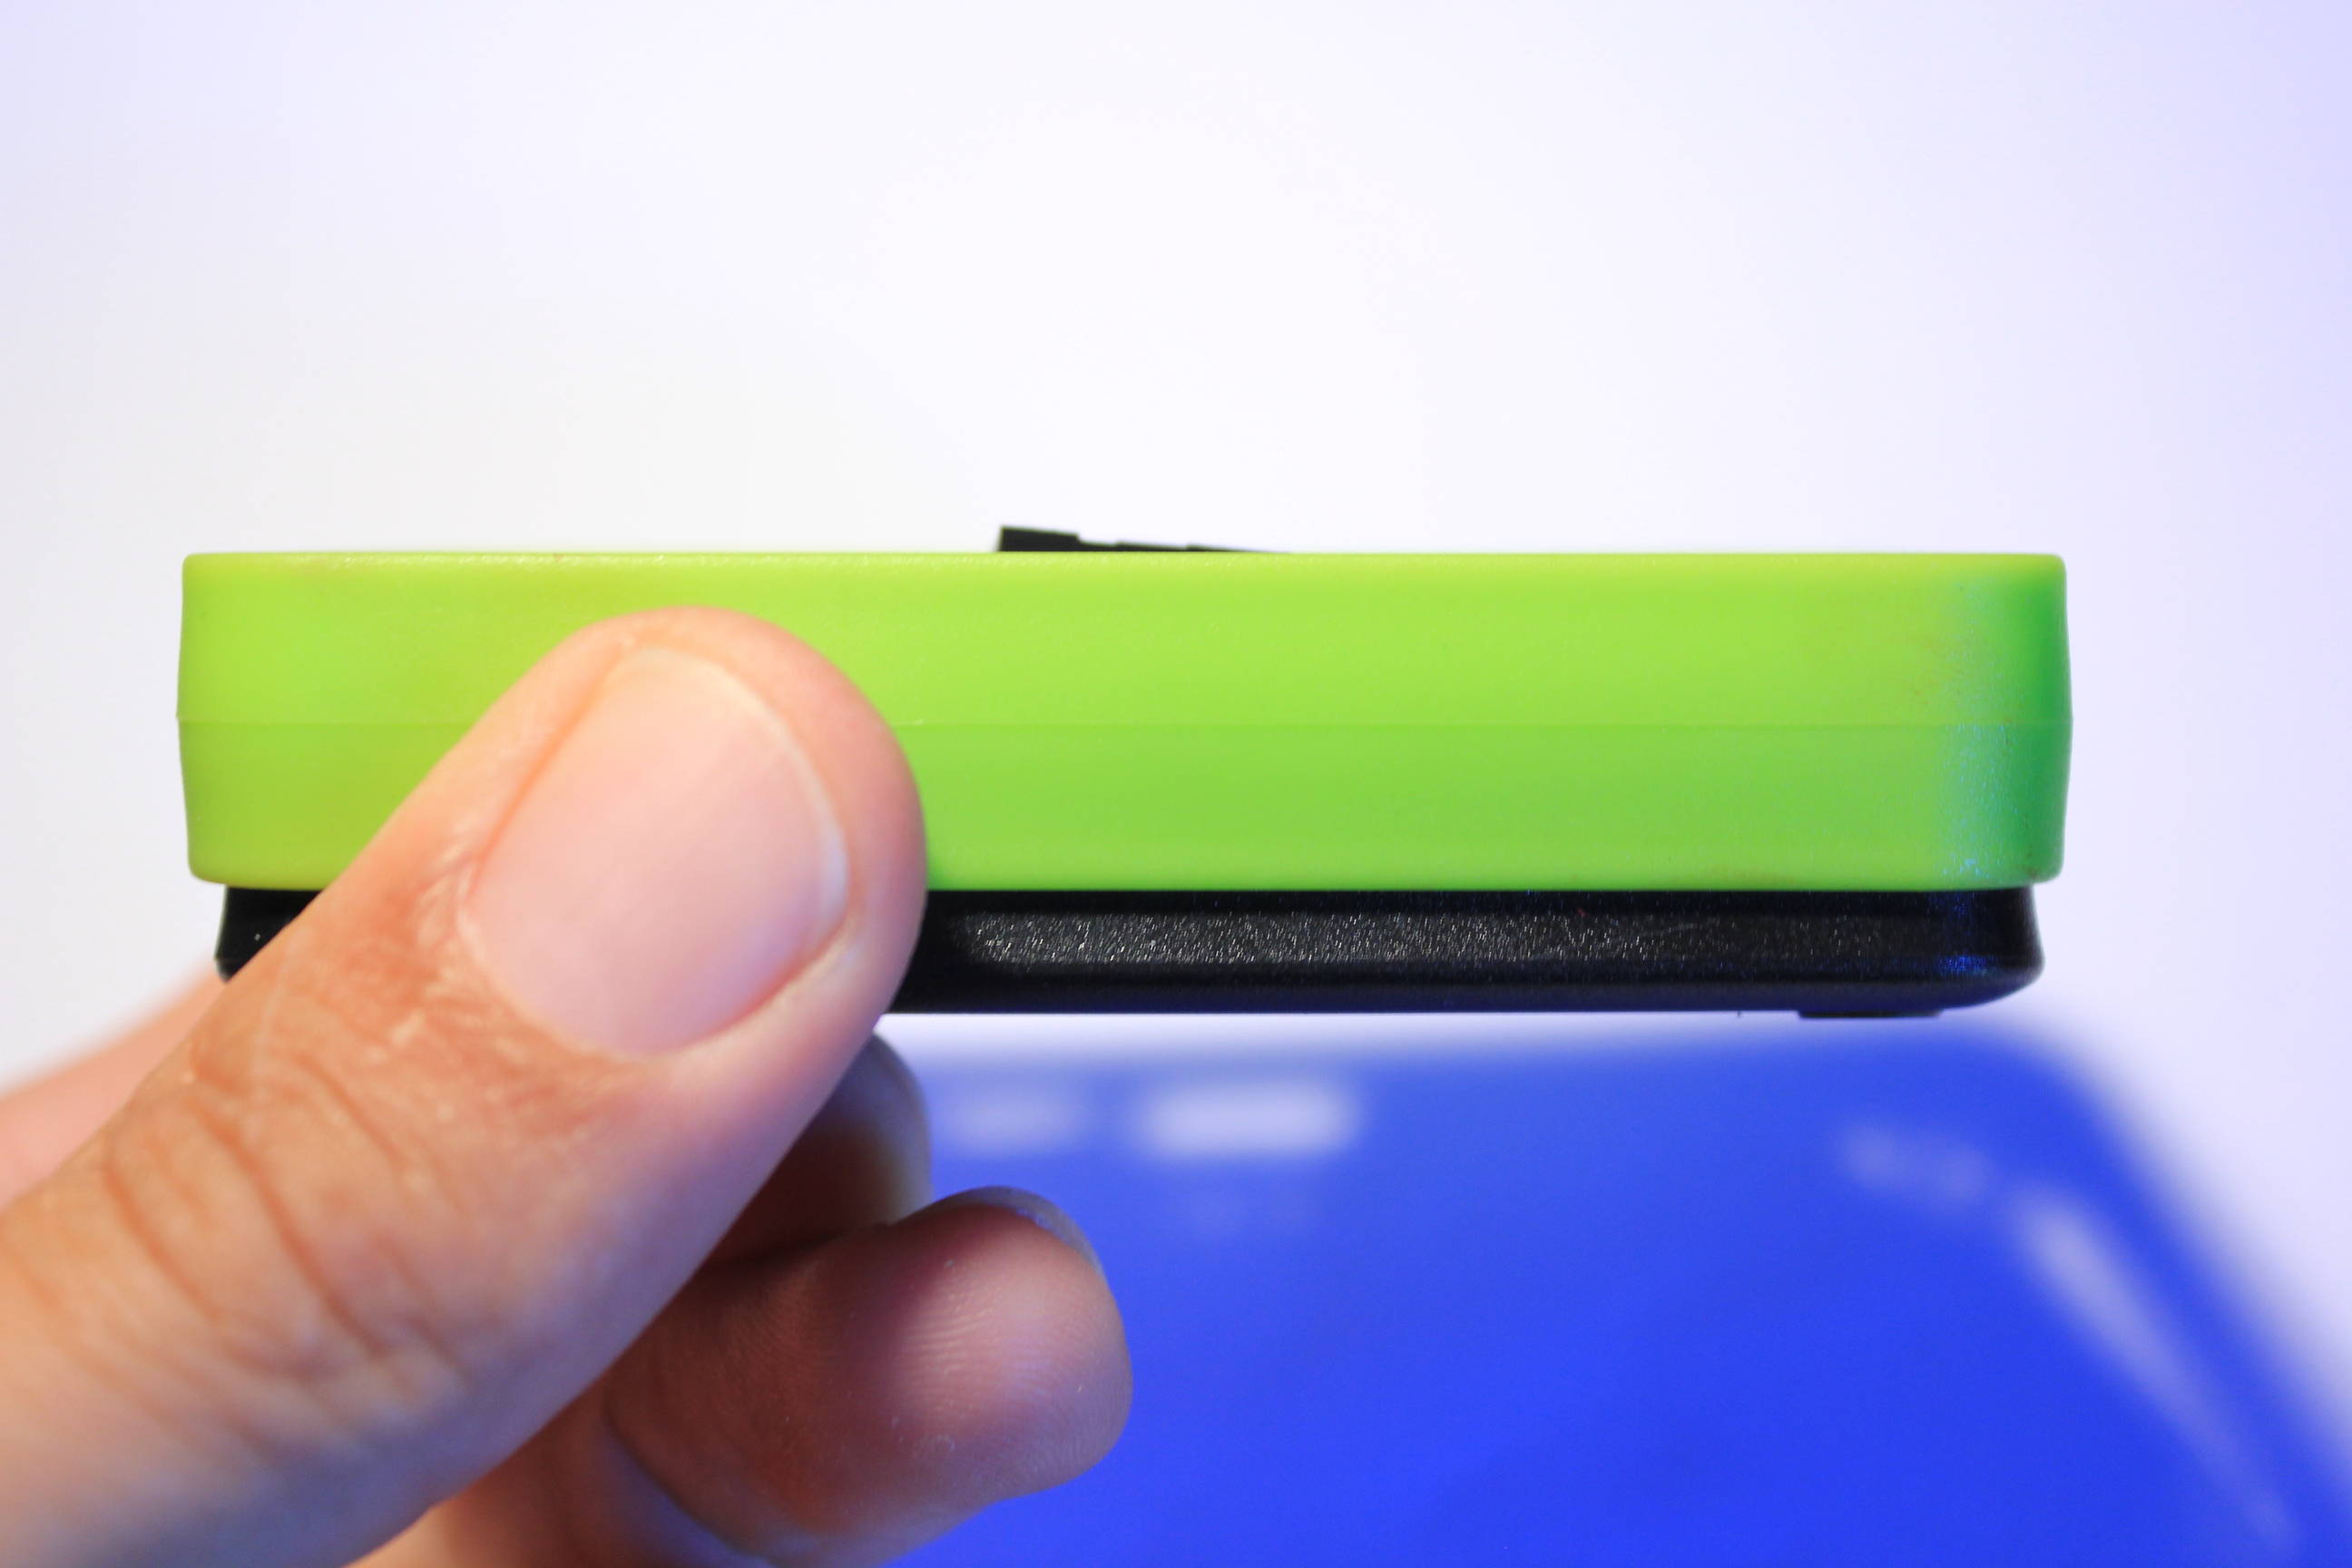
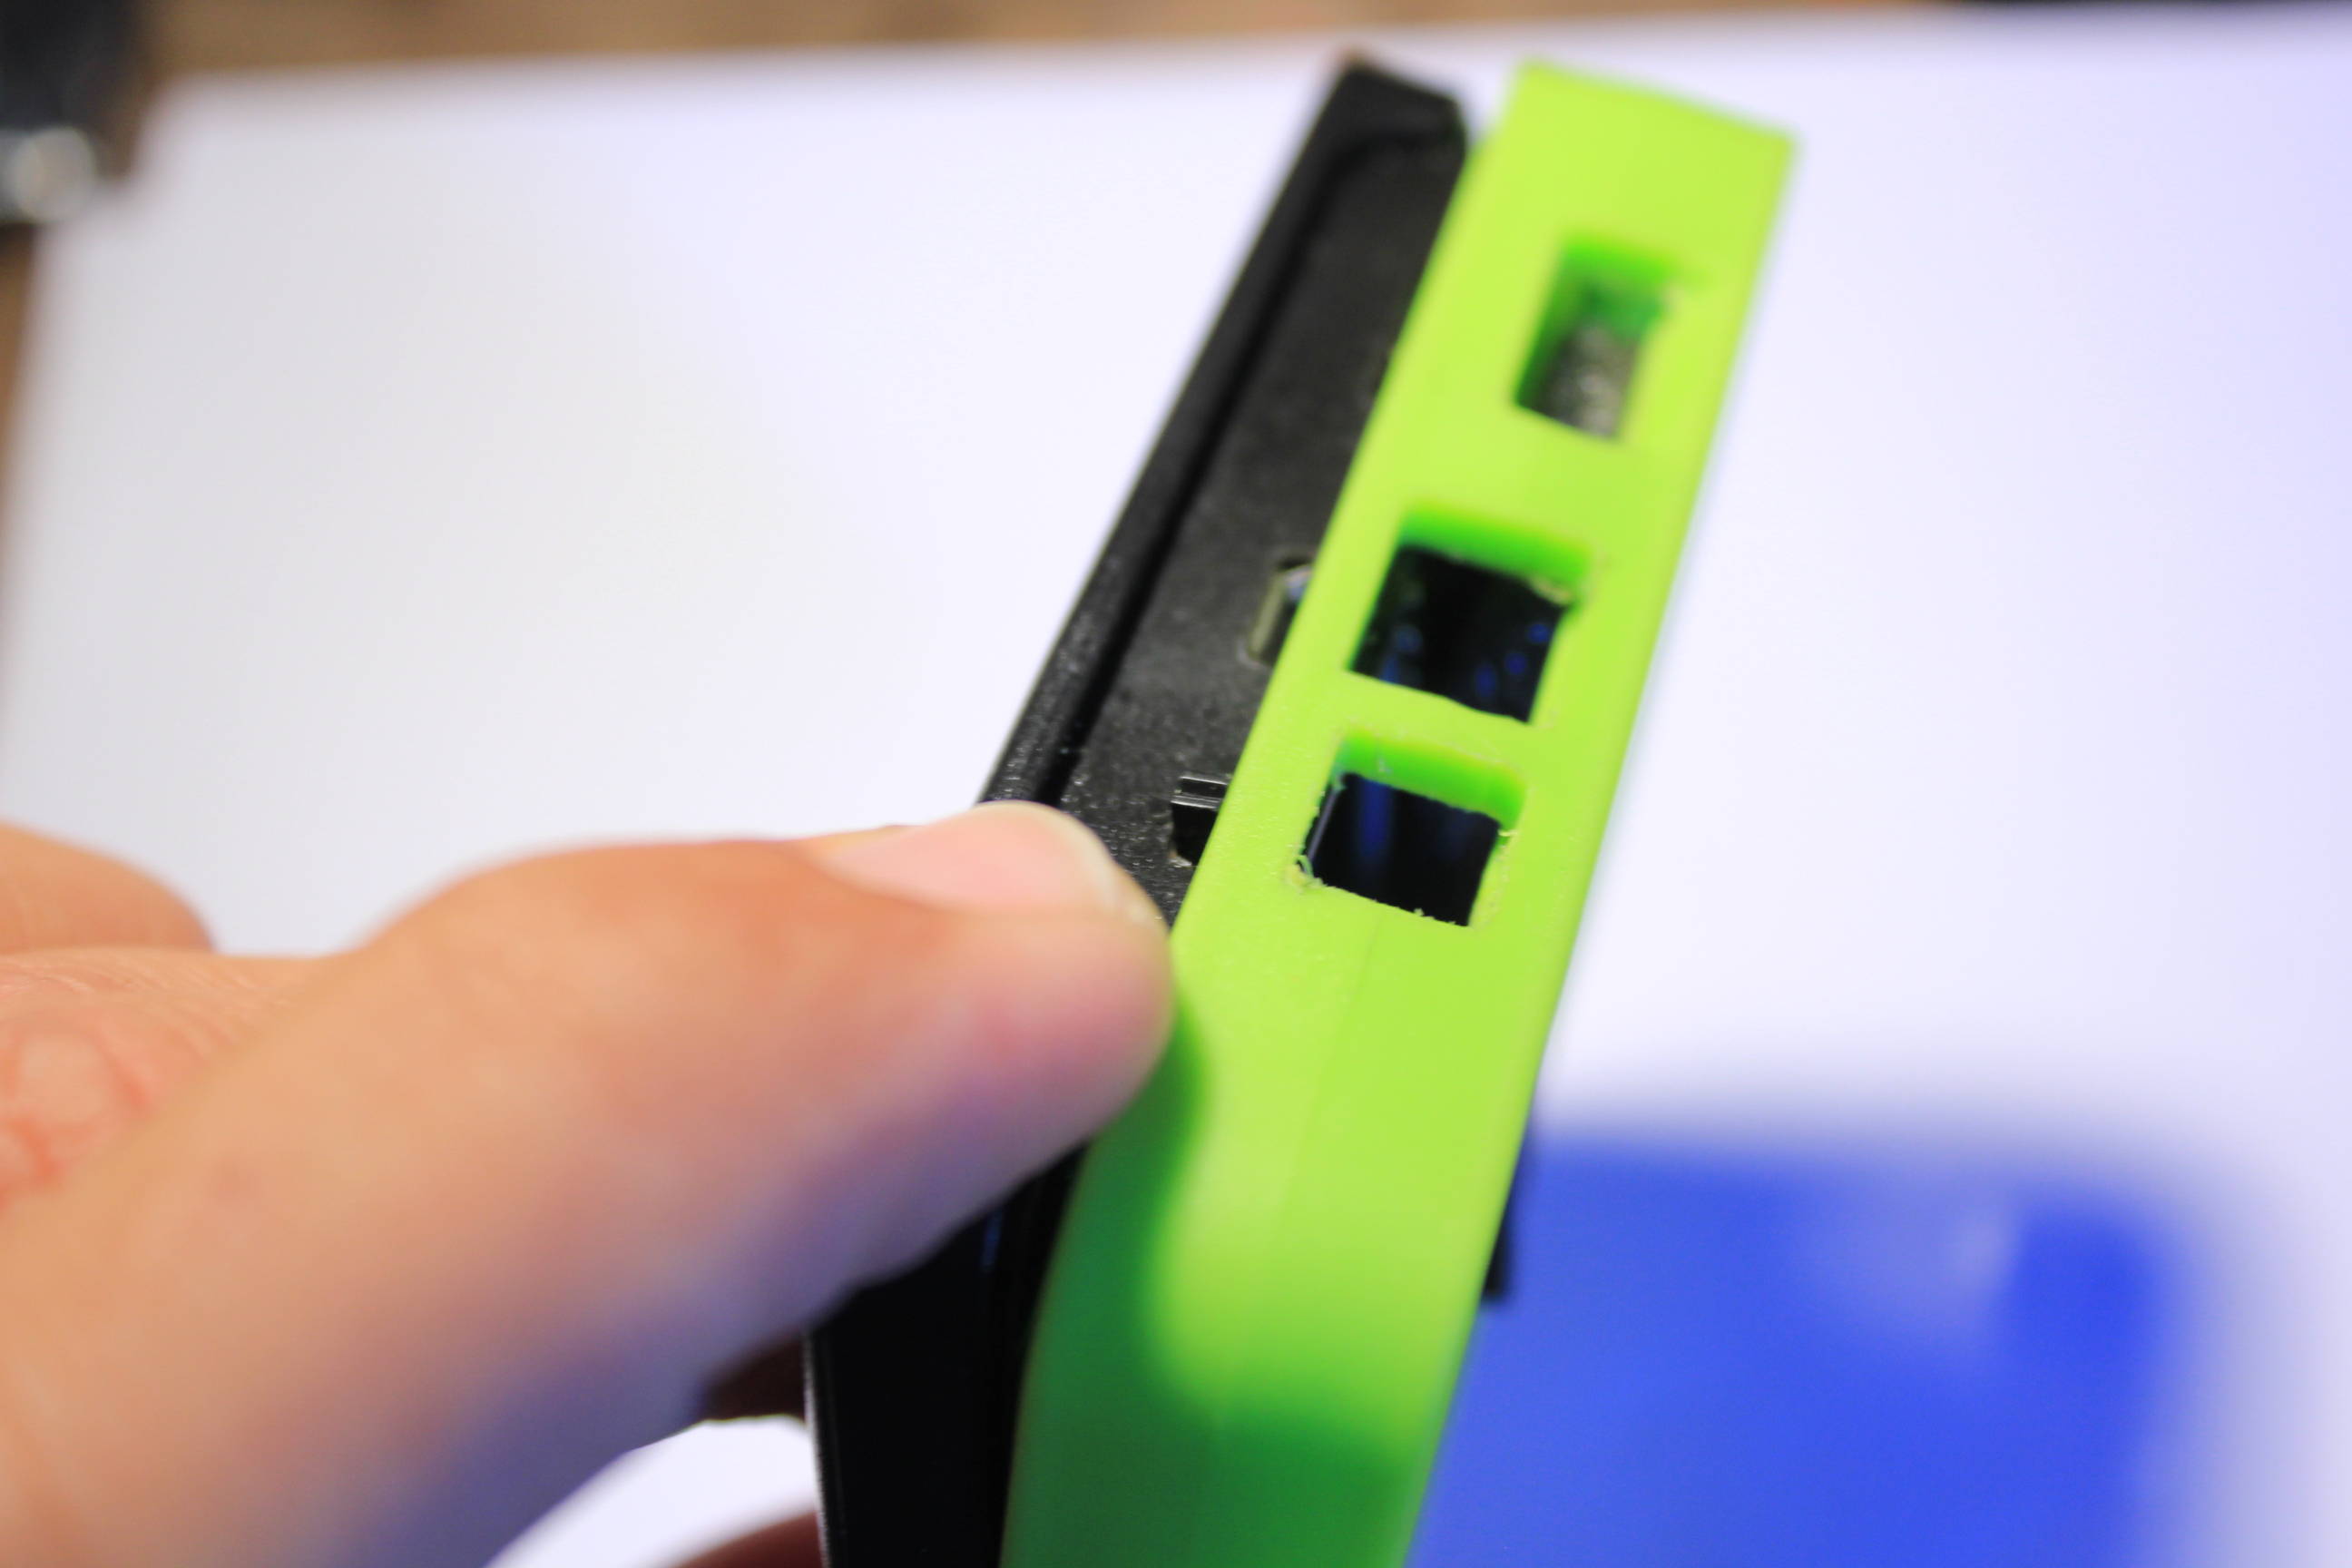
Apply pressure on the case to avoid damaging the slide switch and put the middle part in place.

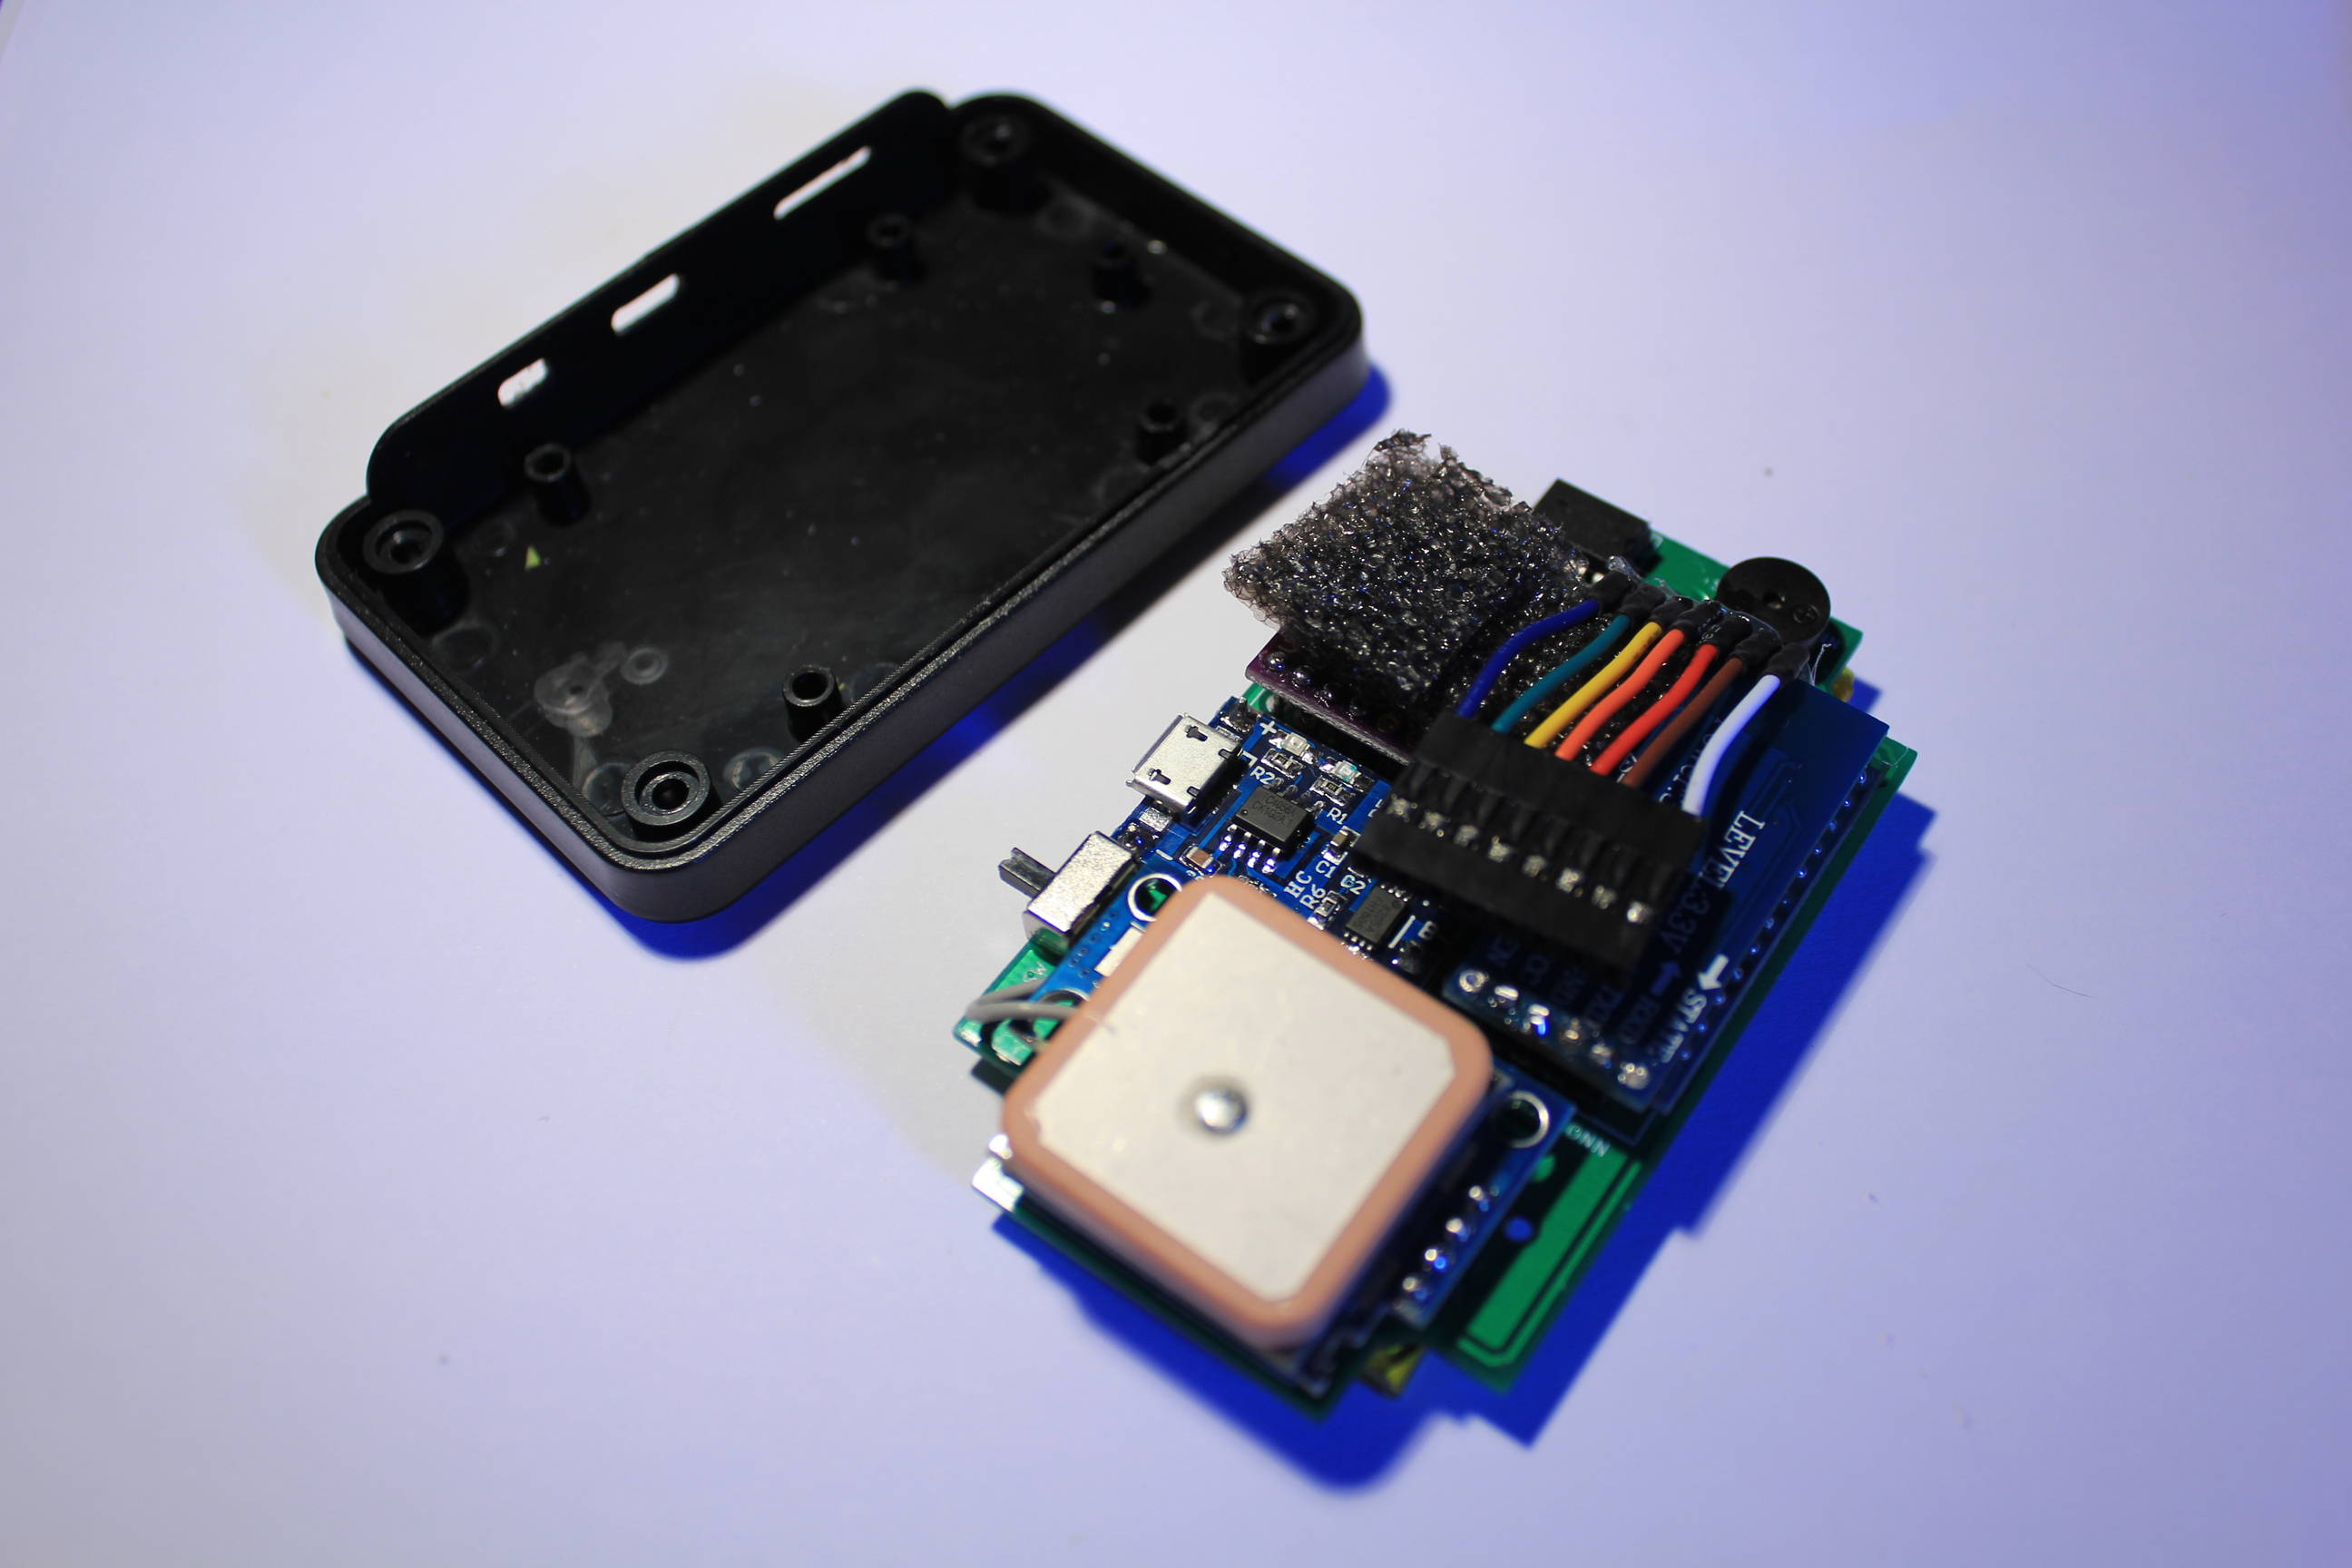
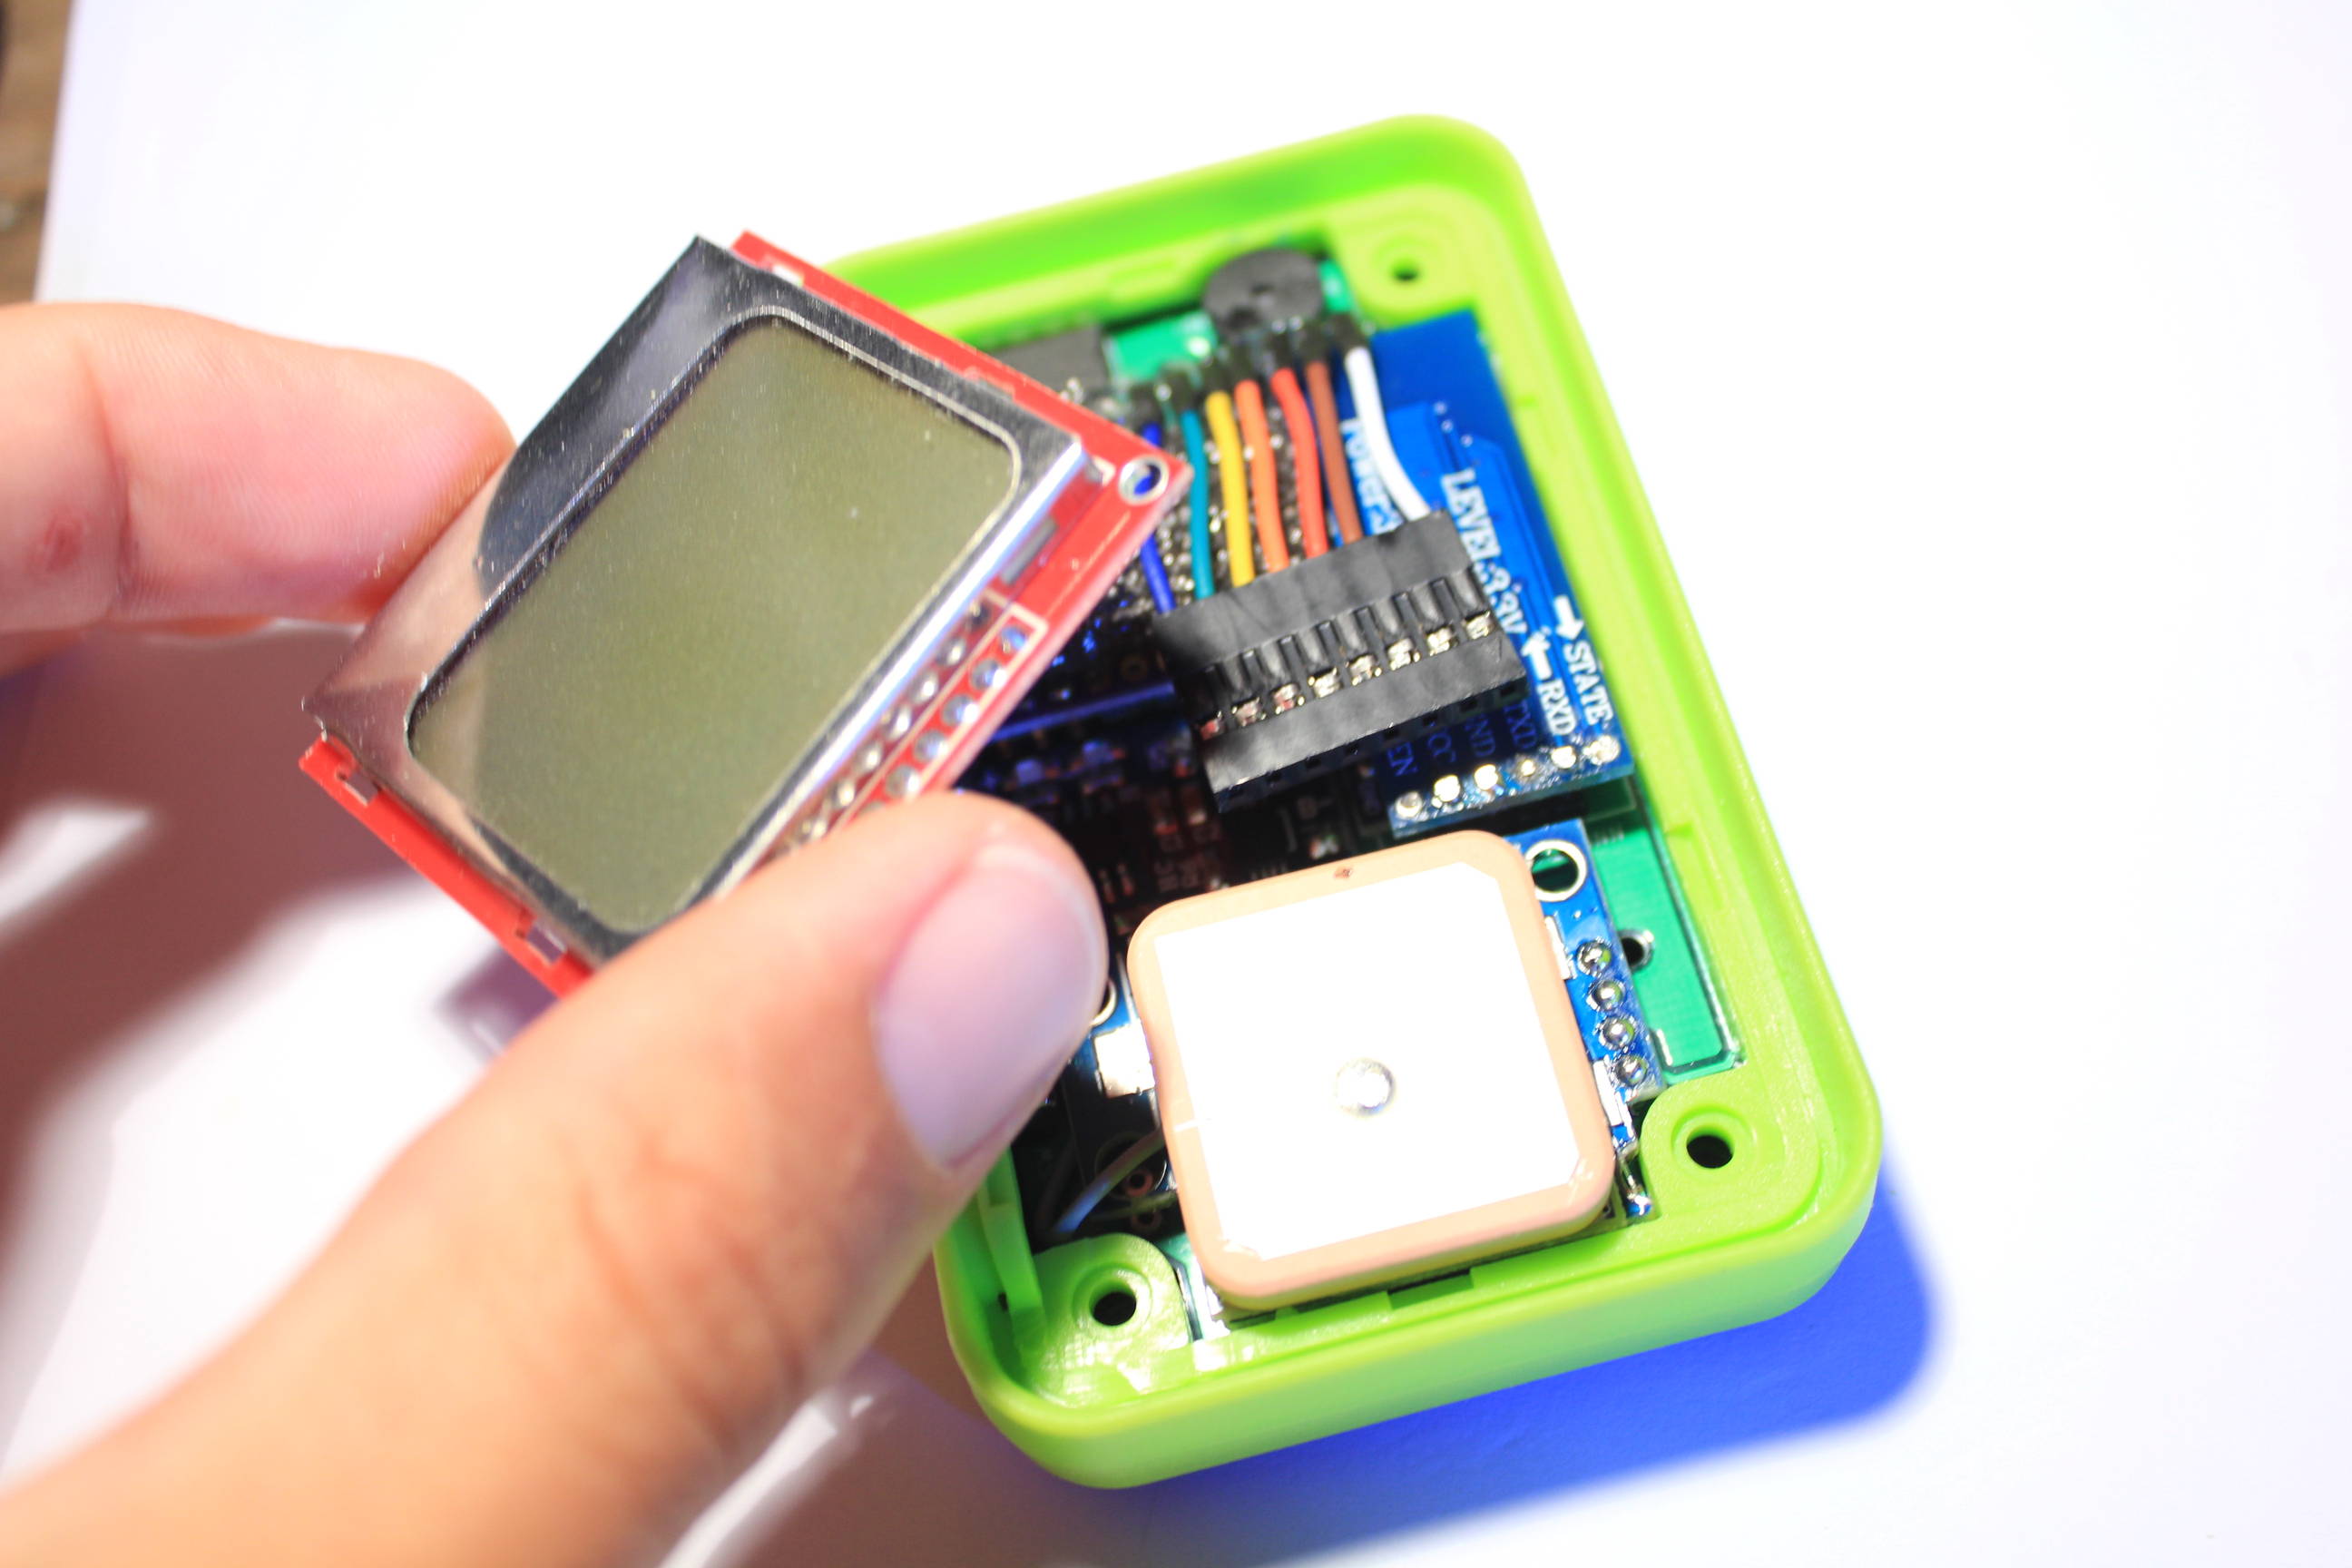
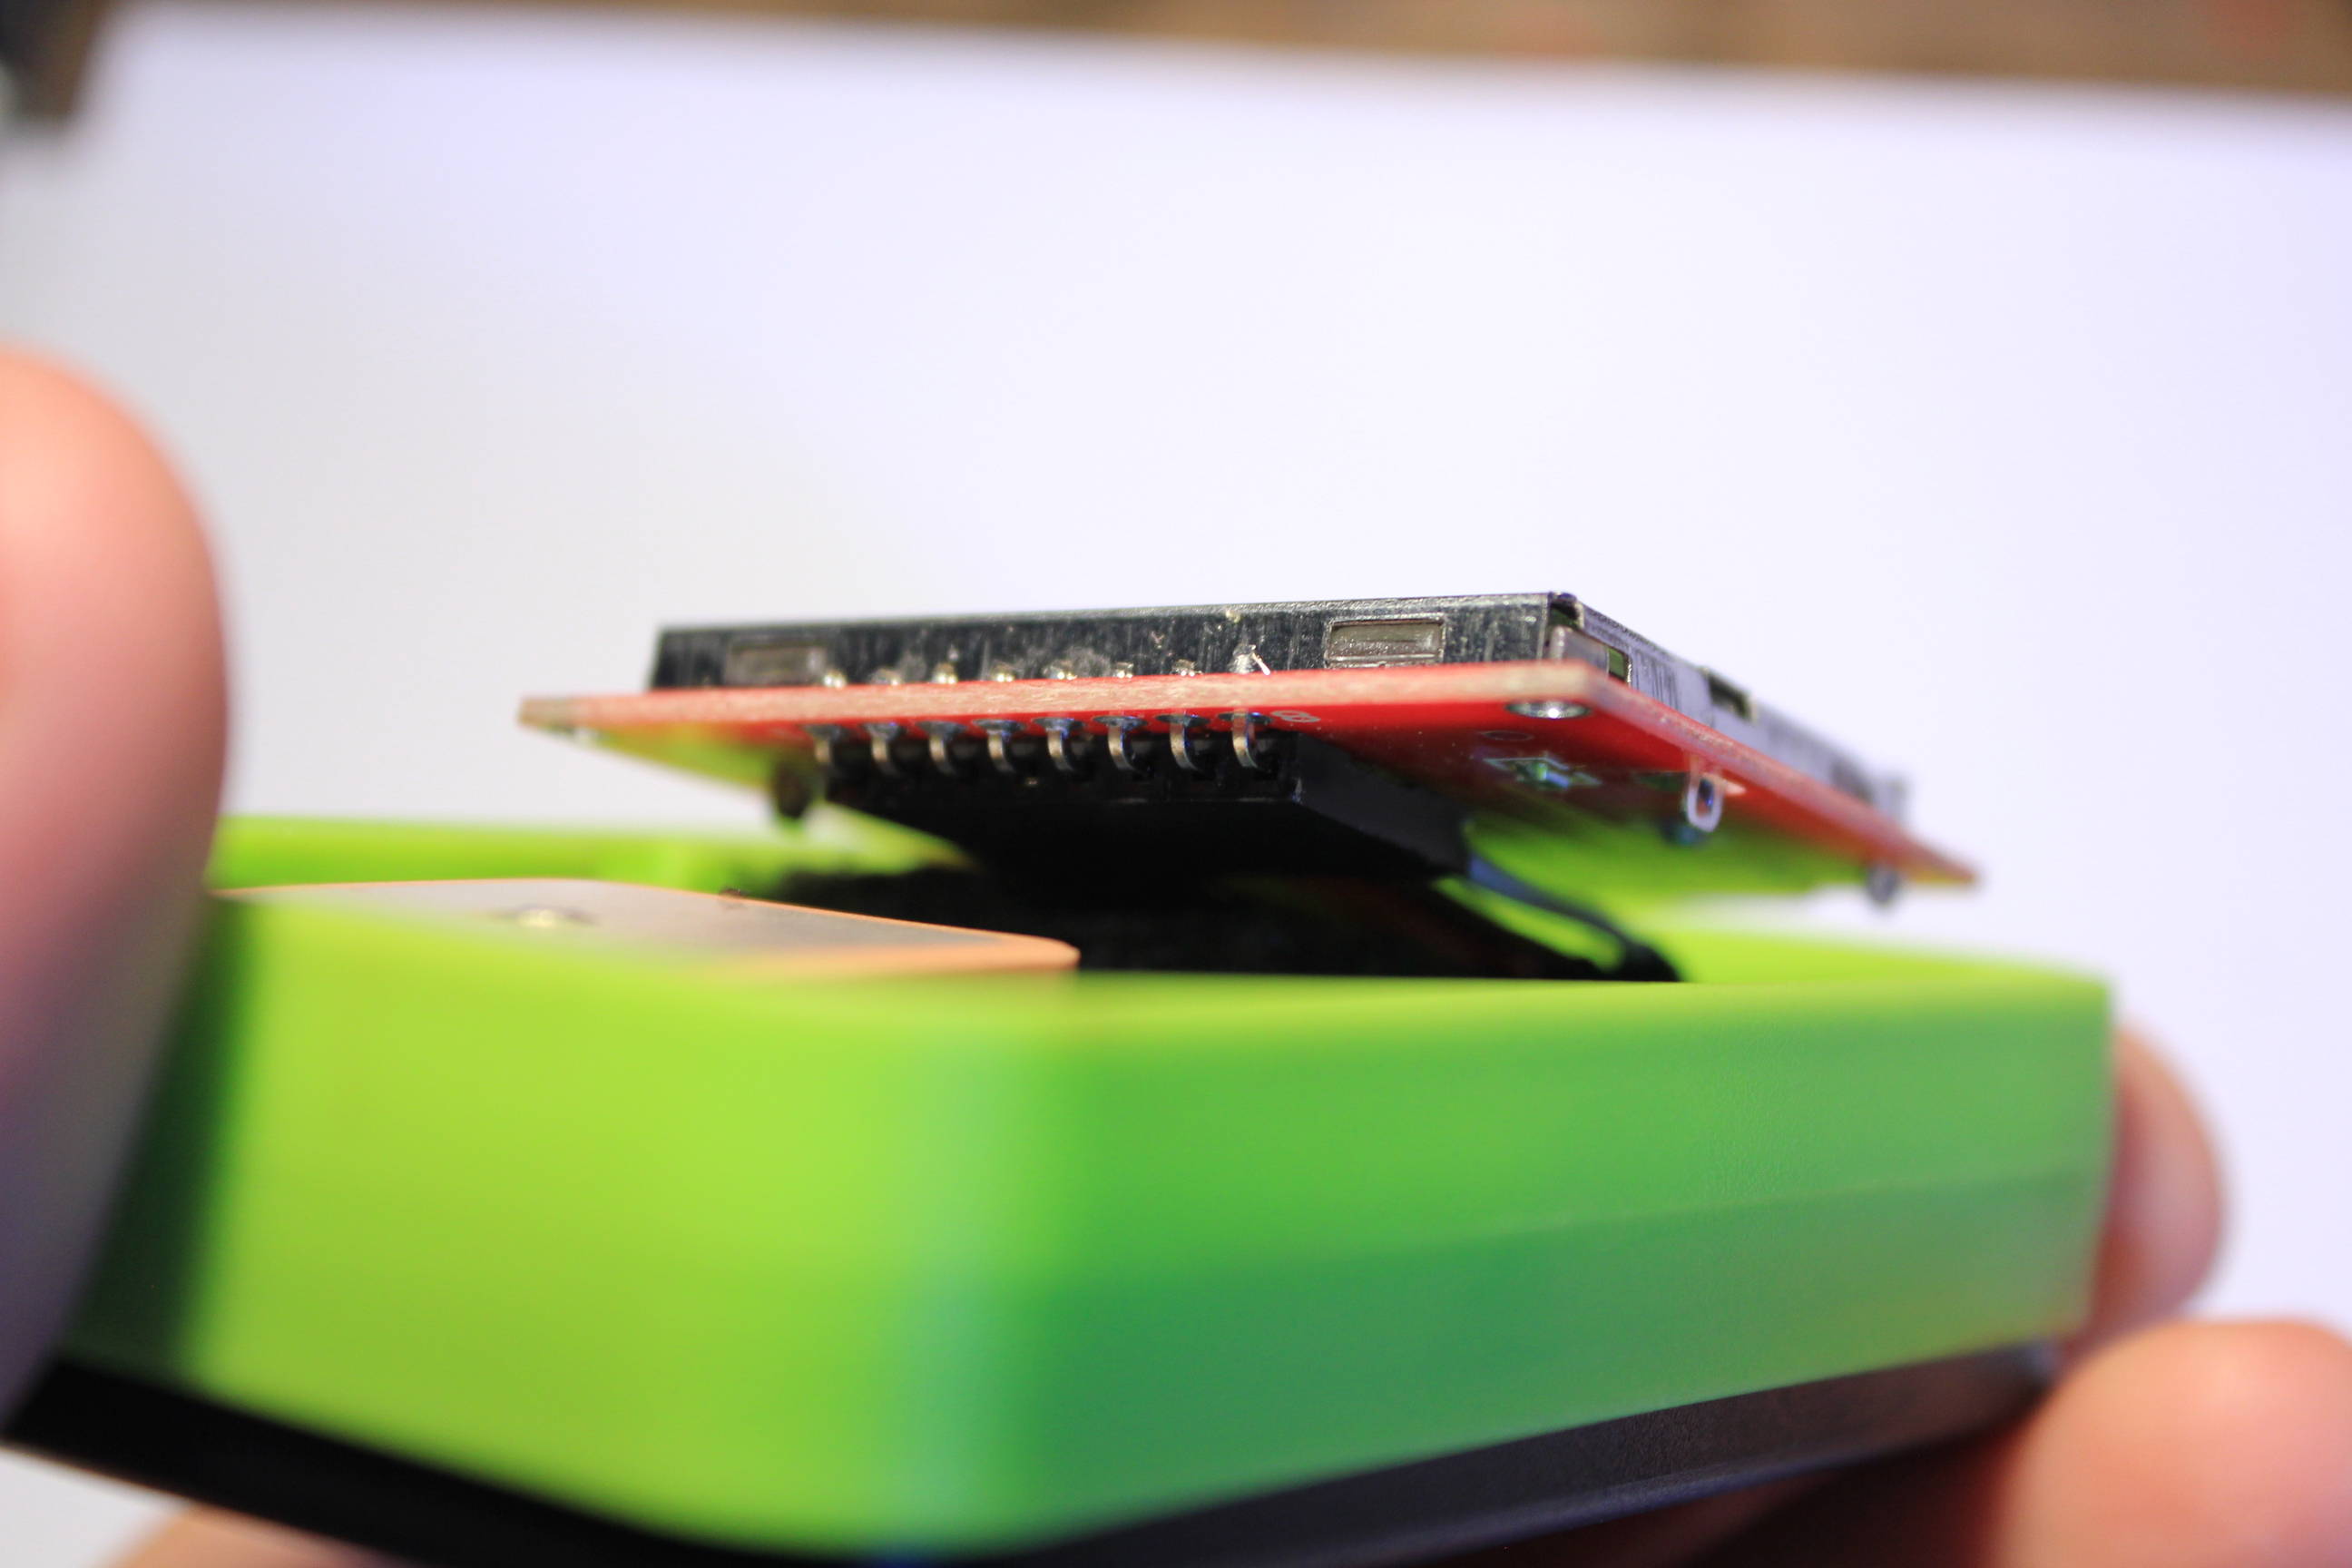
Connect the screen.
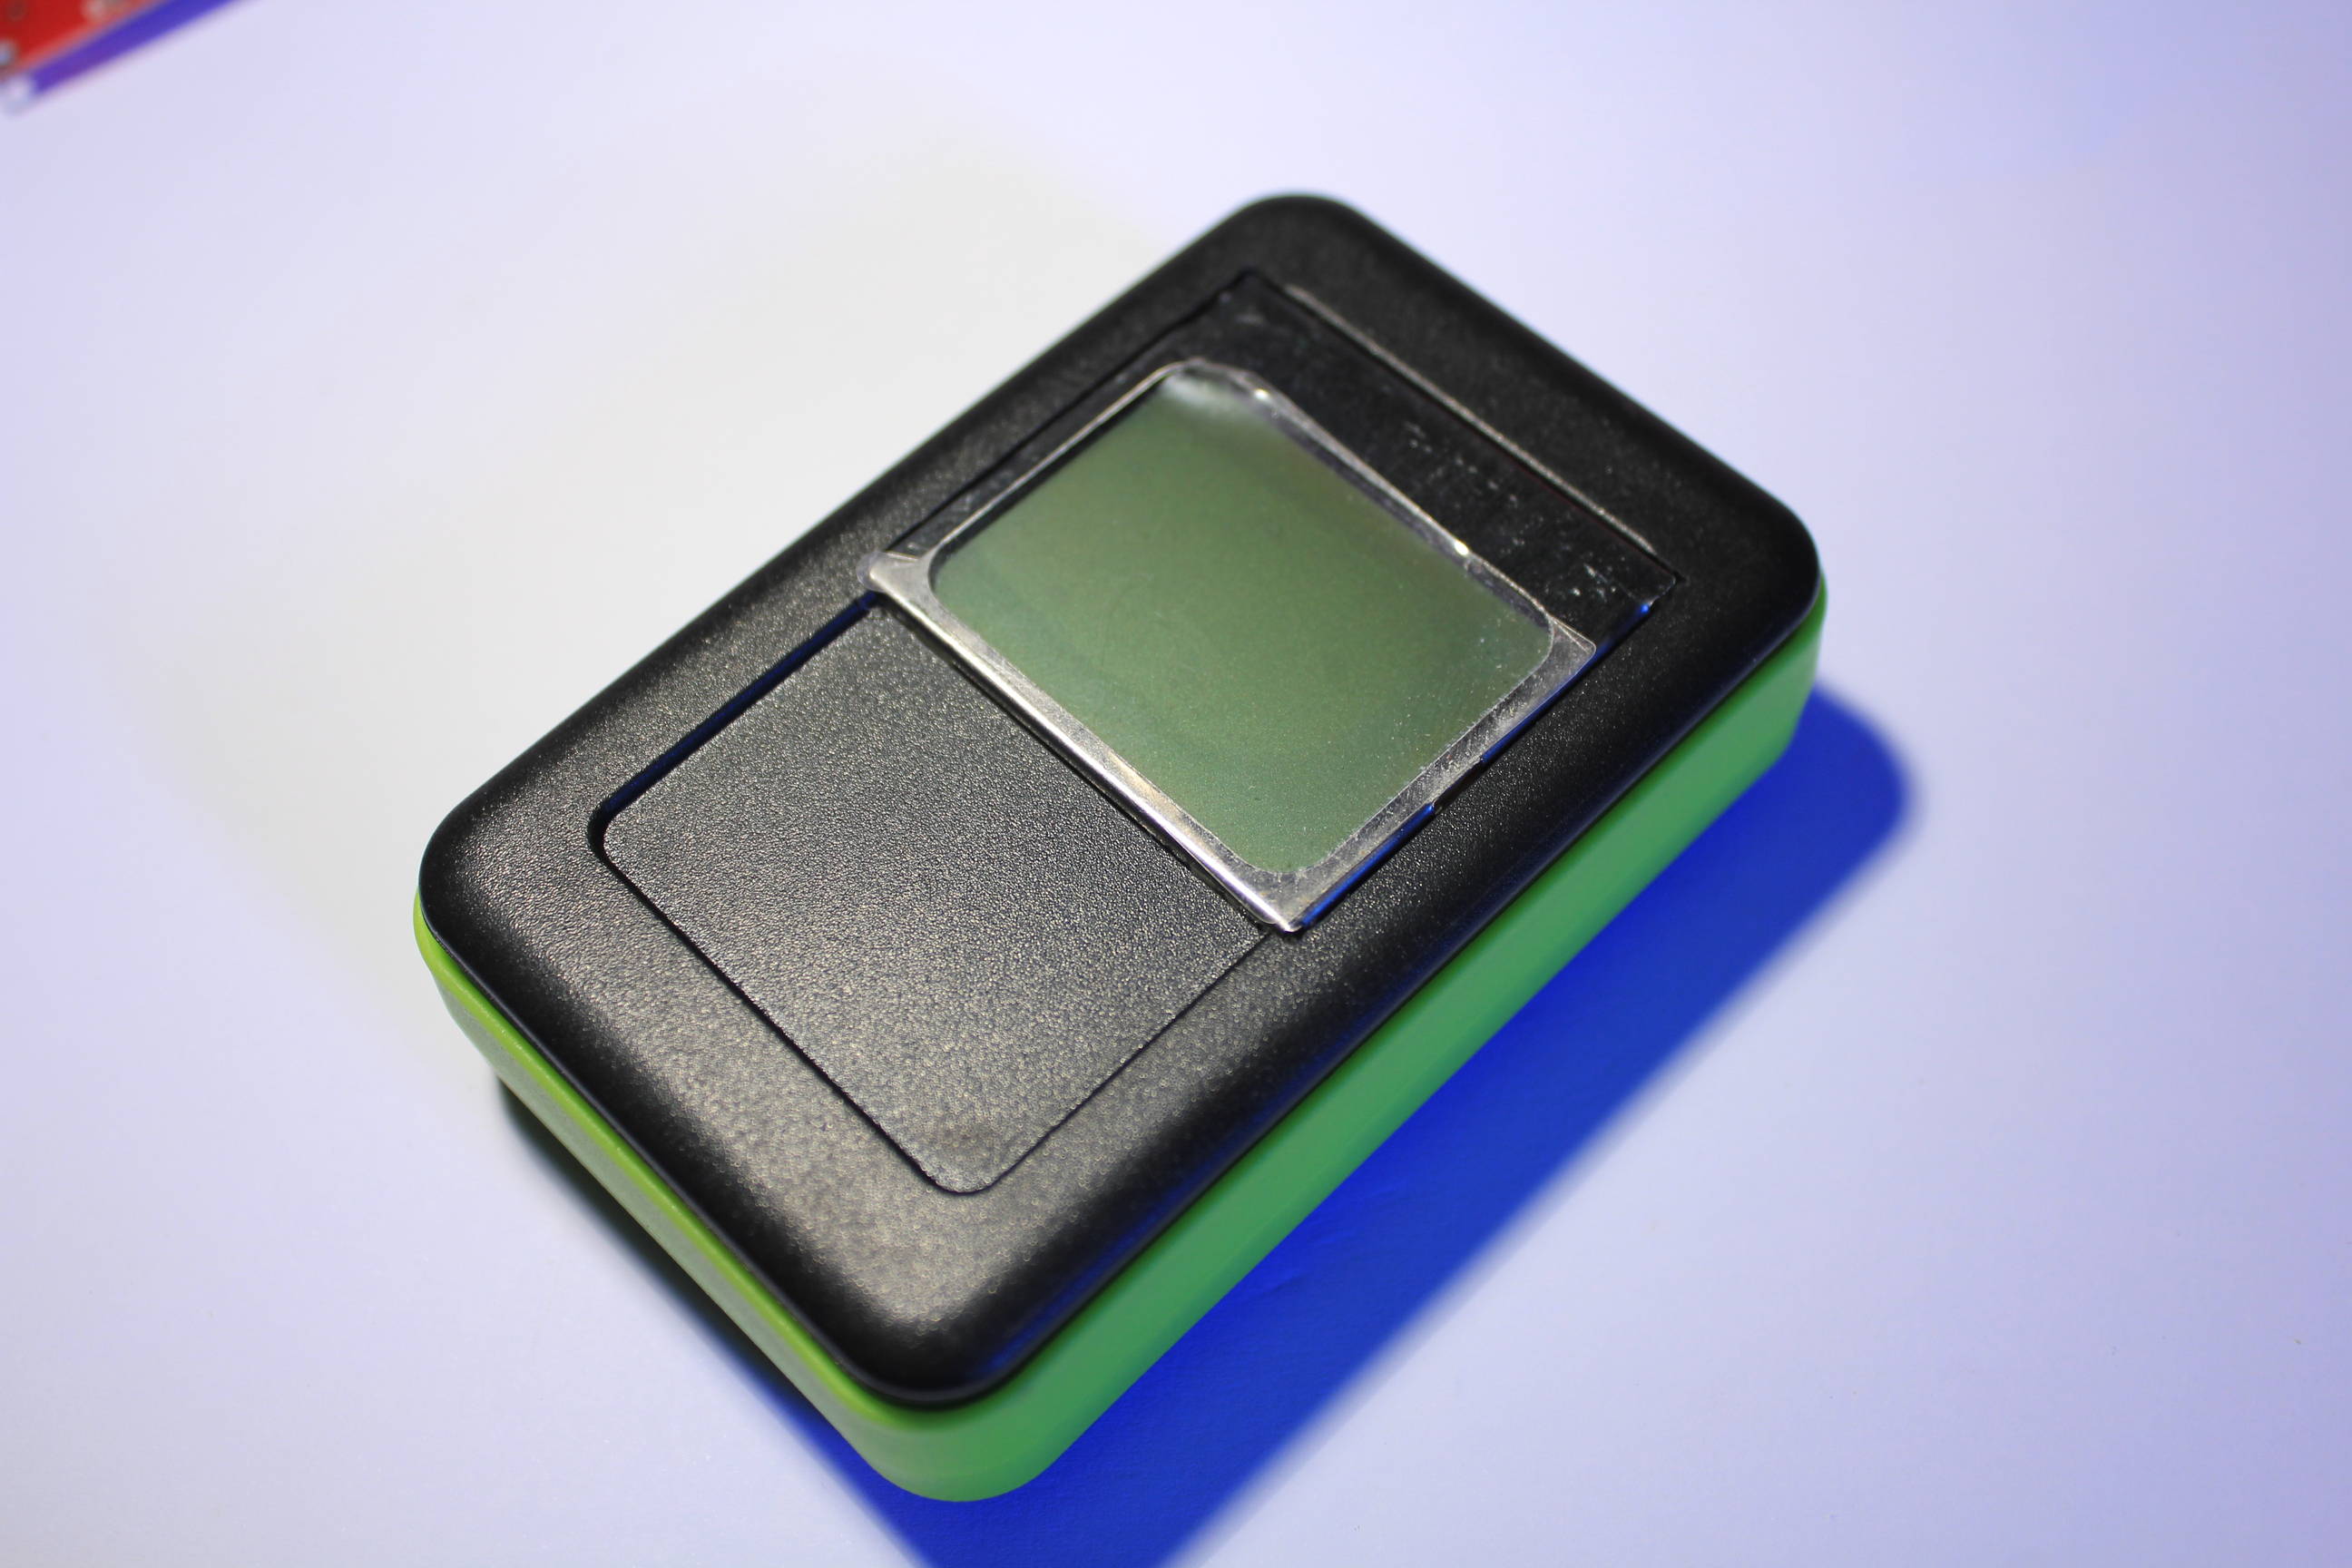
Finally you can put the case upper part. Don’t apply too much pressure ! You can close it with the screws.
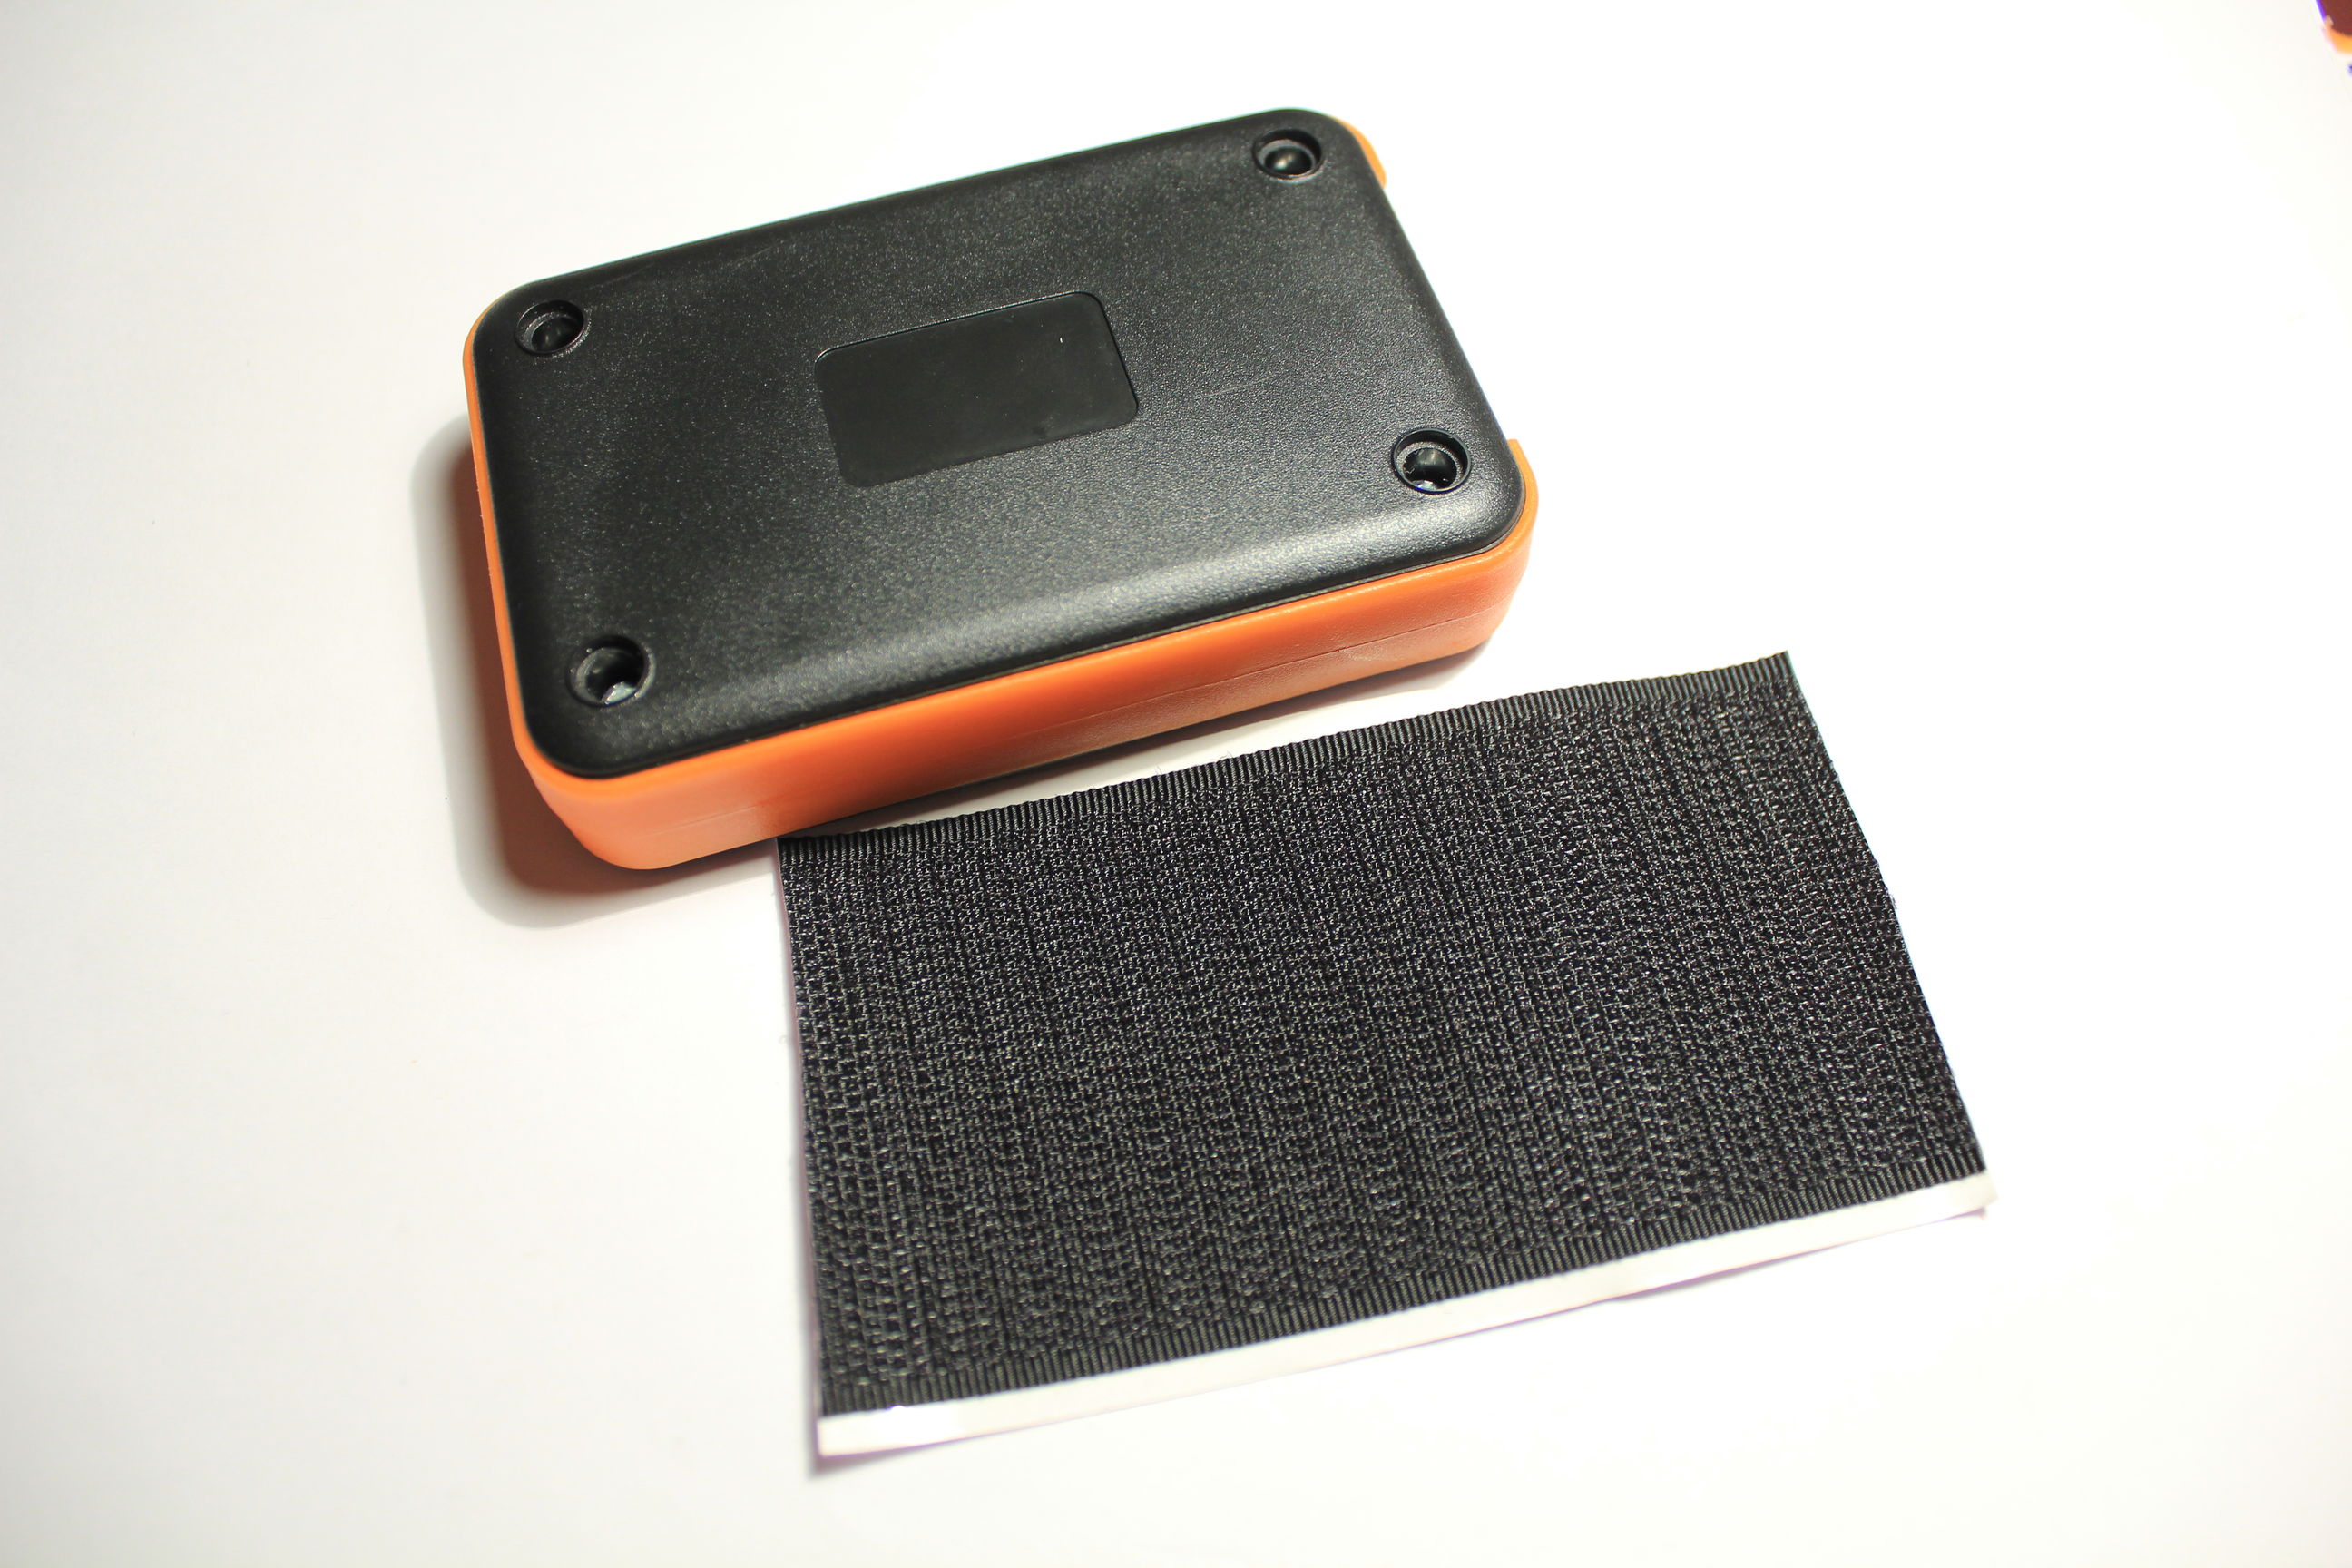
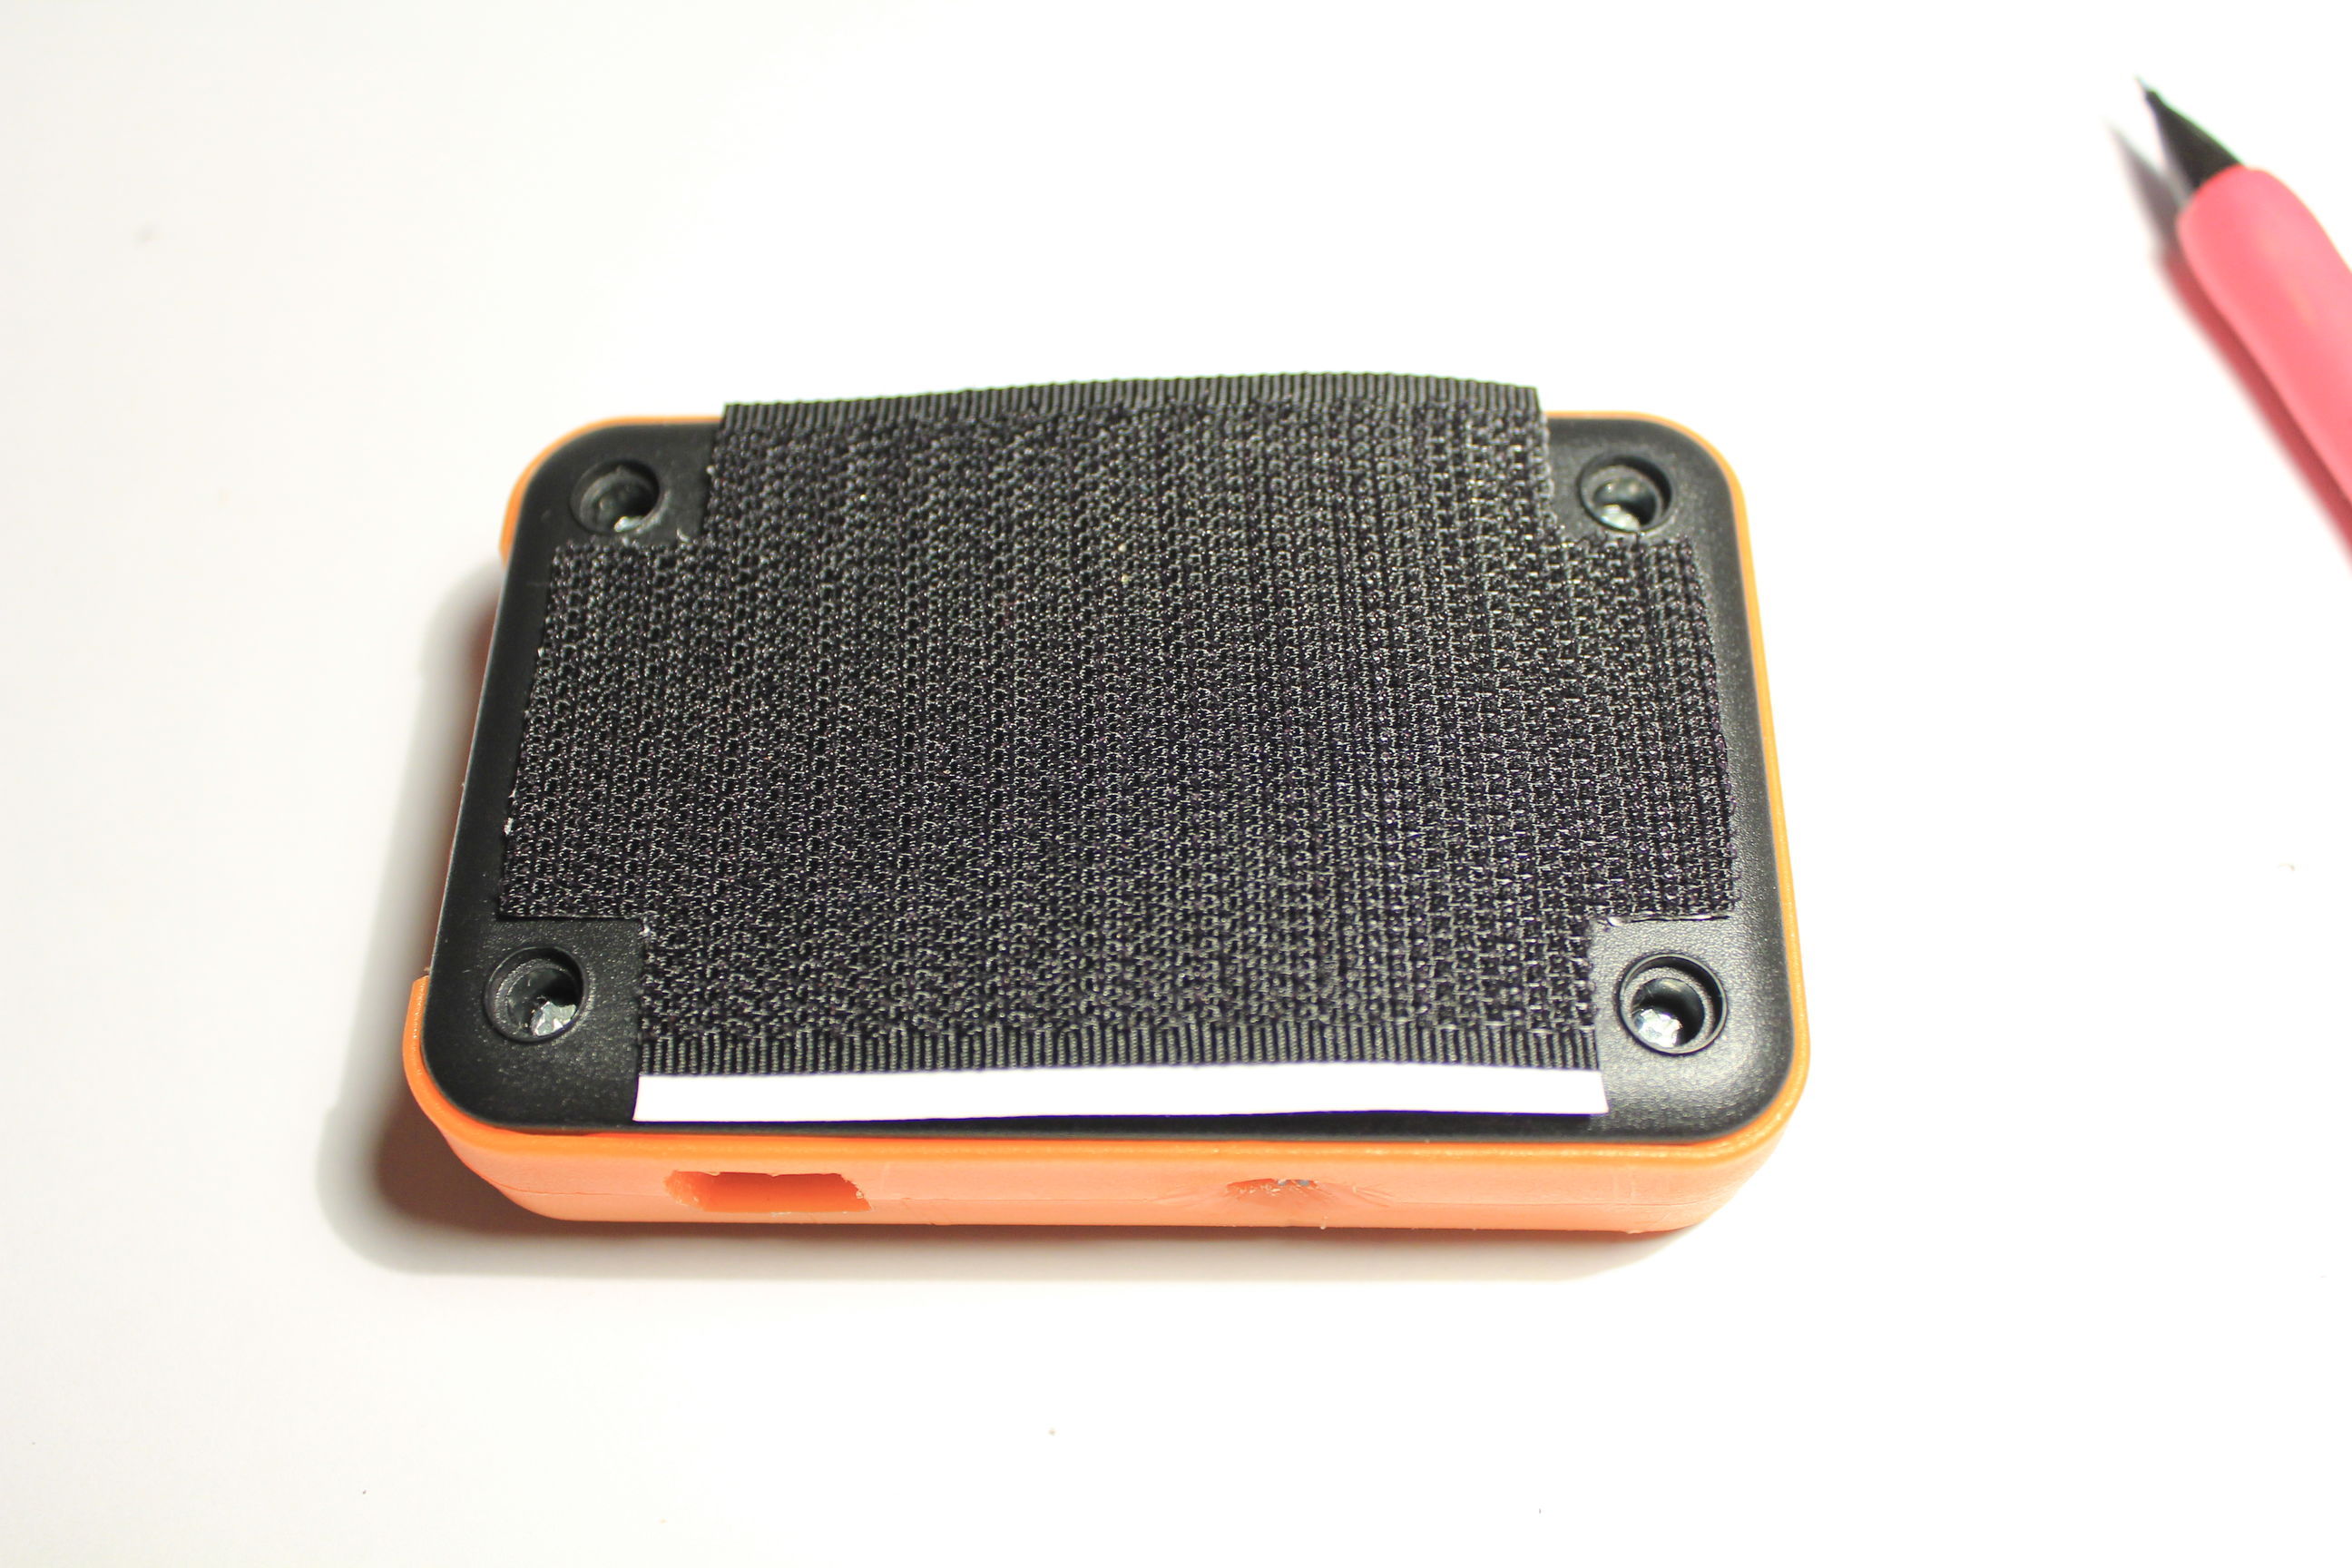
If you want you can fix the Velcro on the back side. To do this cut it at the right dimension :
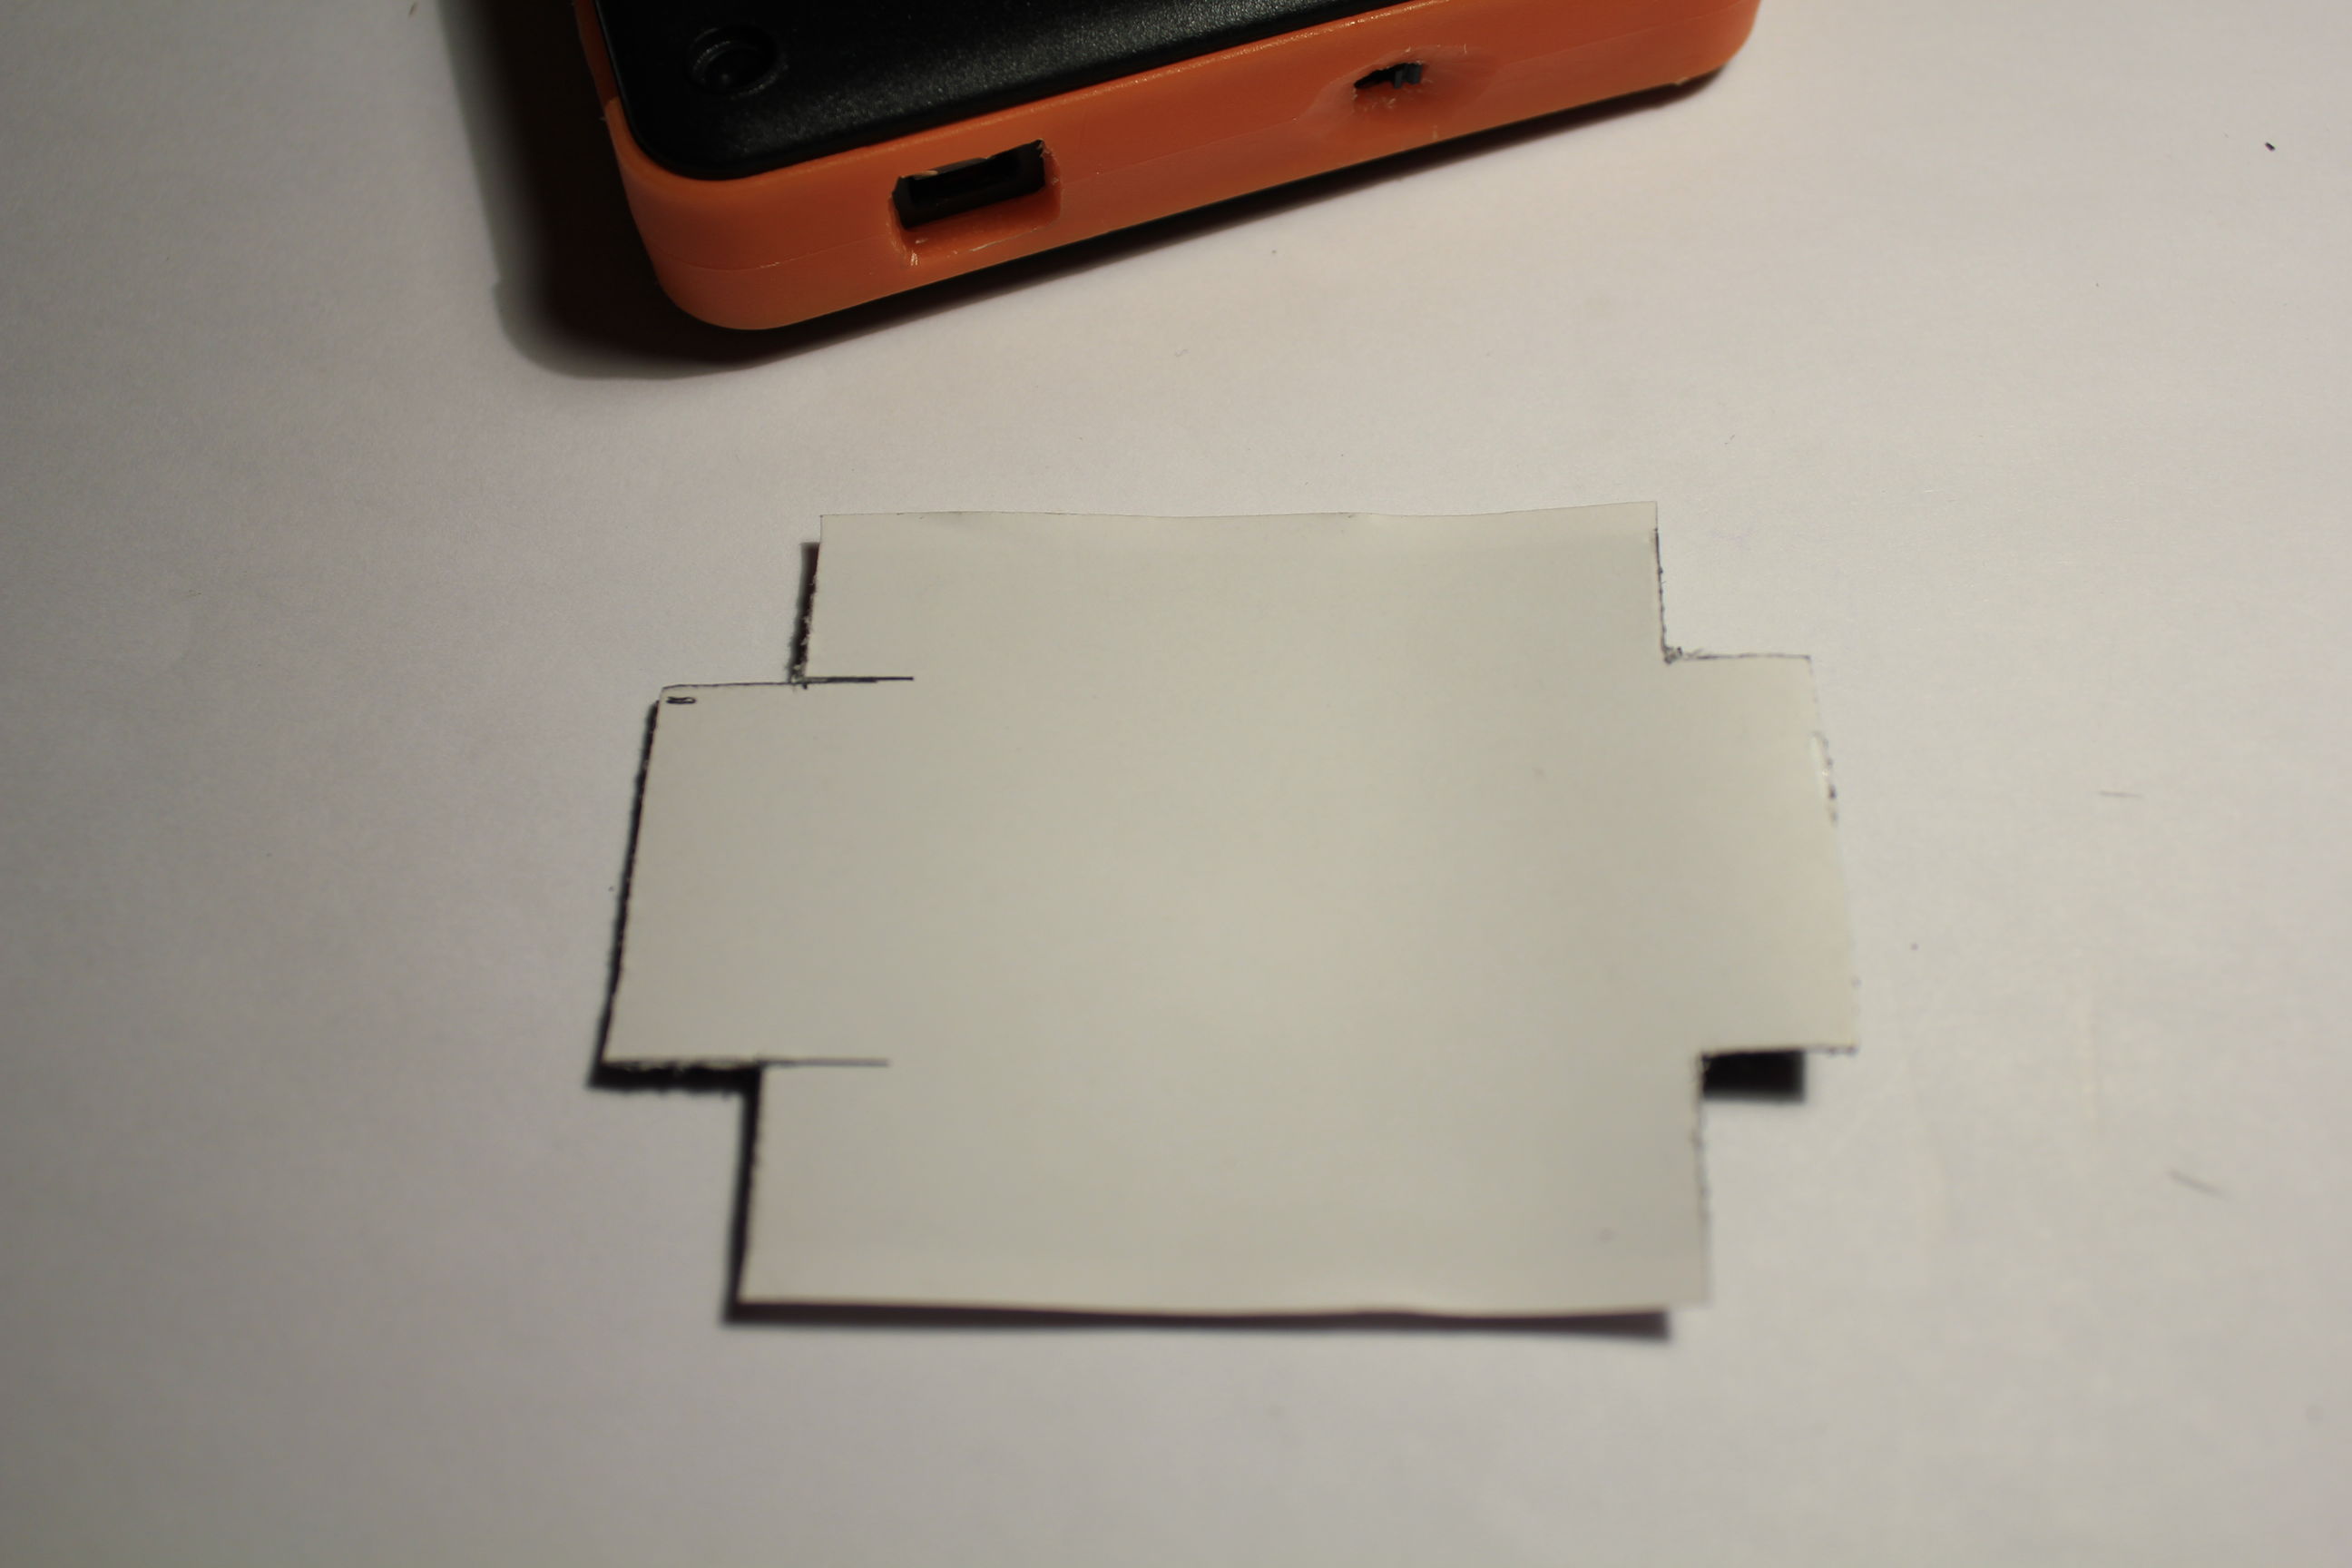
And paste it on the case’s bottom. Be careful ! You have only one try !

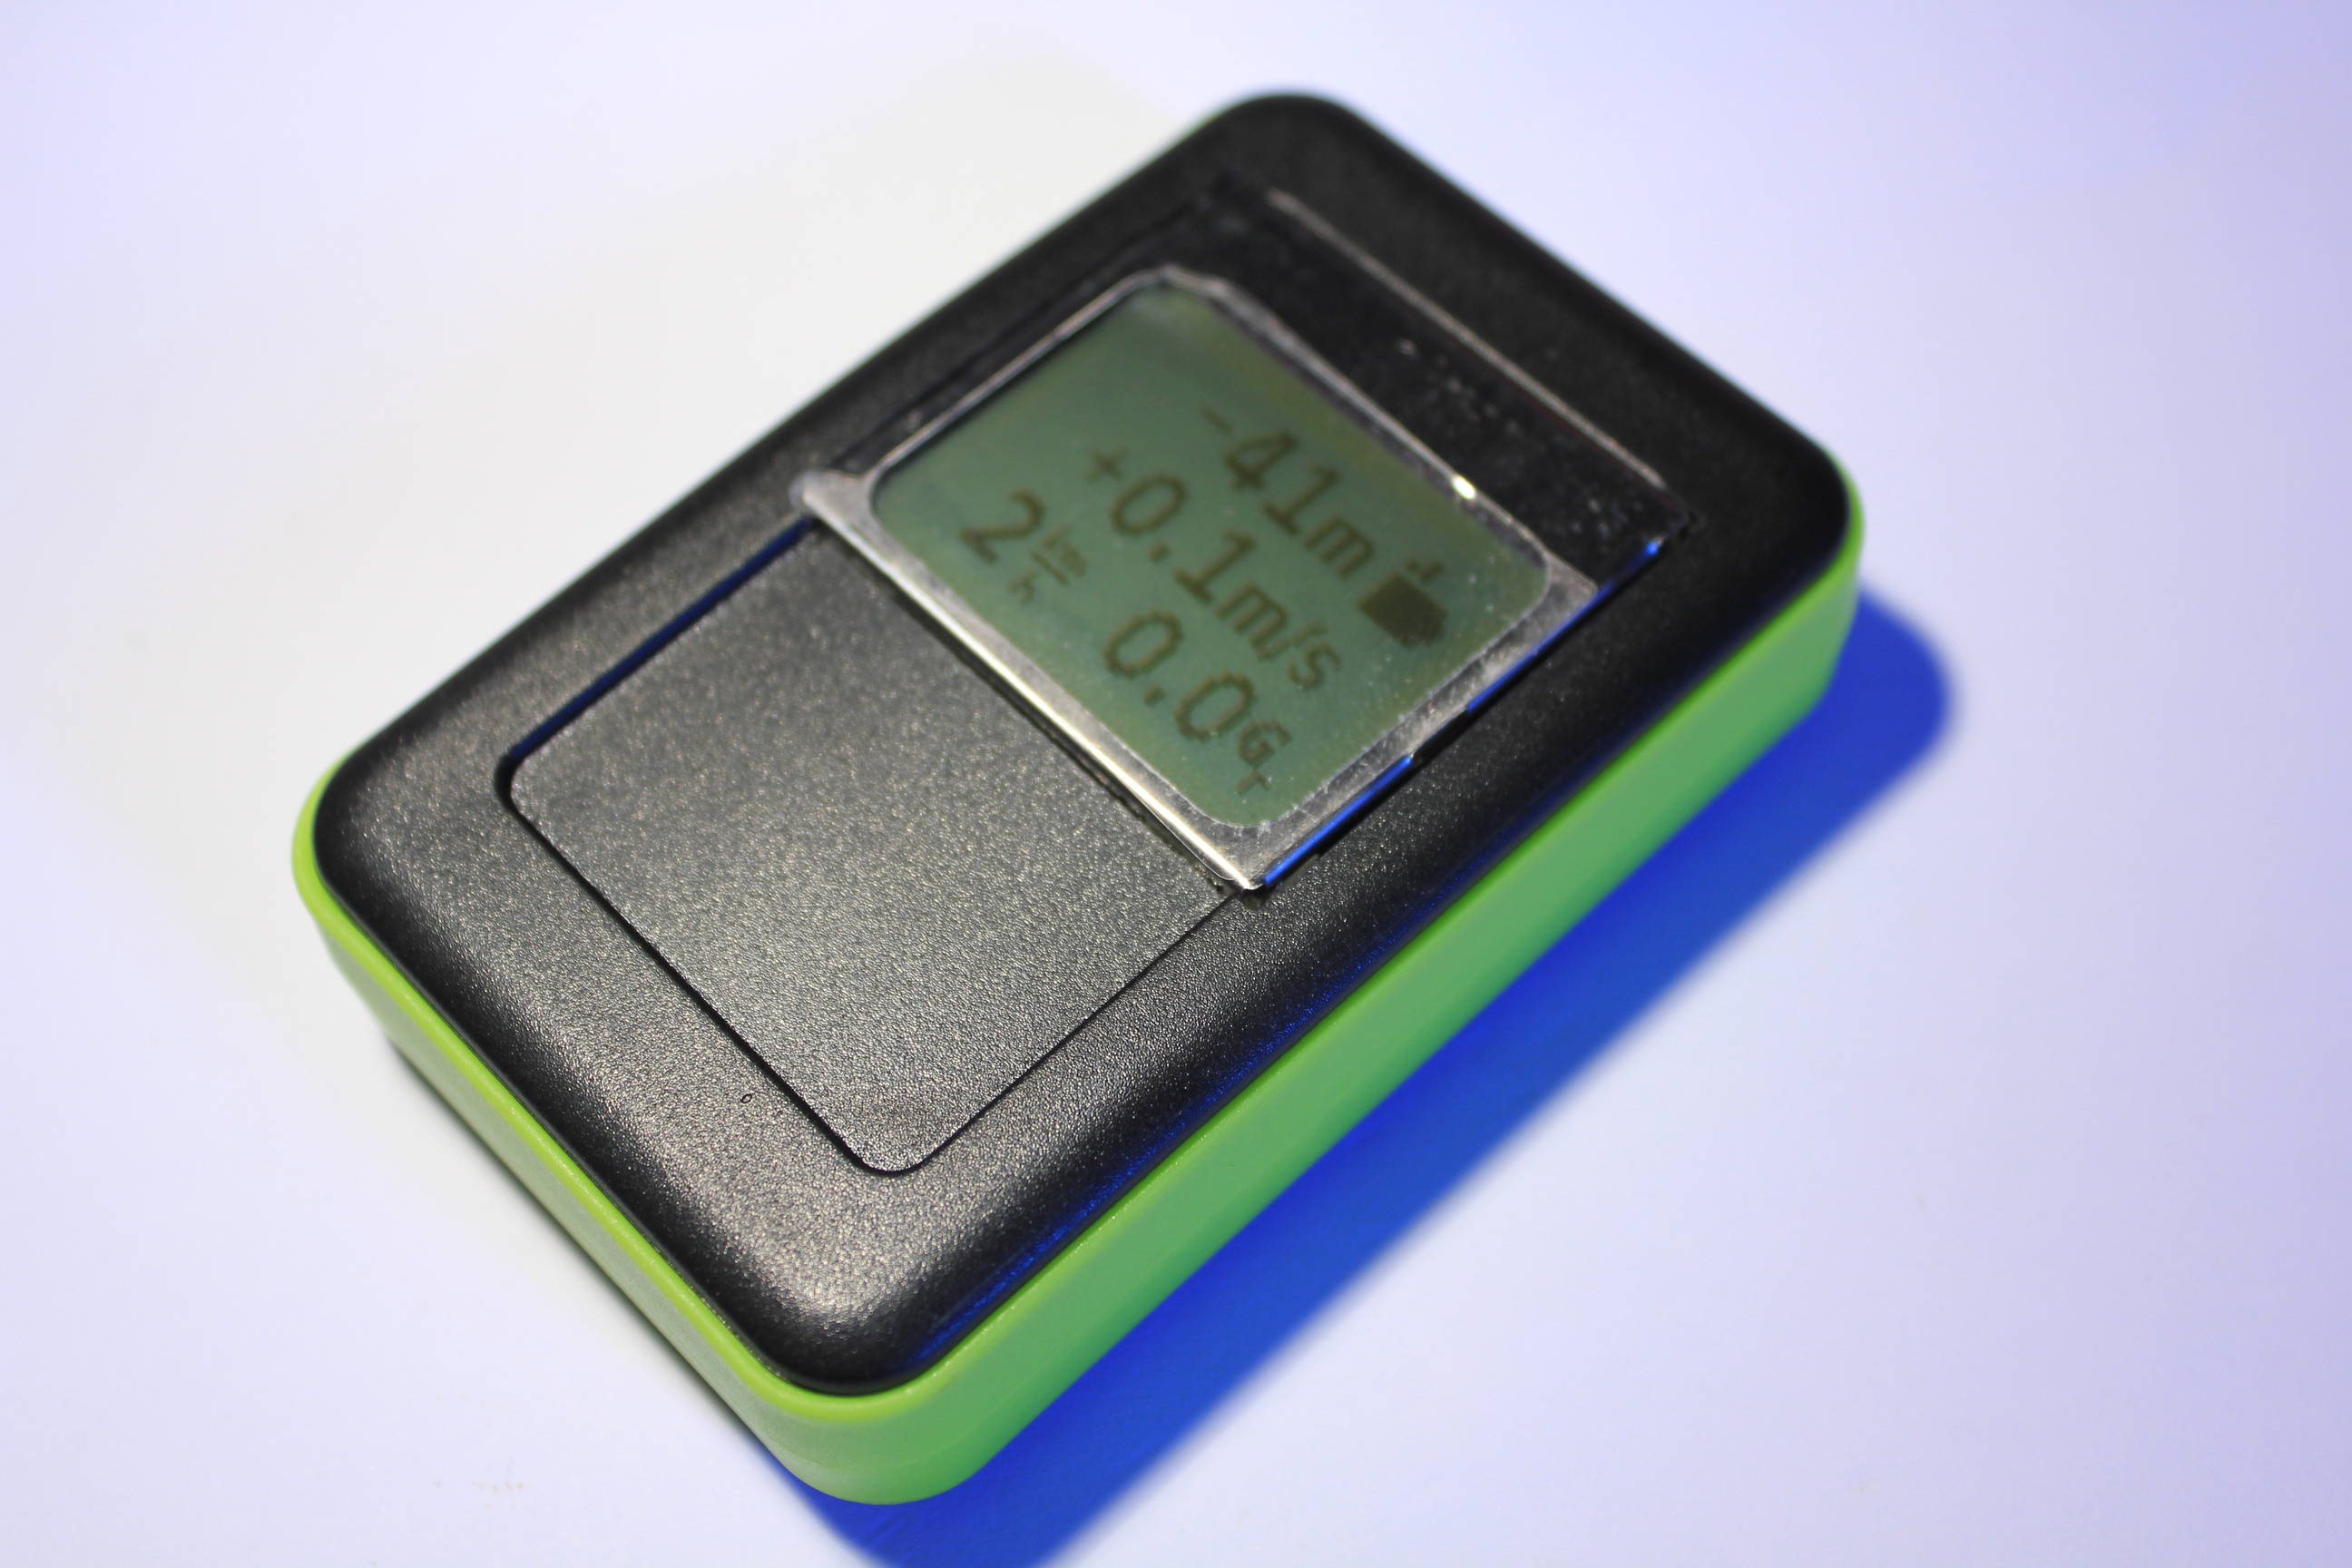
You can now try your variometer but first follow these steps !
- Charge the battery until it’s full.
- Power on the variometer. If it don’t work, wait one minute while powered on.
- Power off and on the variometer again. If it don’t works check your soldering or contact me.