Hardware
Building tutorial summary
Some soldering tips
Here some soldering tips before starting building the variometer.
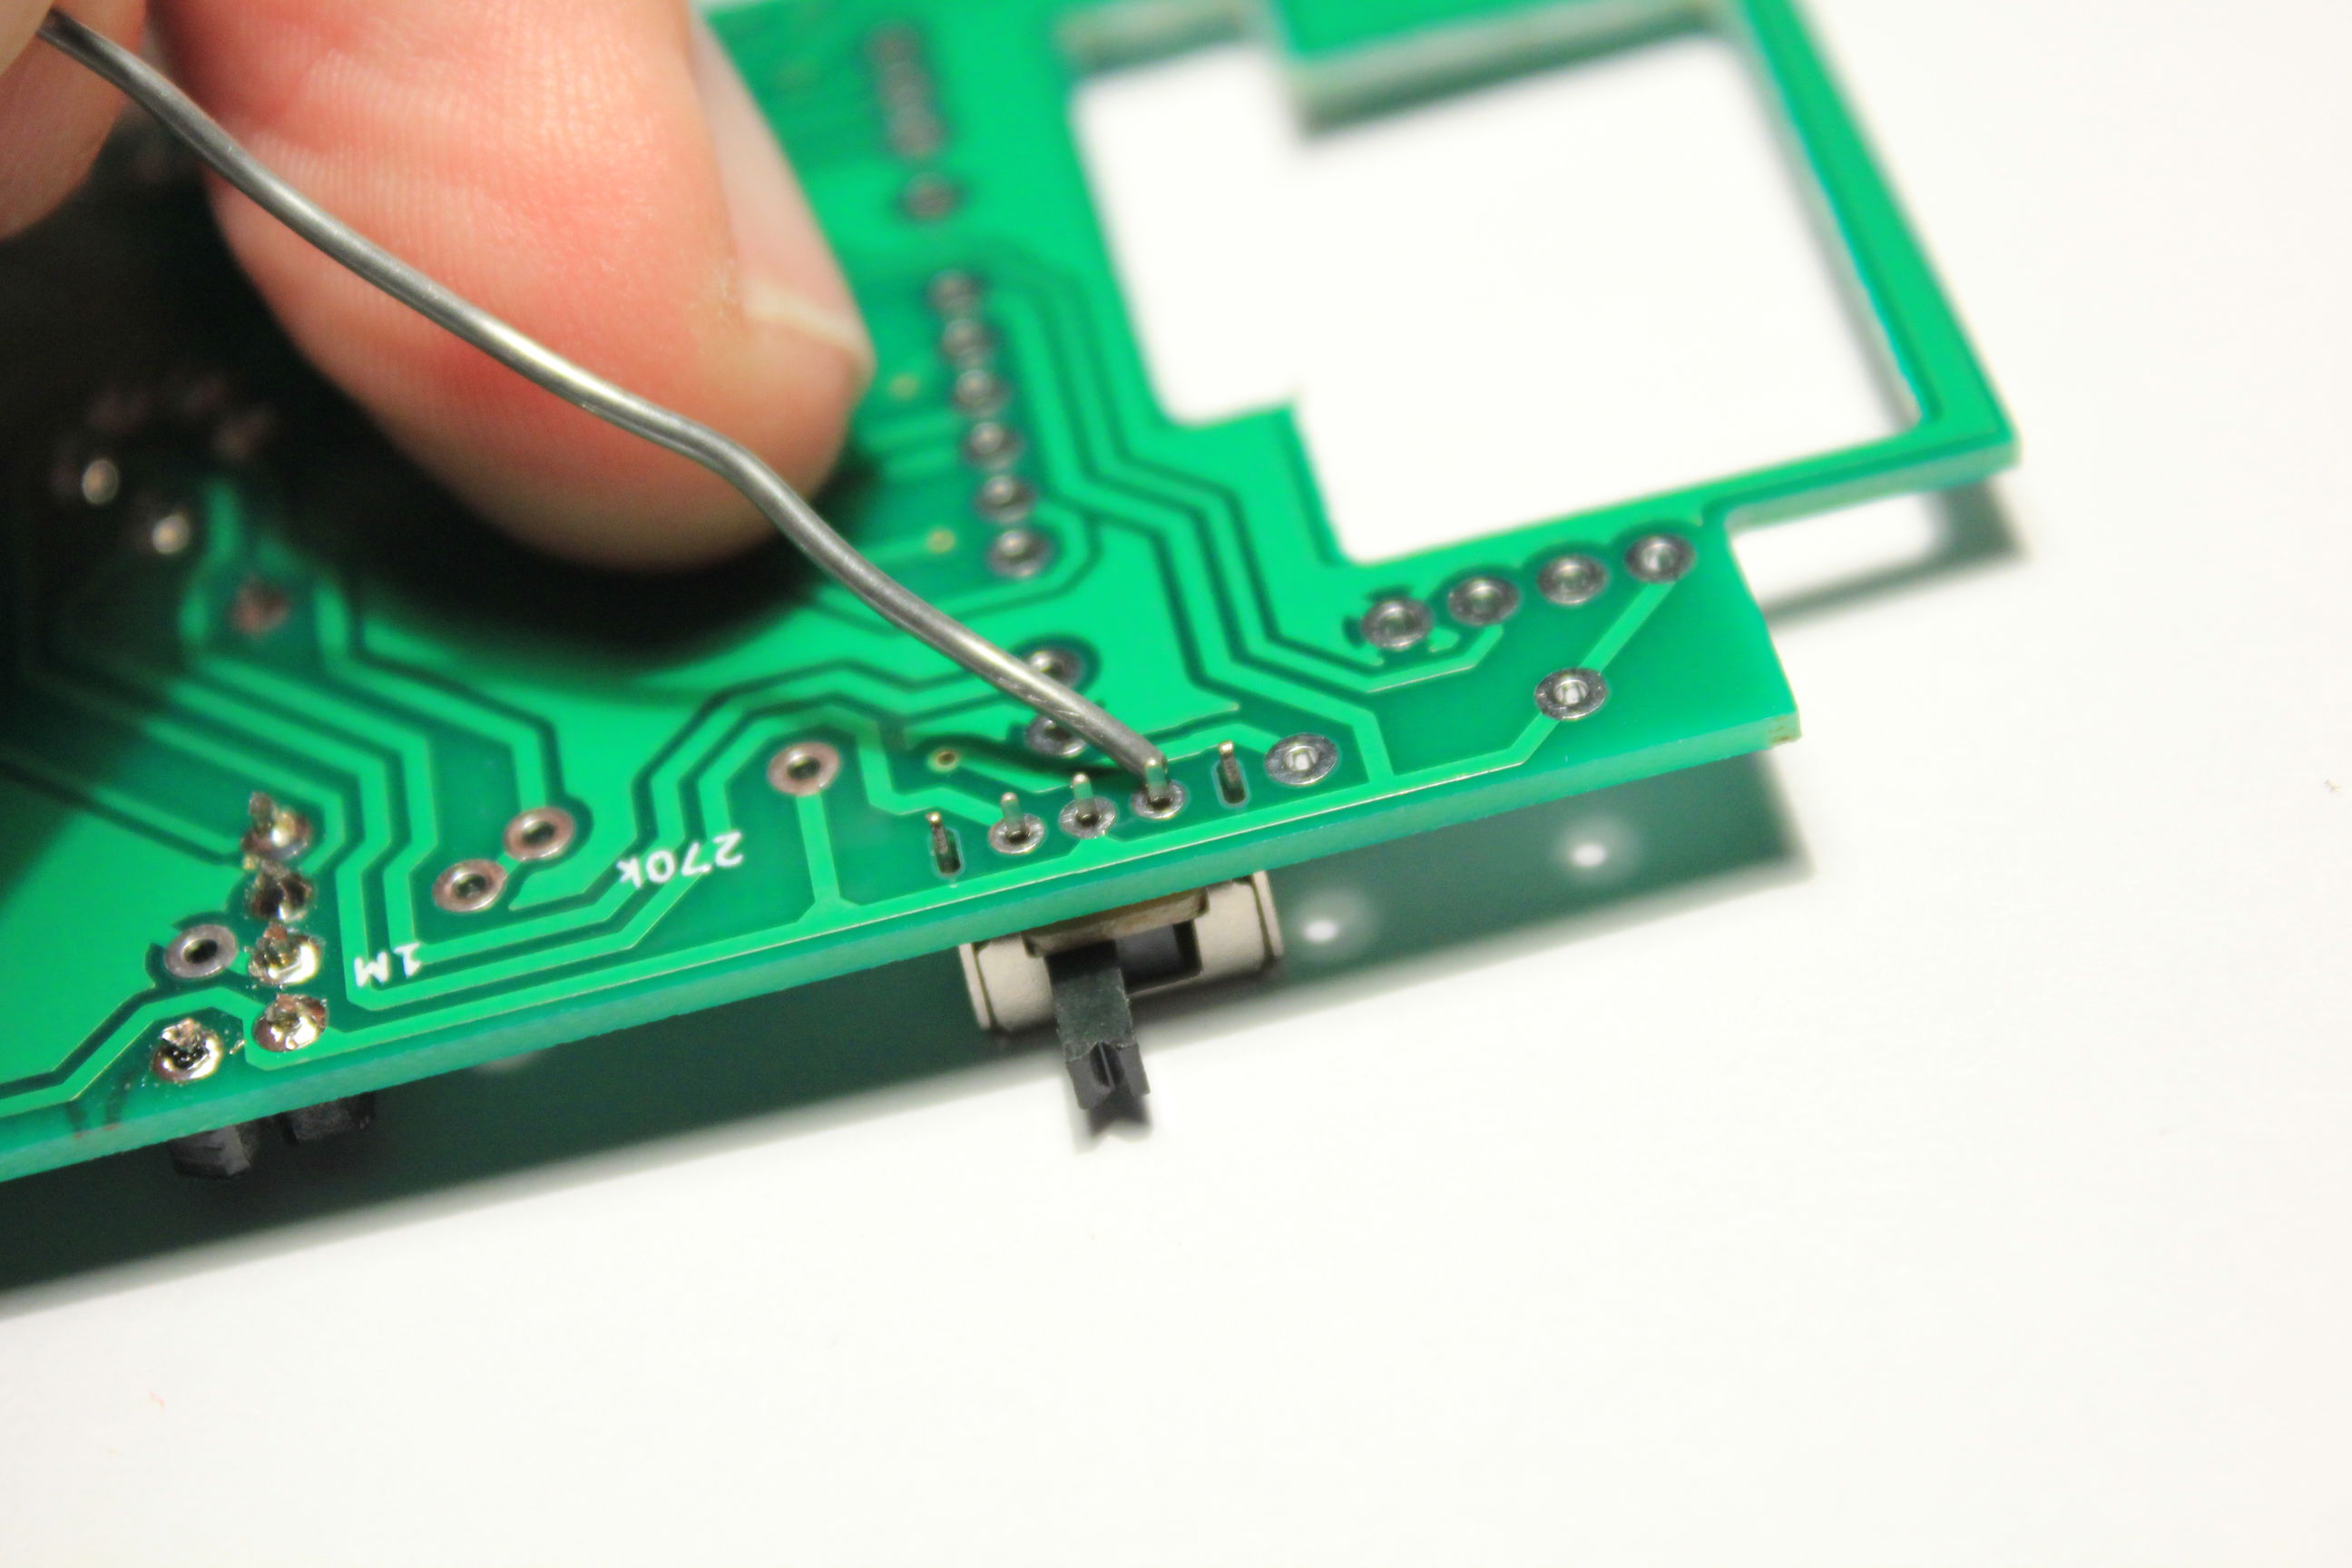
First always check the component’s placement after soldering the first pin. Once two pins of the component are soldered is become very difficult to move or desolder it. So always solder in three steps :
-
Solder just one pin
-
Check the component’s placement. If it seems not good, heat the solder again while replacing it.
-
When the placement is perfect you can solder the other pins.
Next don’t hesitate to heat the solder sufficiently. The components used in this tutorial are not very temperature sensitive. And making good quality soldering is determinant. I advise soldering each pin in two steps :
- Apply just a little amount of solder to make contact between the two parts.
- Heat the solder again at least 2 seconds before applying the right amount of solder.
Pay particular attention to ground plane connections like this :
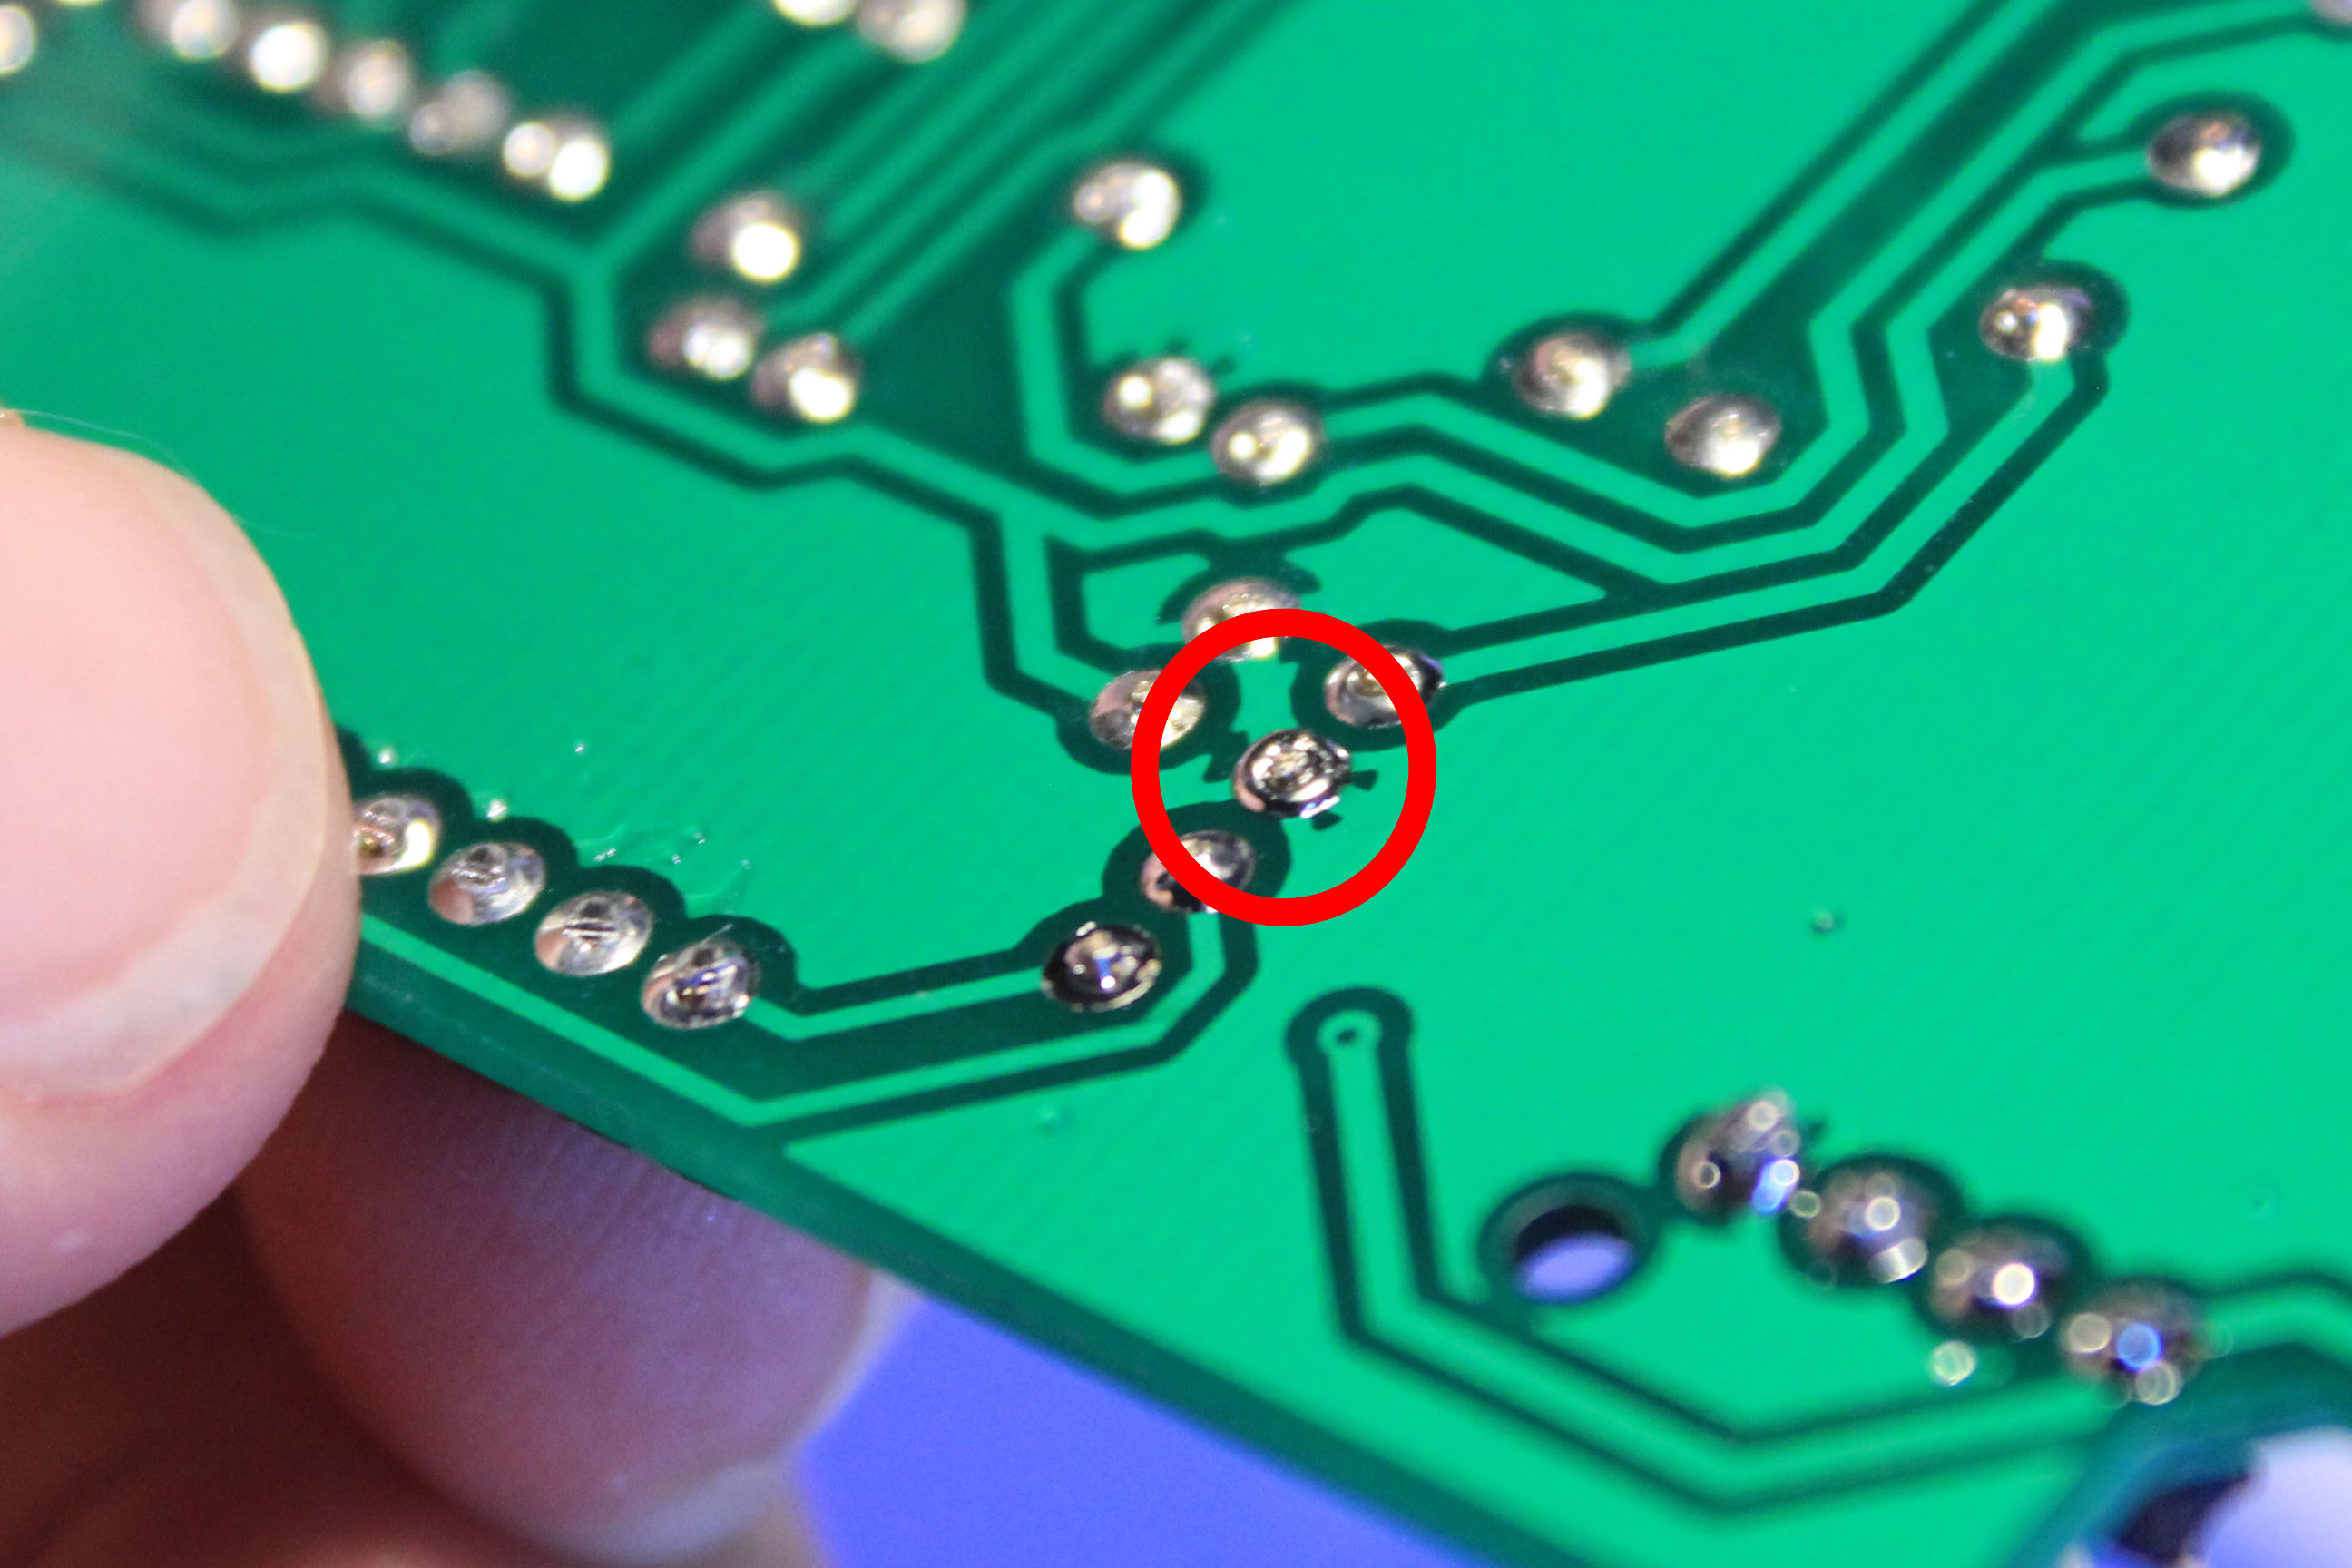 They are very difficult to heat due to the high temperature dissipation. Don’t hesitate to let the soldering iron until 10 seconds.
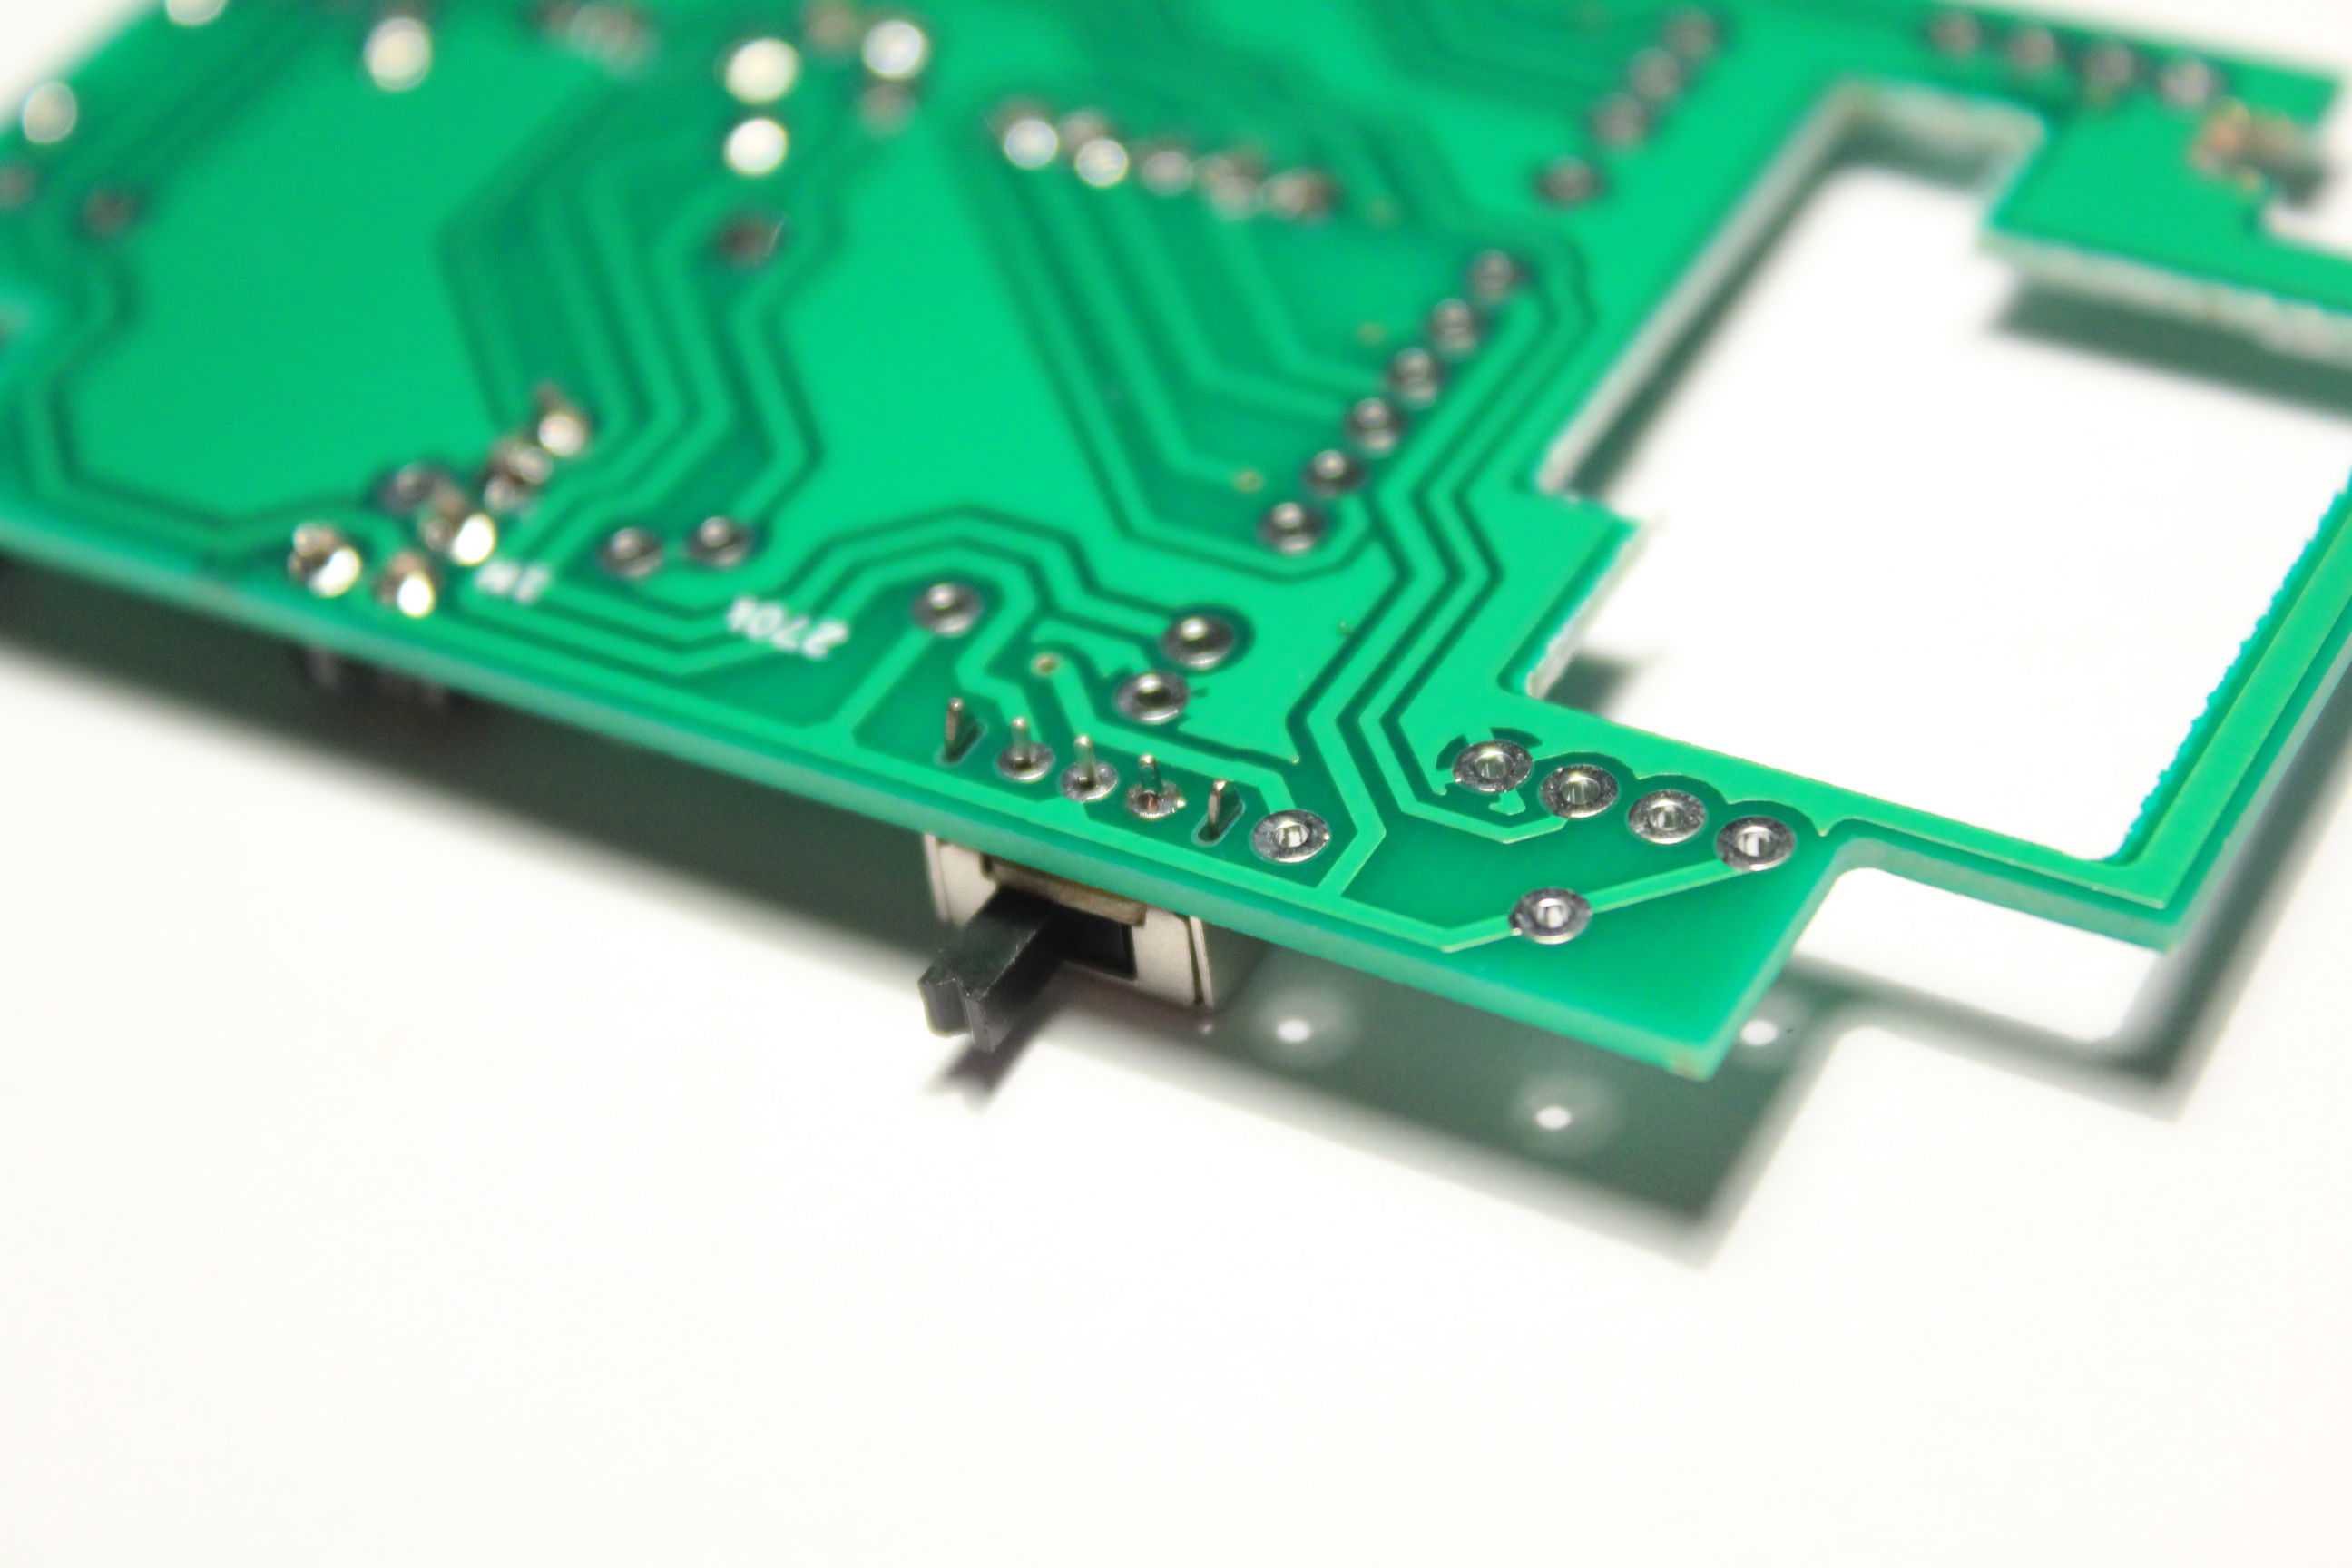
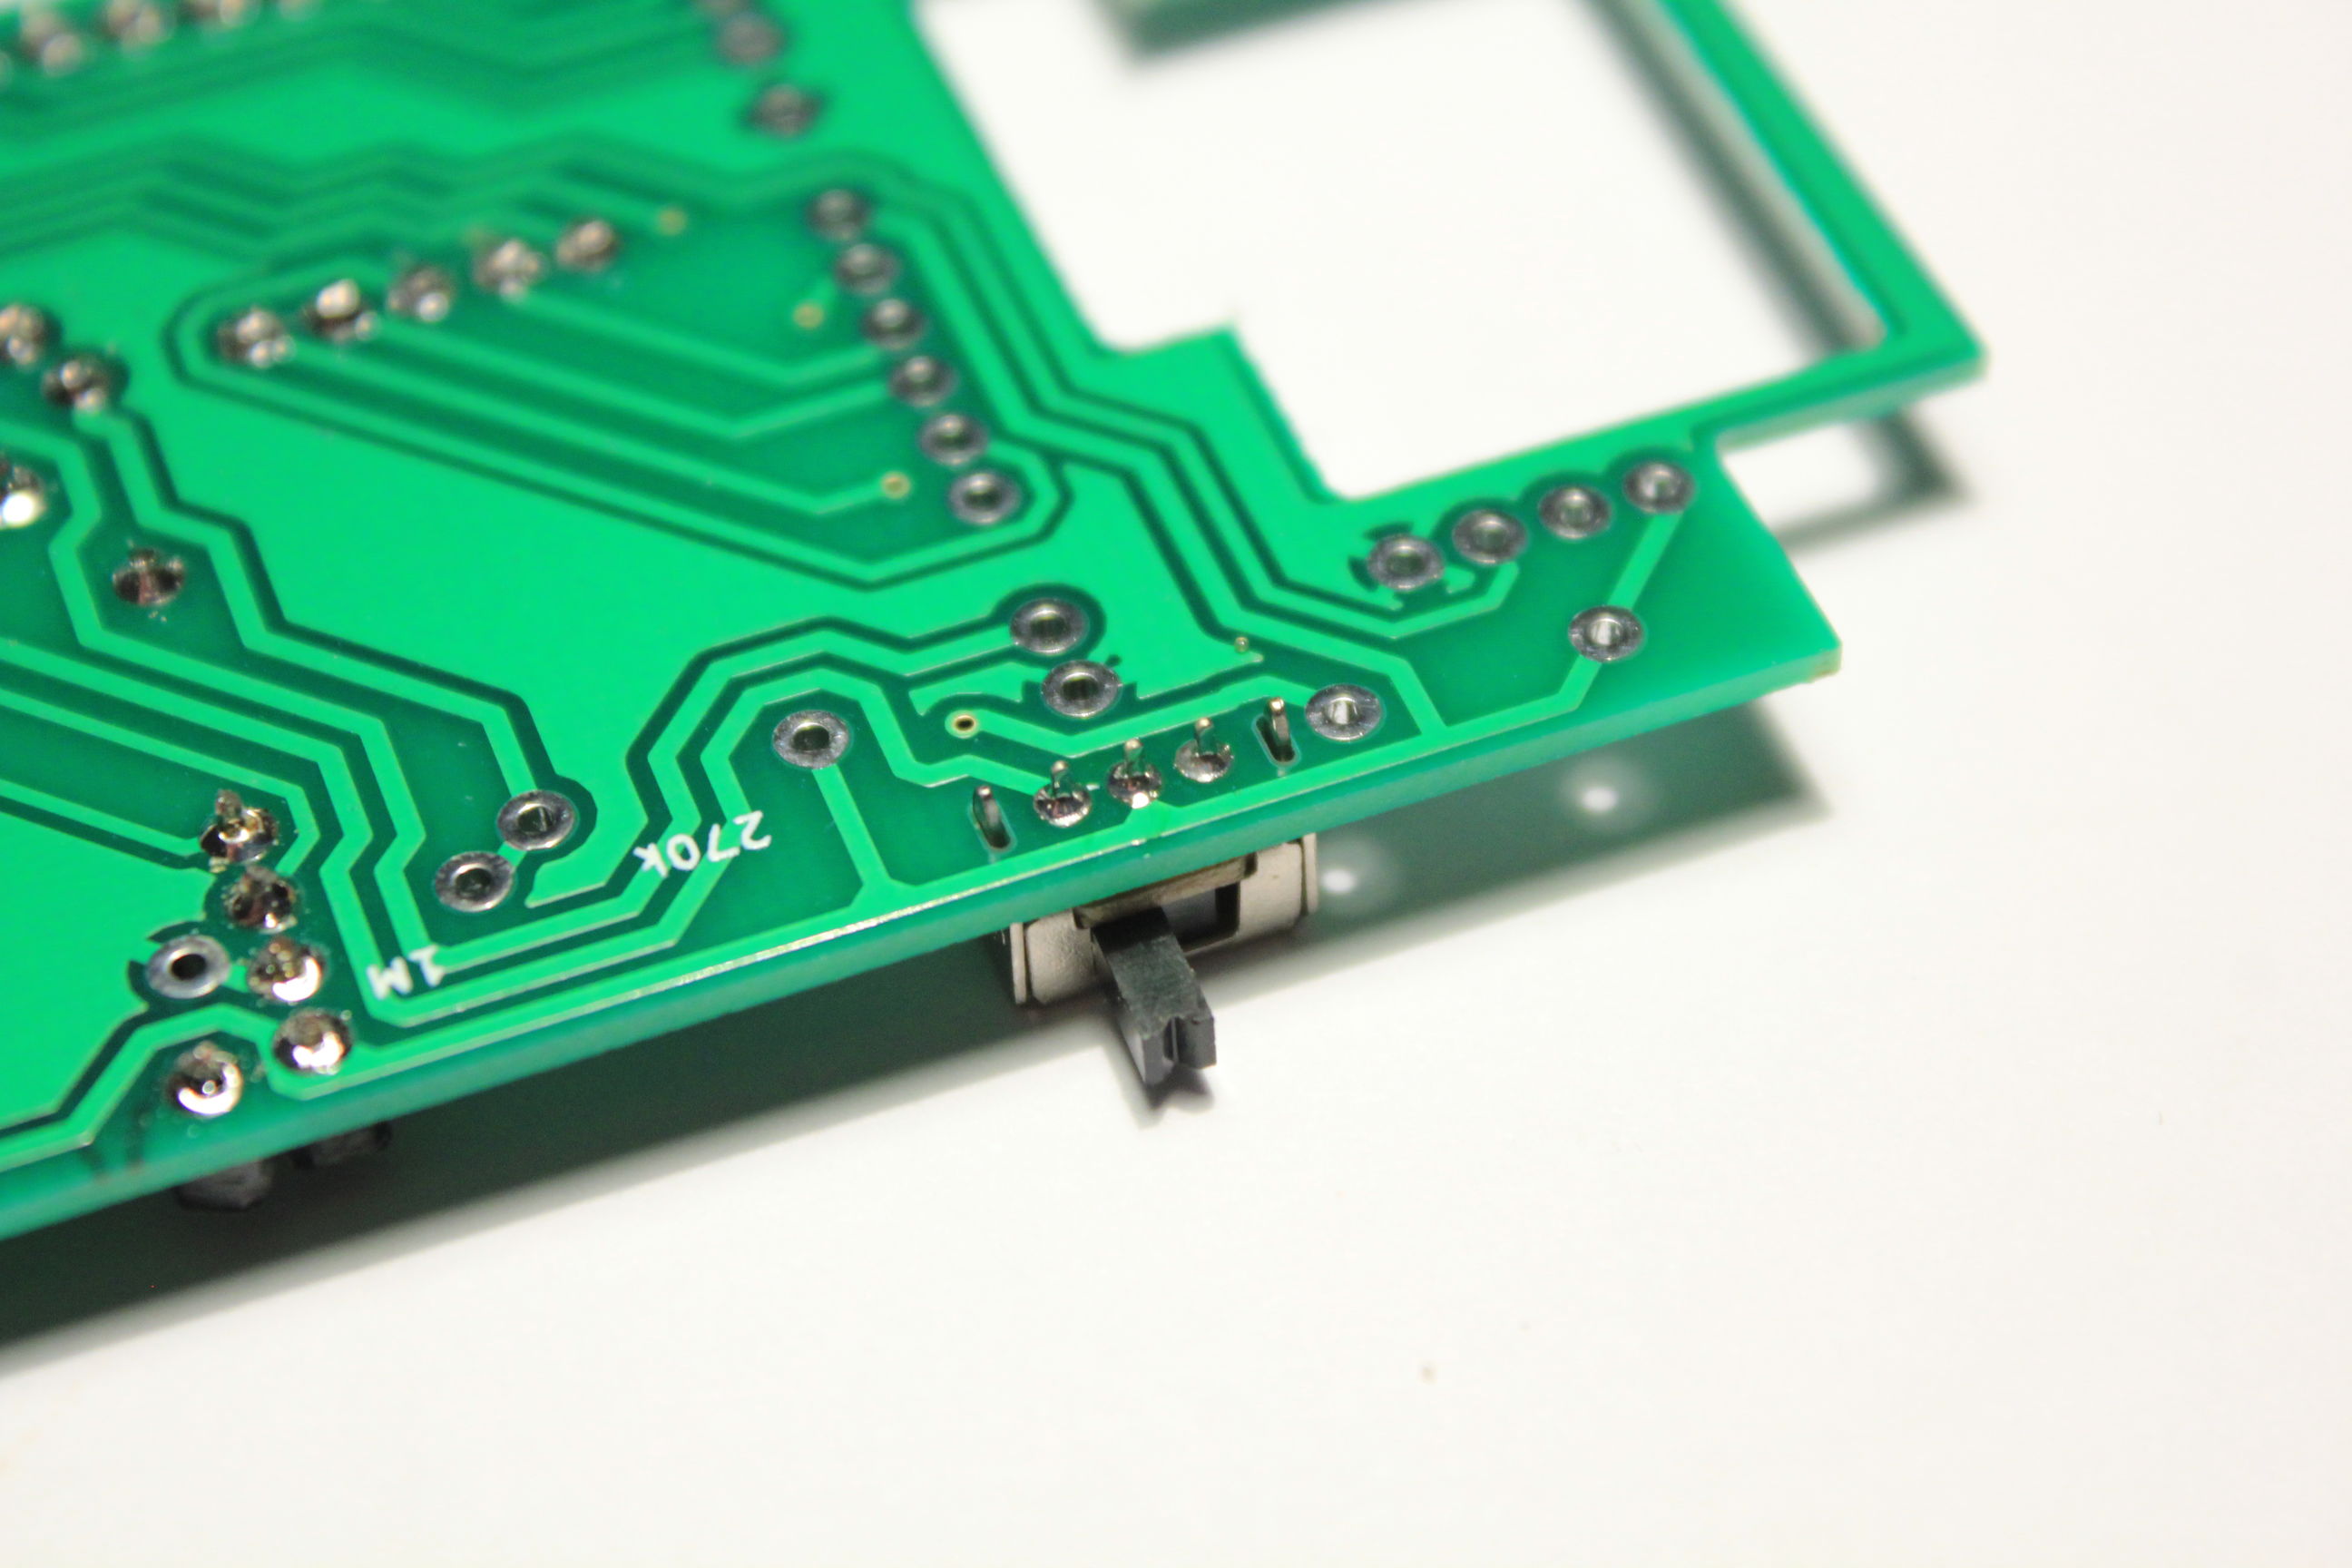
Finally pay attention that all the soldering in the center of the board need to be as flat as possible. This is needed to avoid damaging the LiPo battery placed just under the PCB :
