Hardware
Building tutorial summary
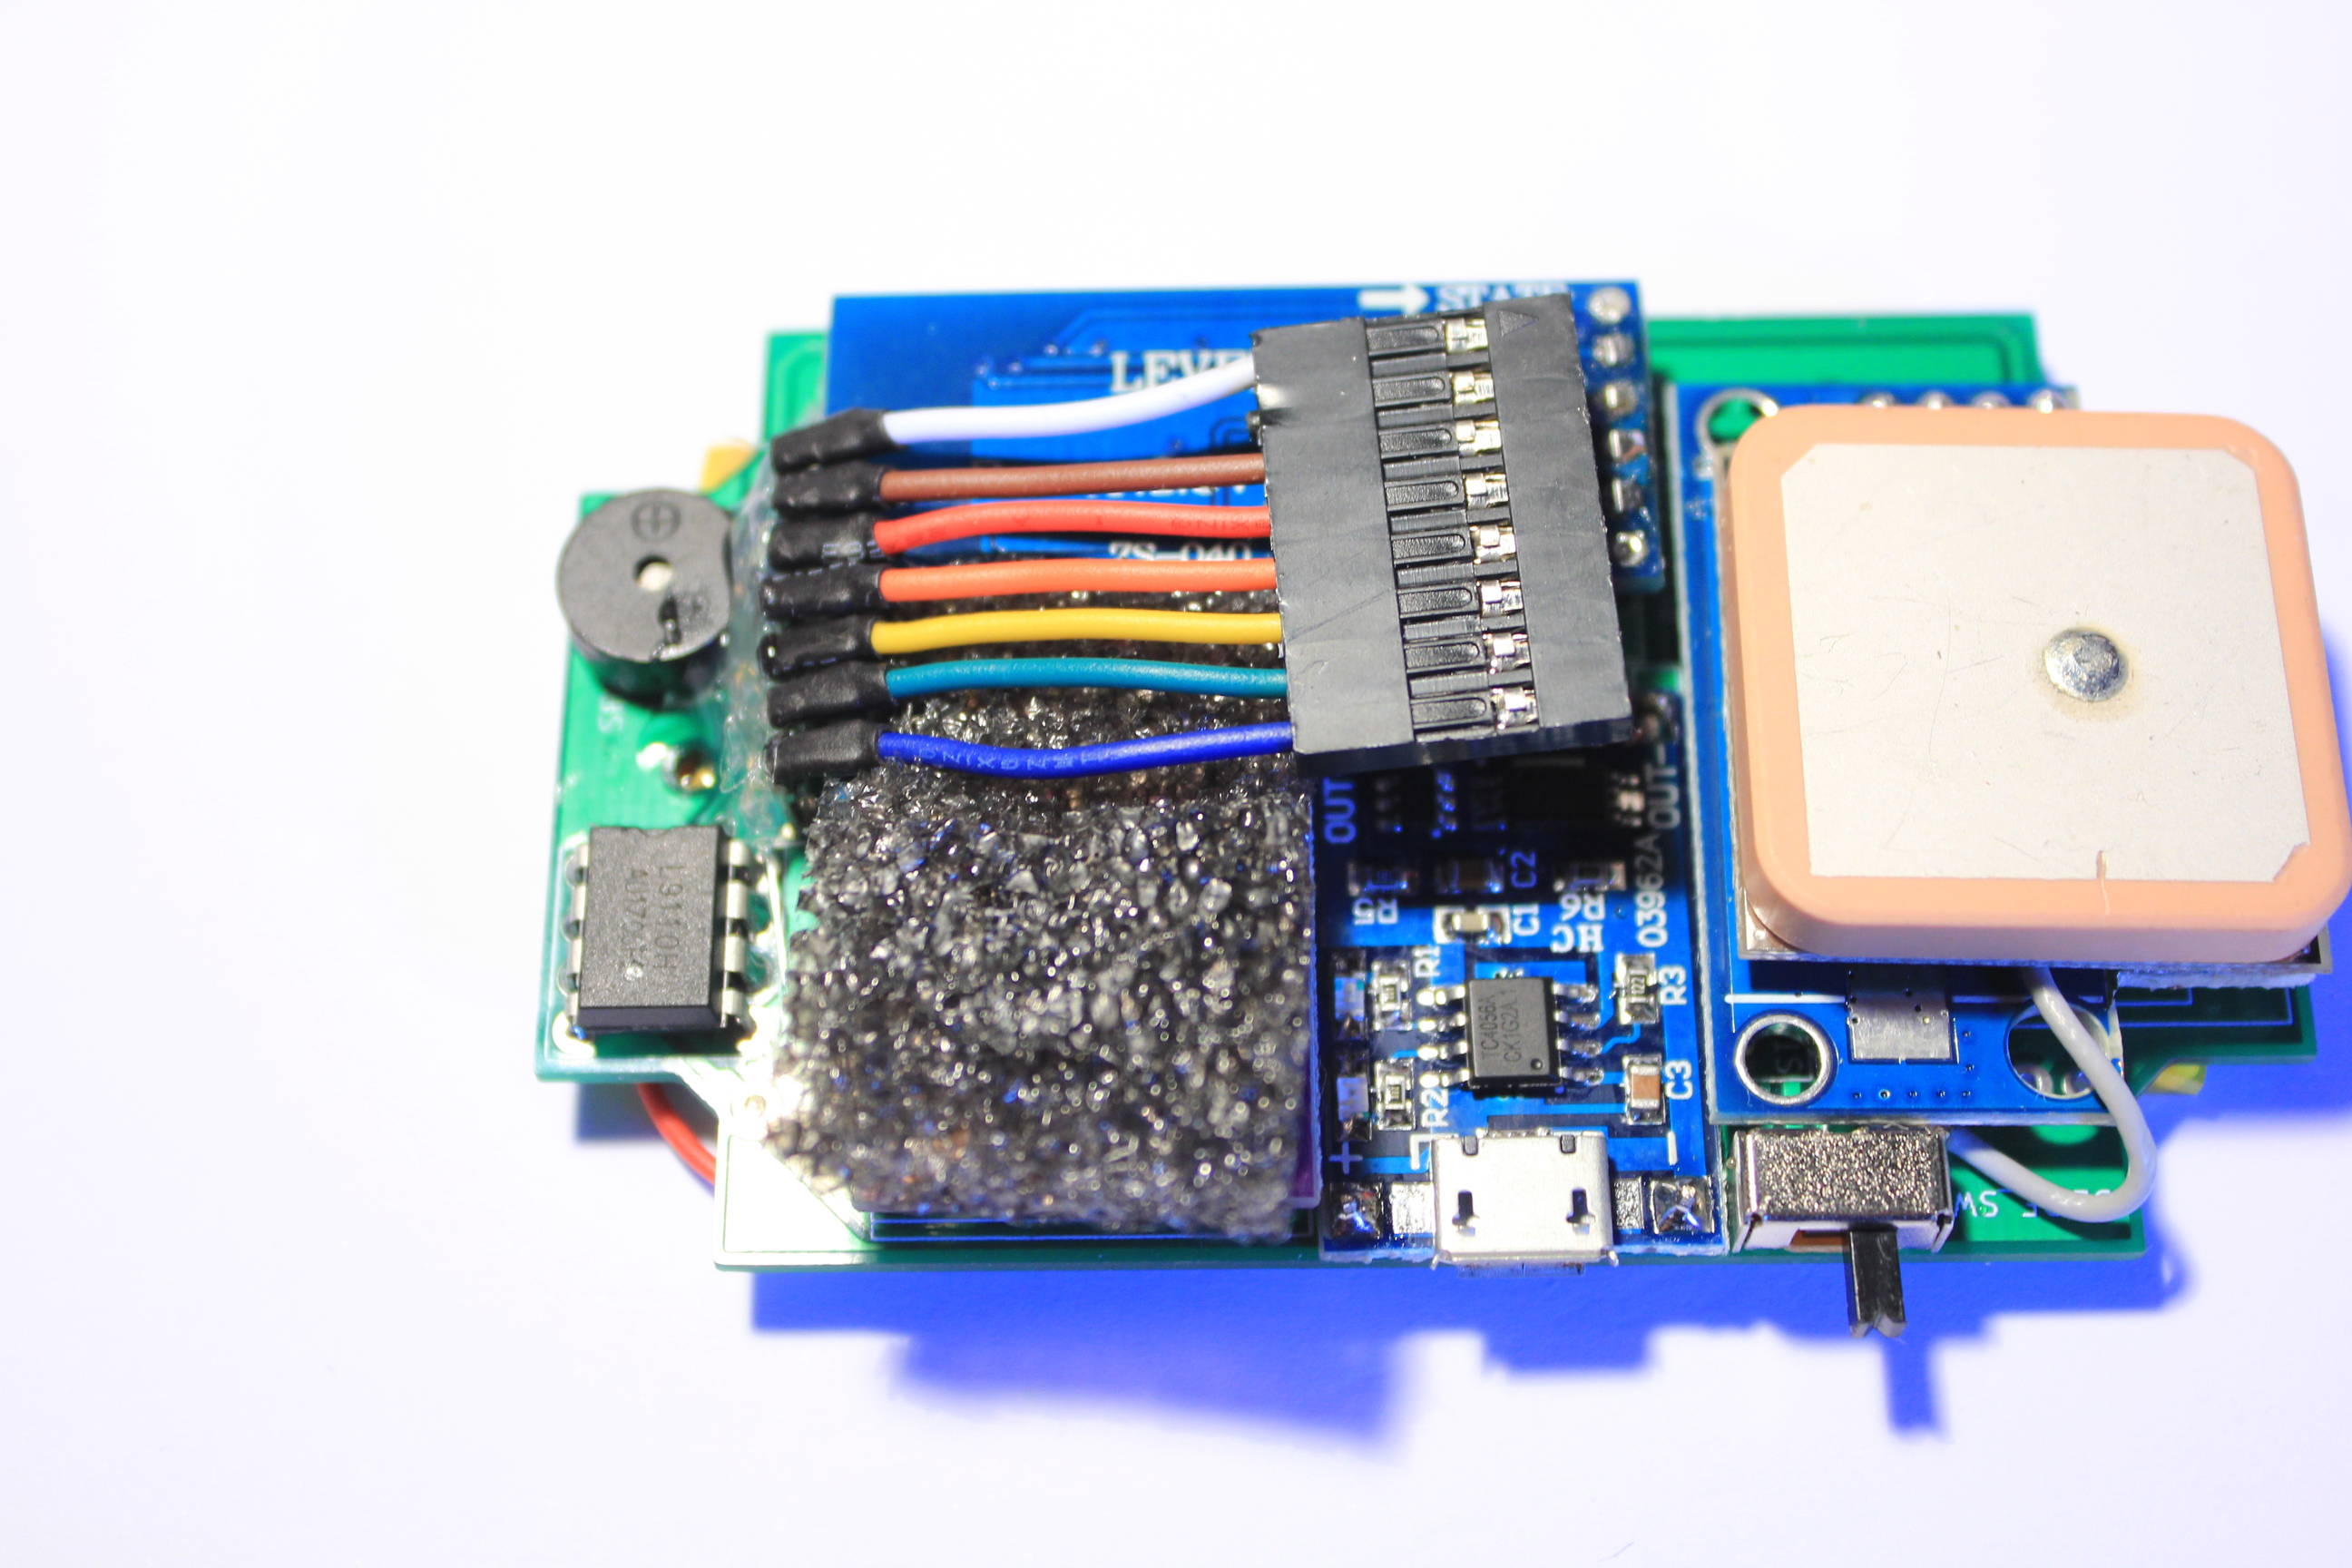
Protecting components
To avoid some unwanted electric contacts on the bluetooth module, cut a piece of electronic component container at the size of the bluetooth module.
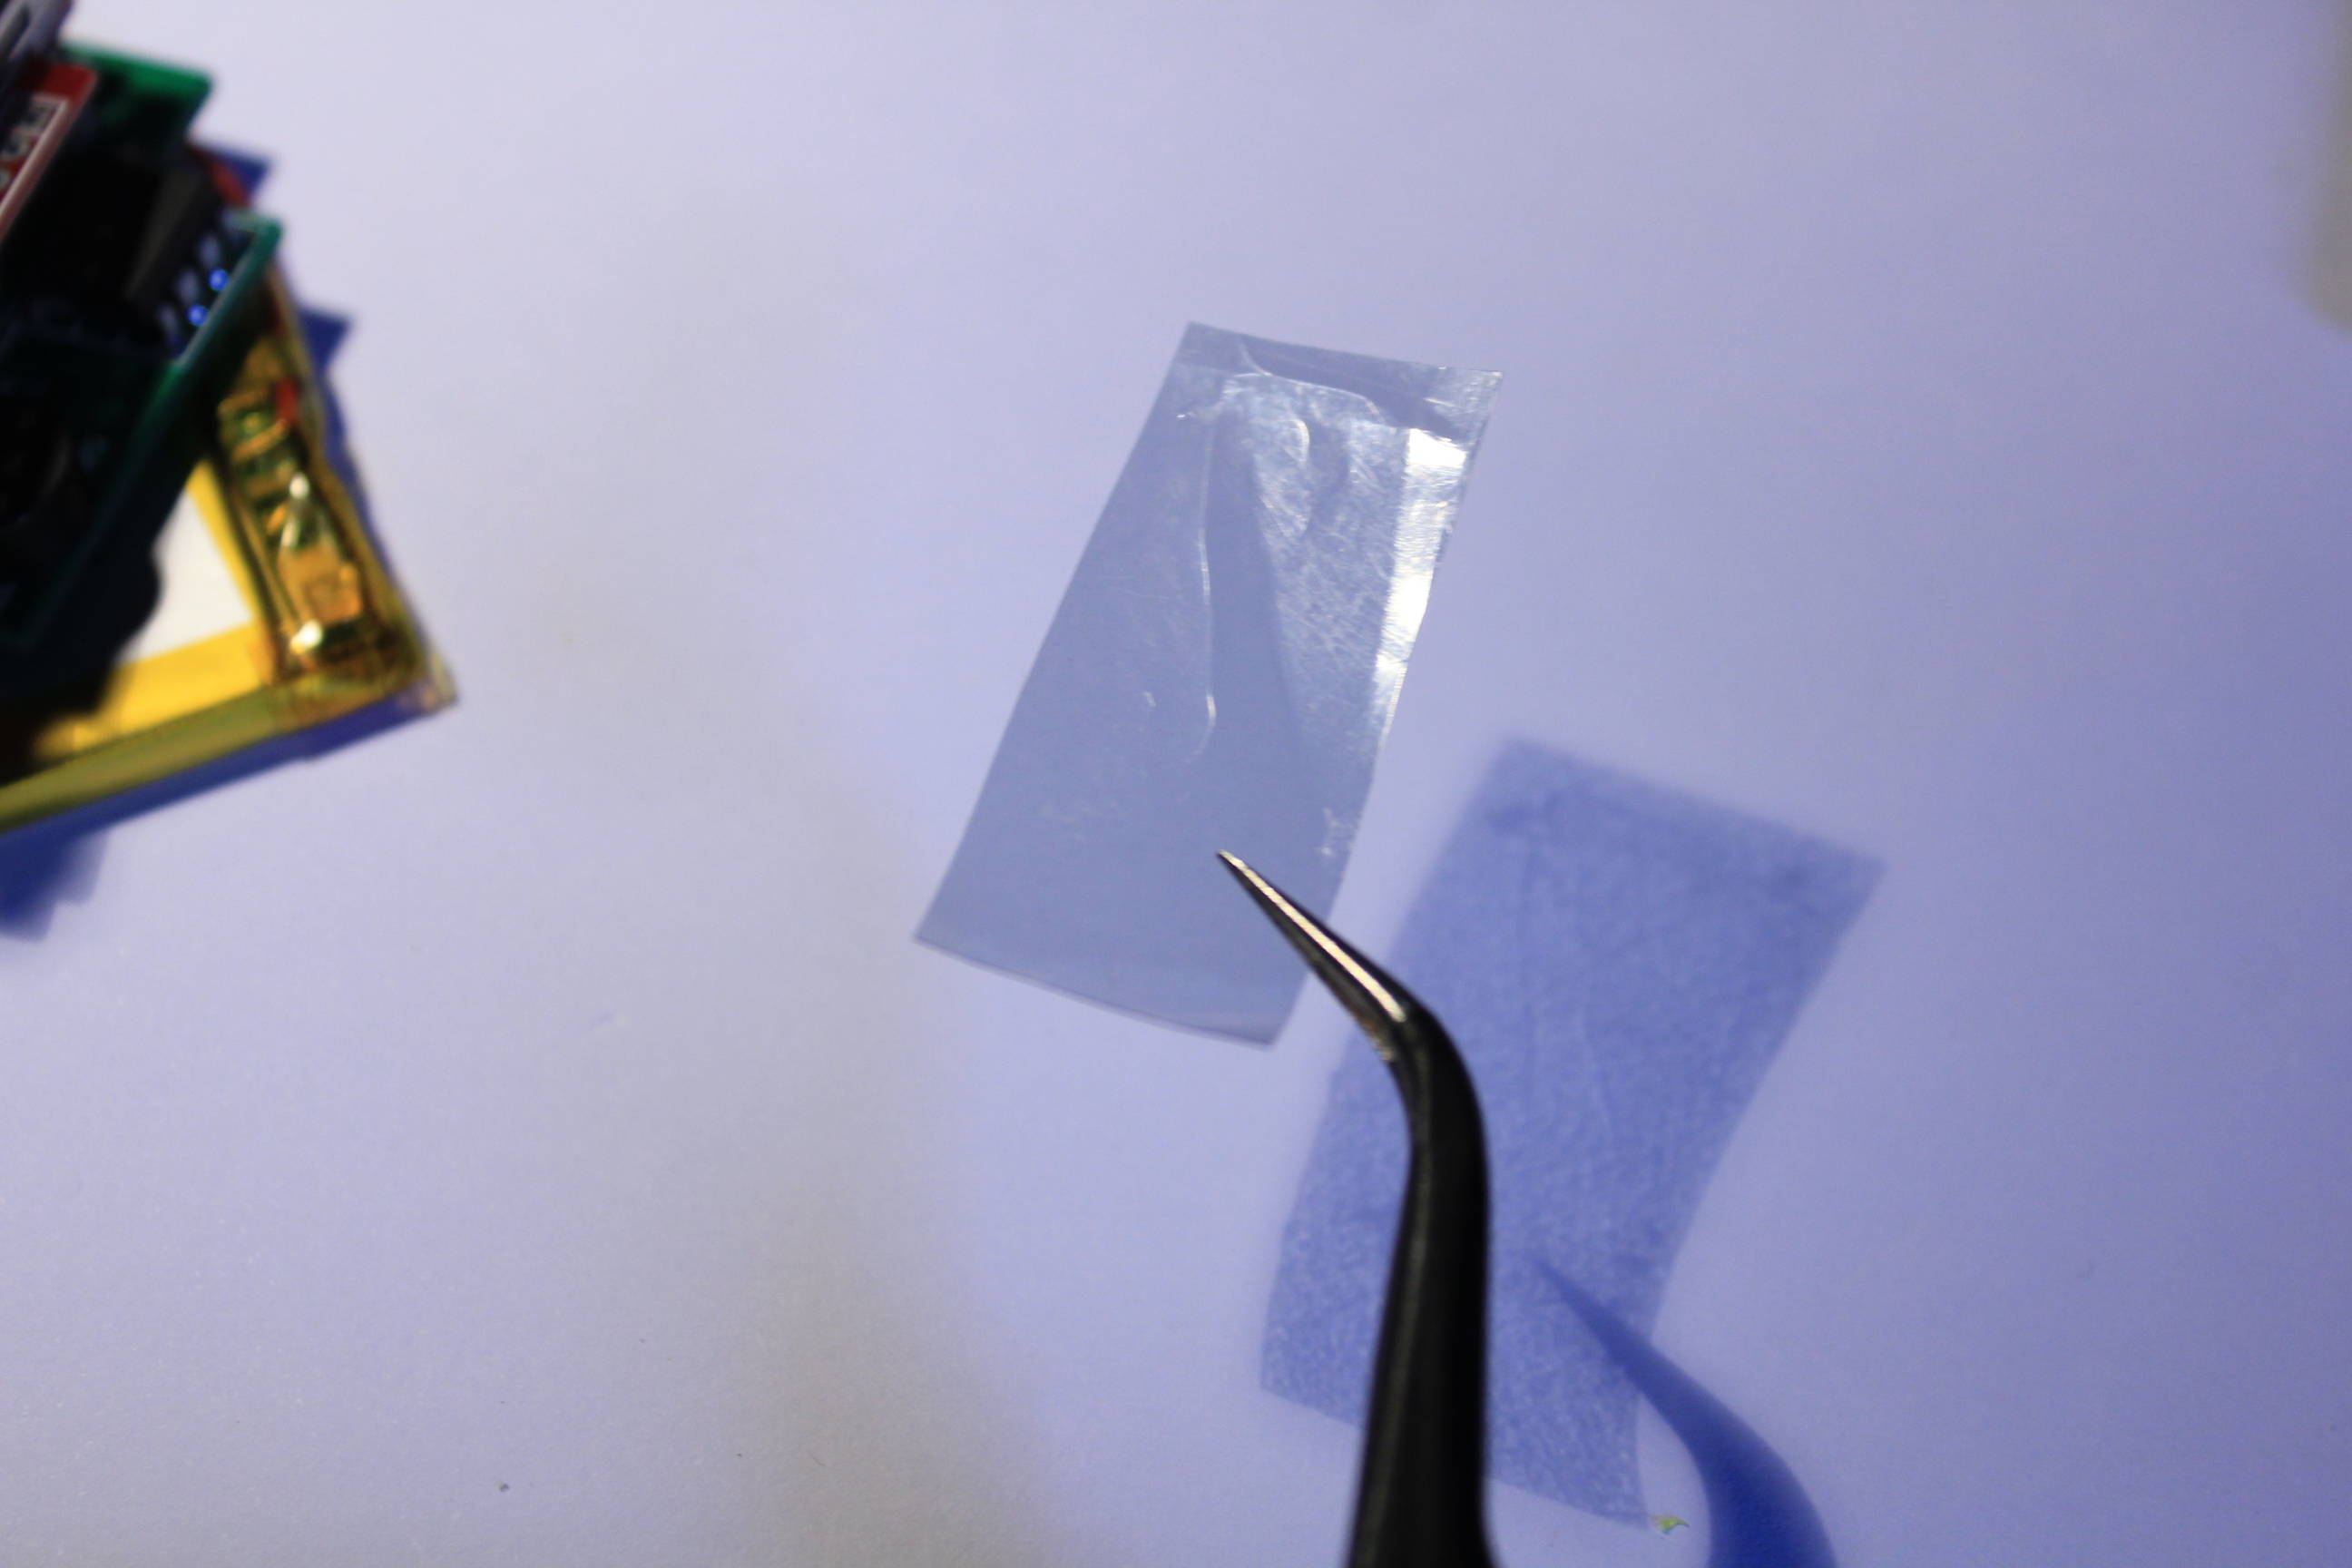
Put it between the Arduino board and the bluetooth module. Pay attention at the small capacitor on the bluetooth module.
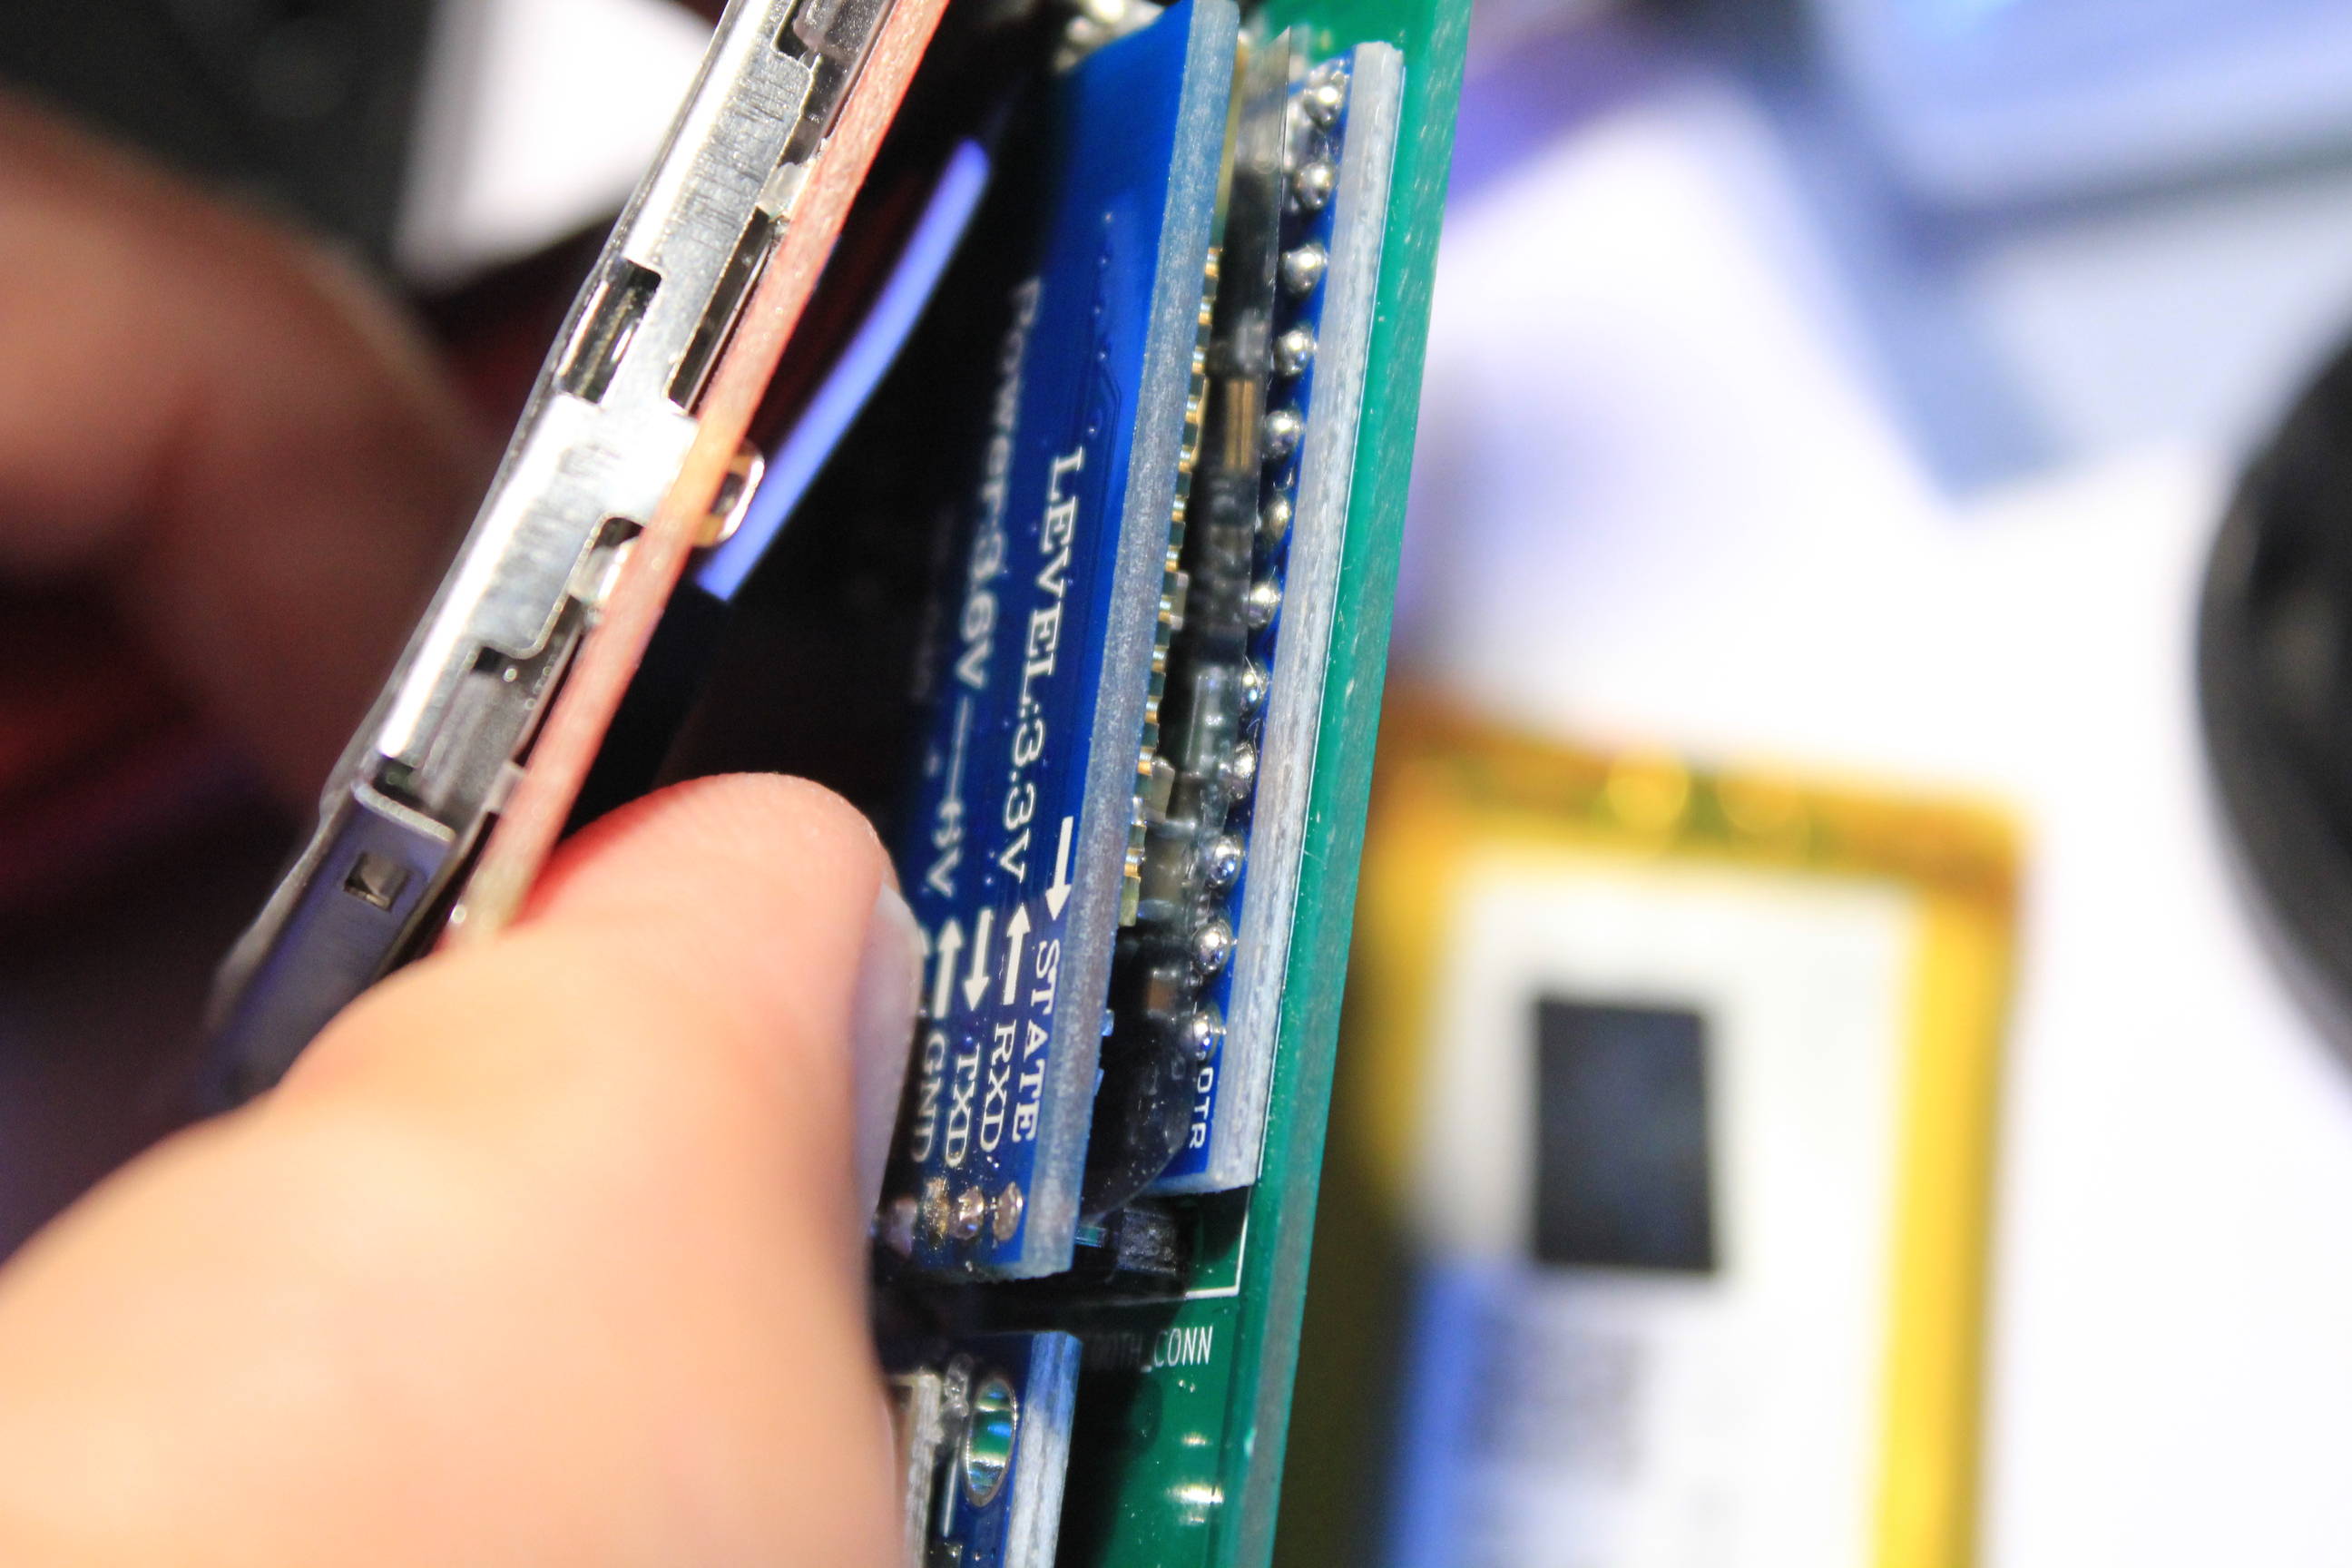
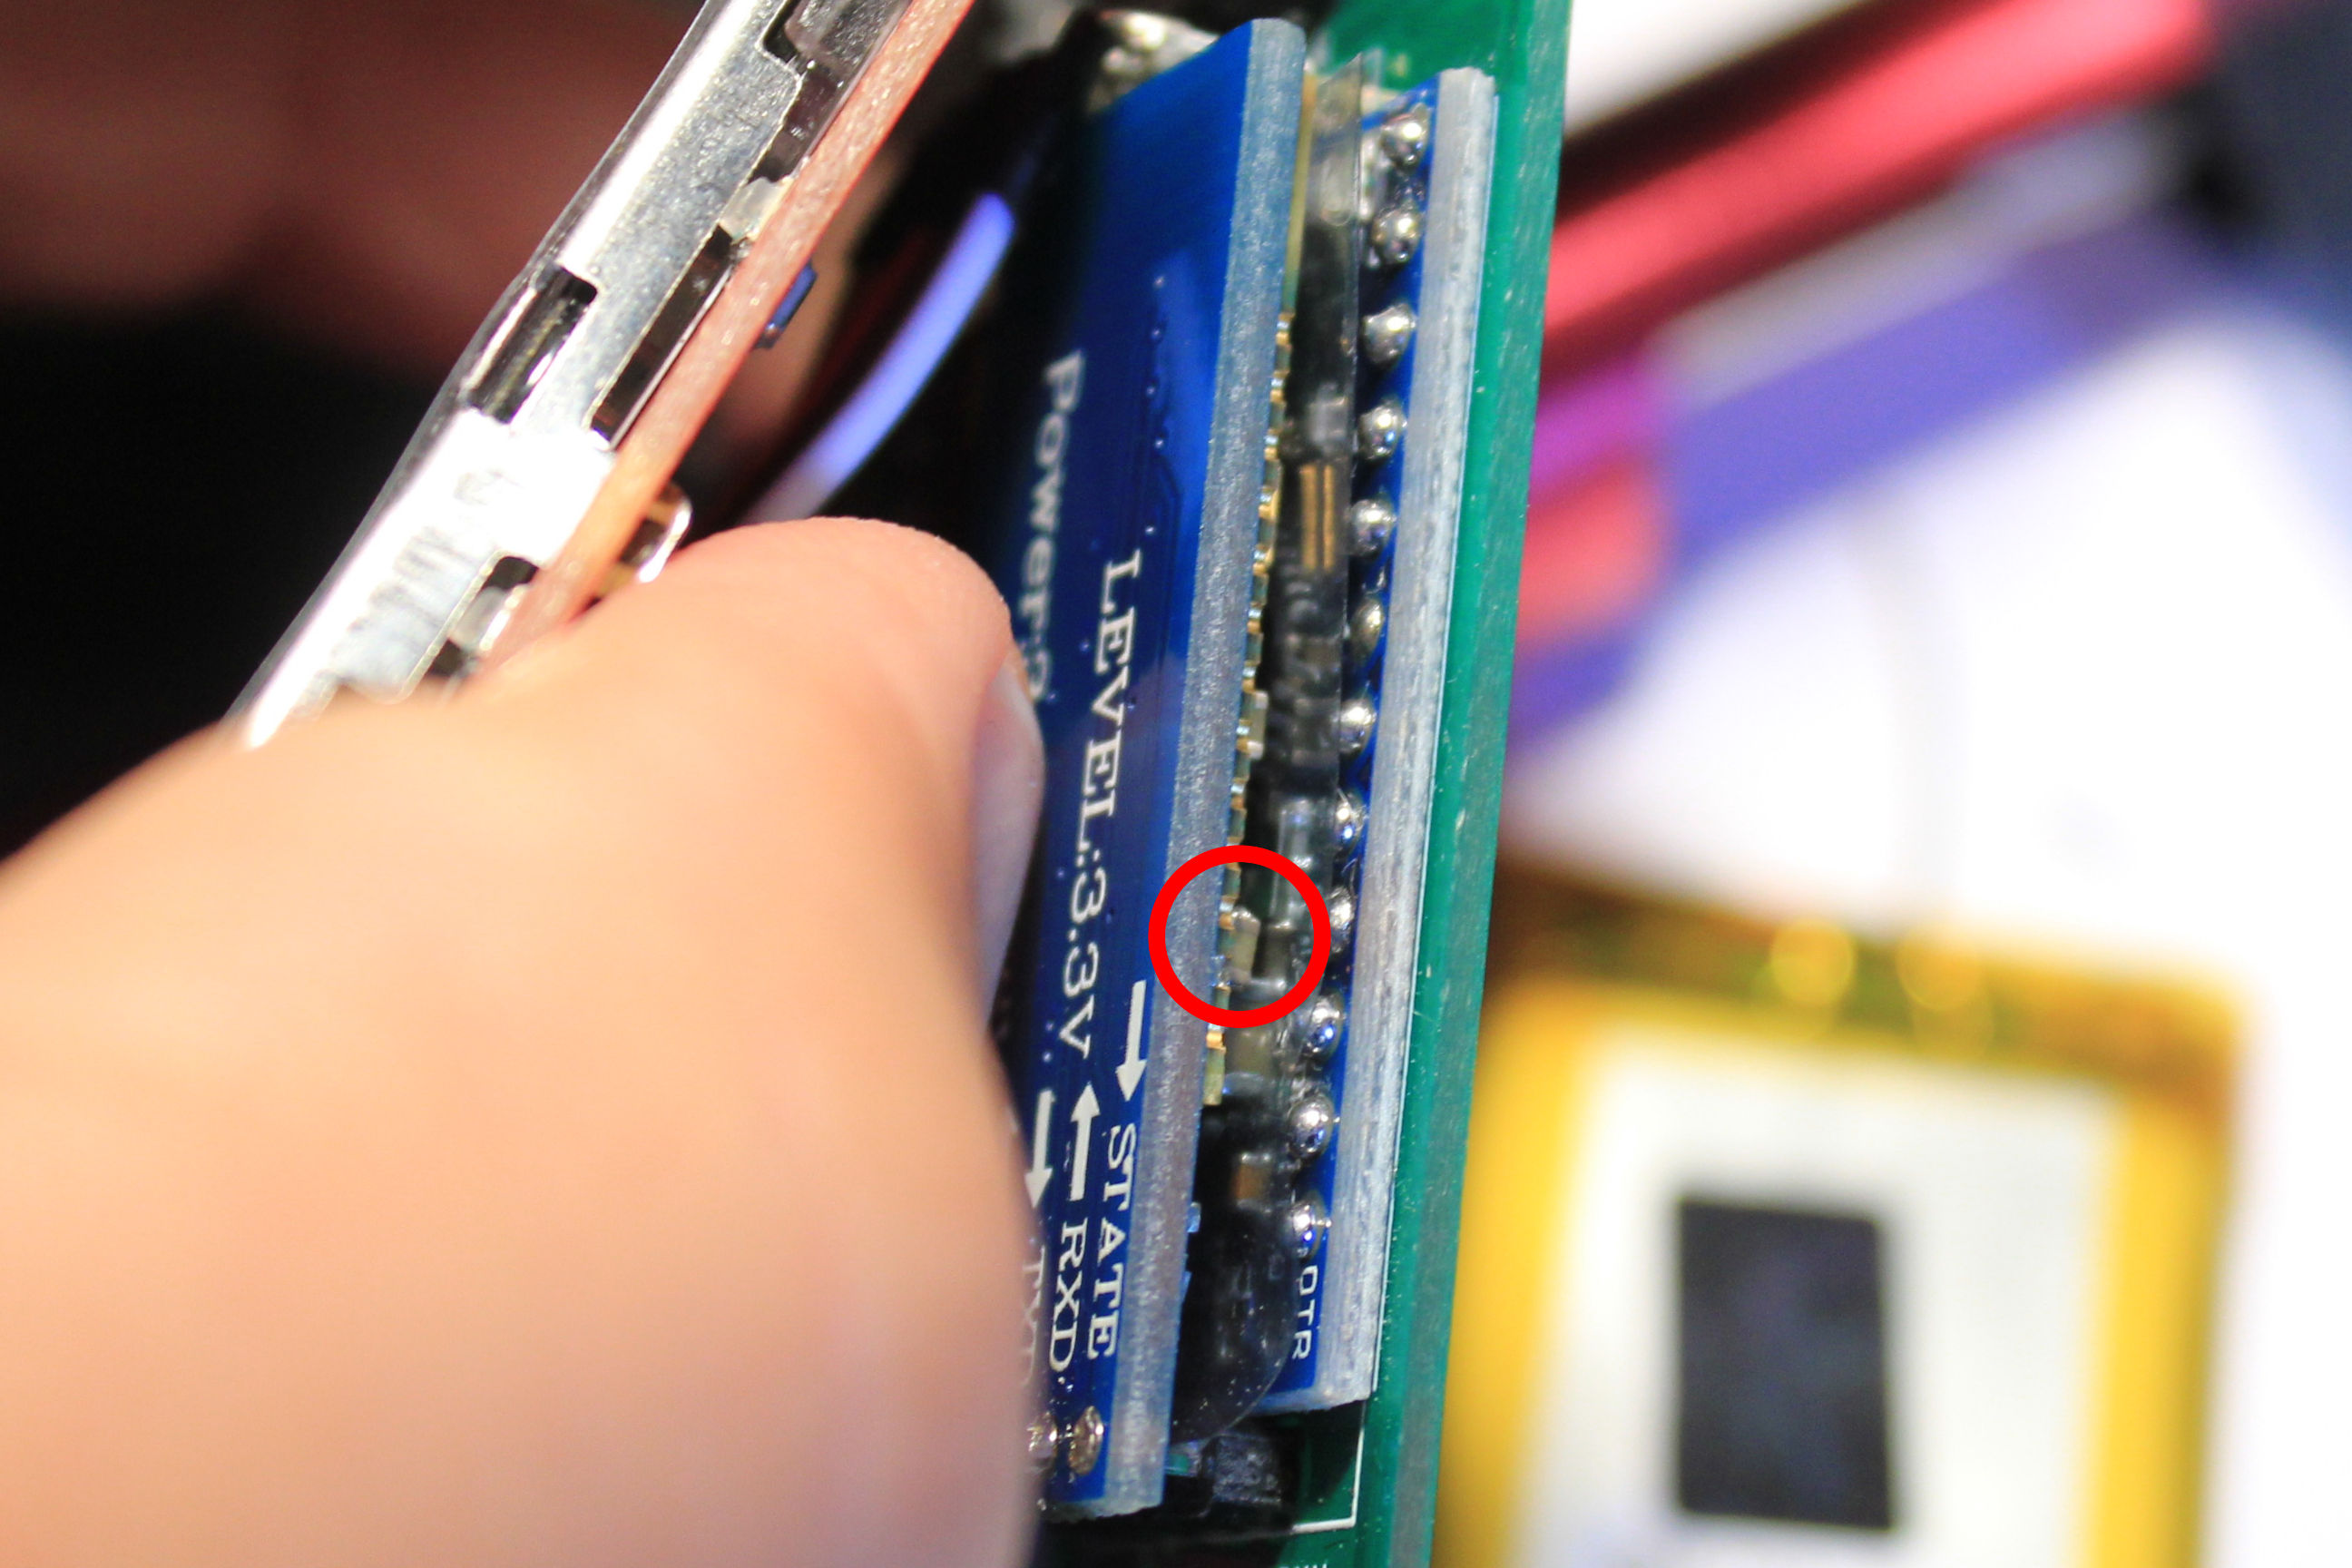
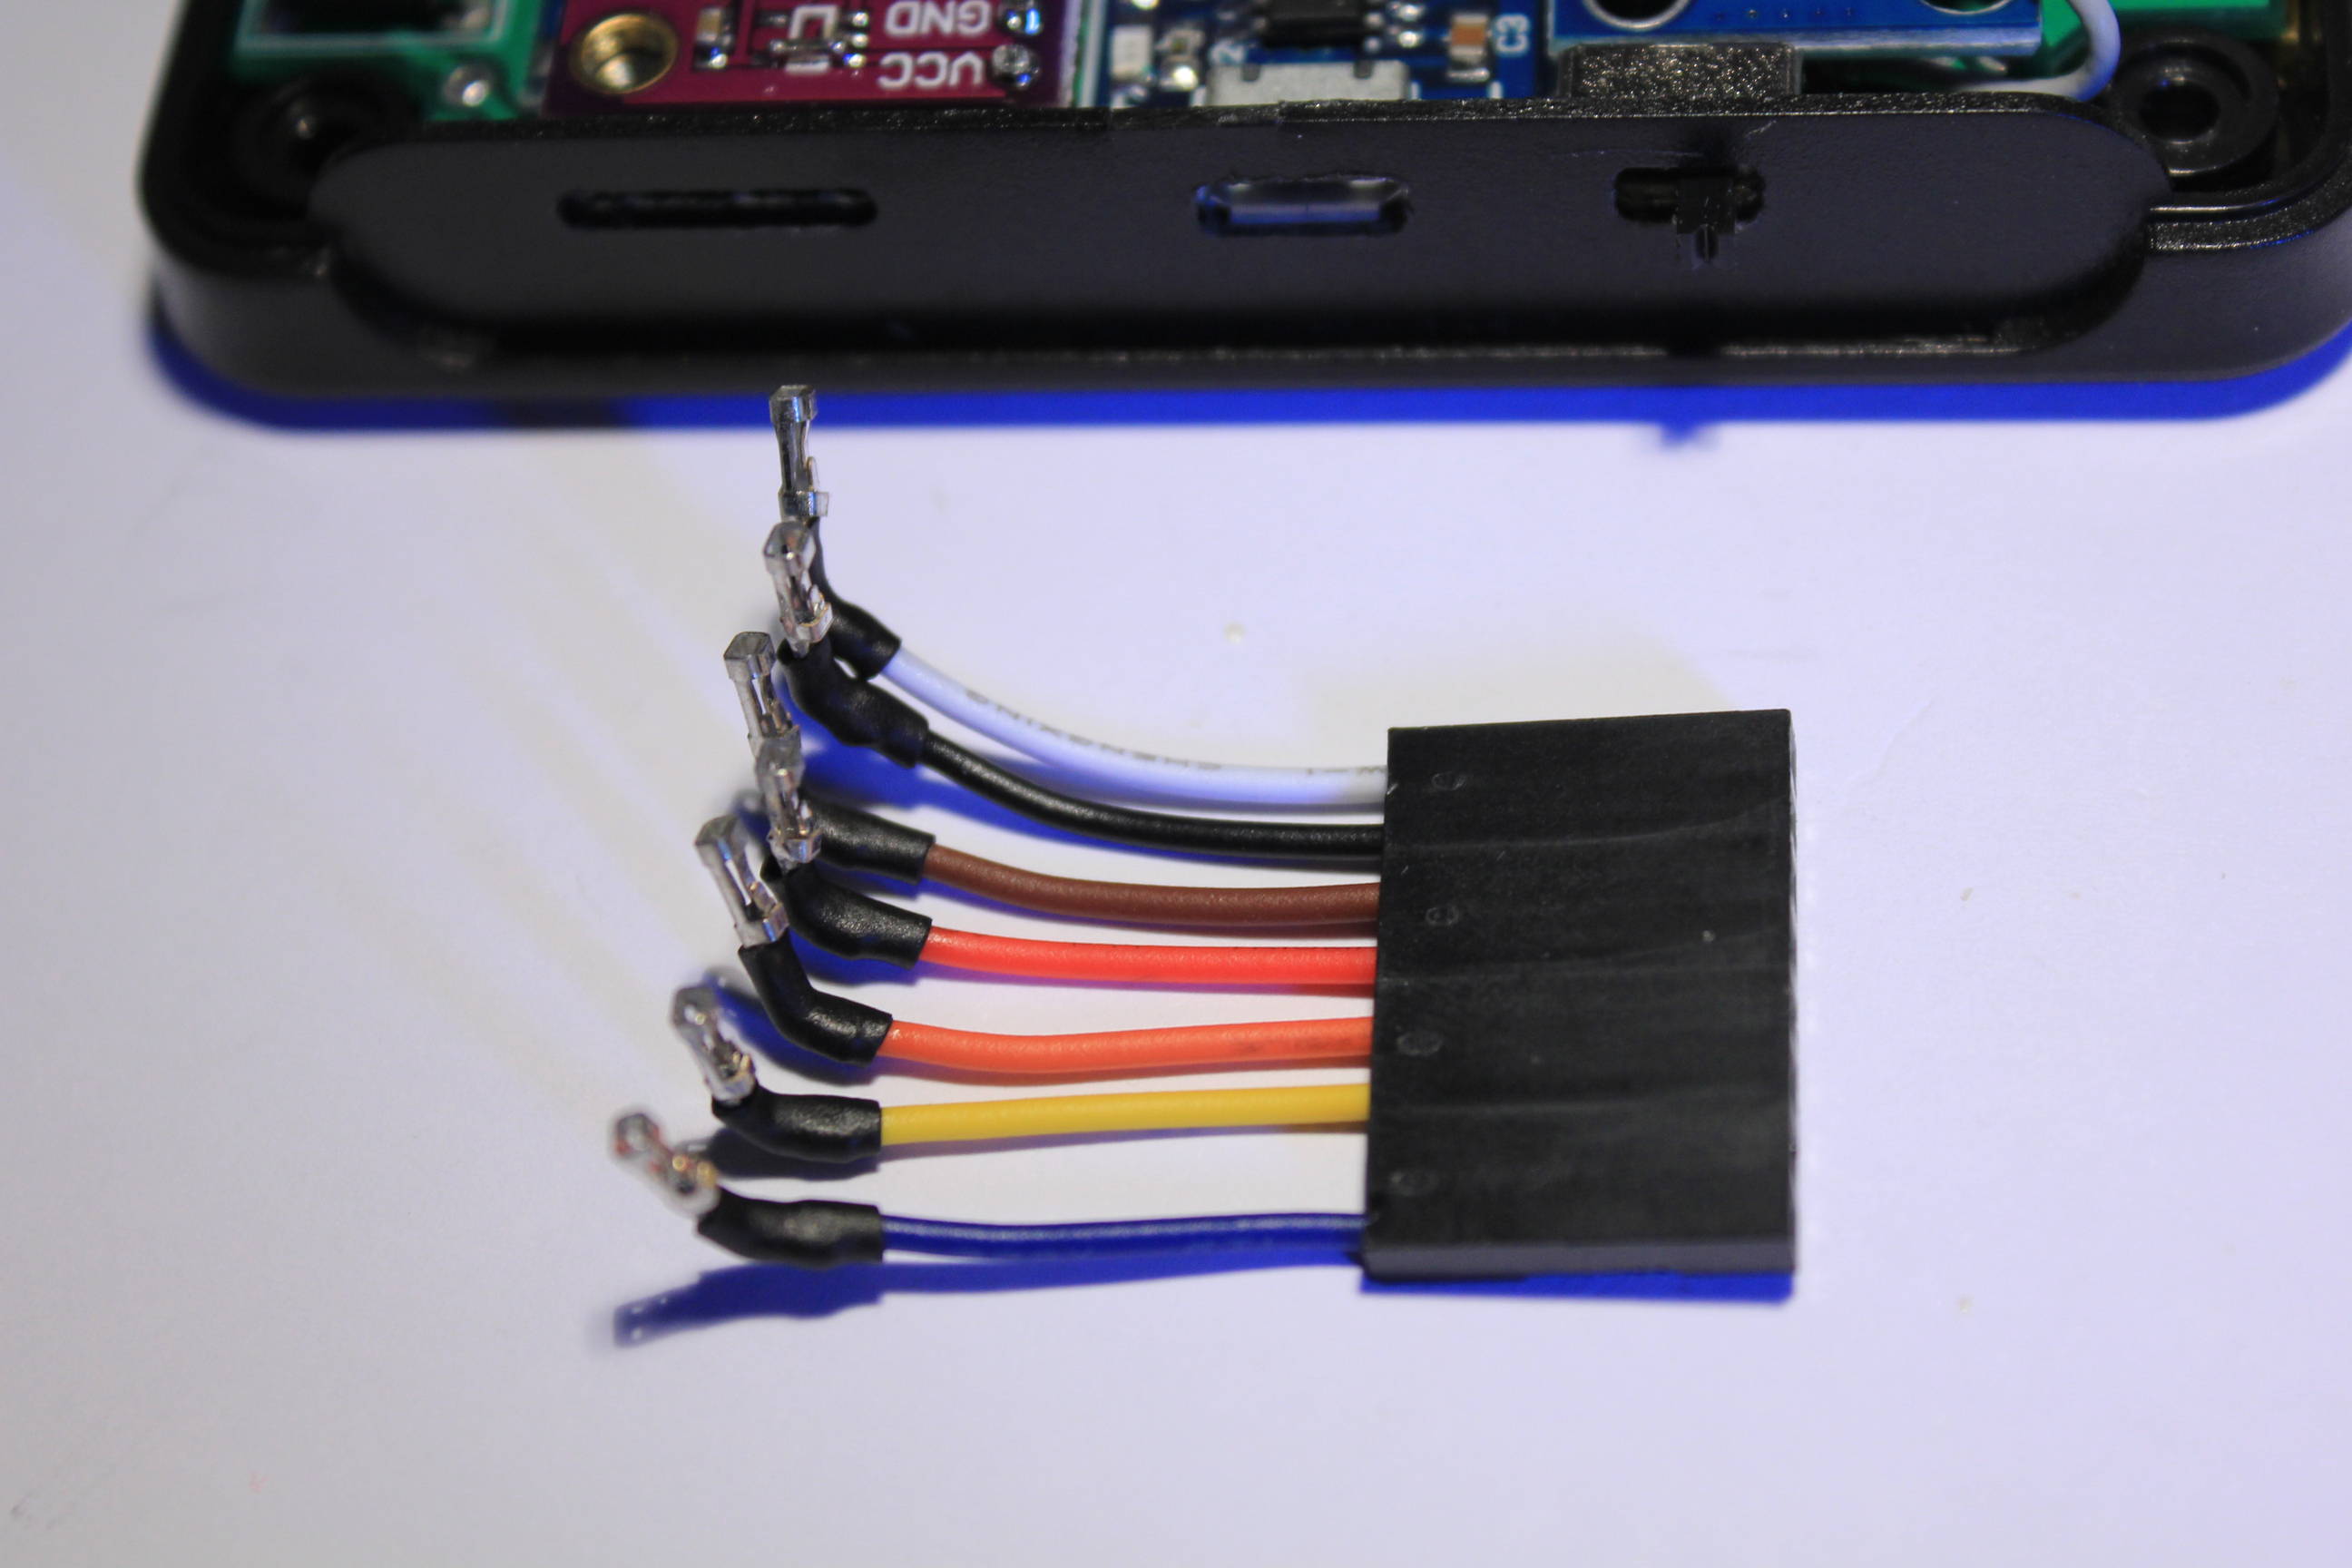
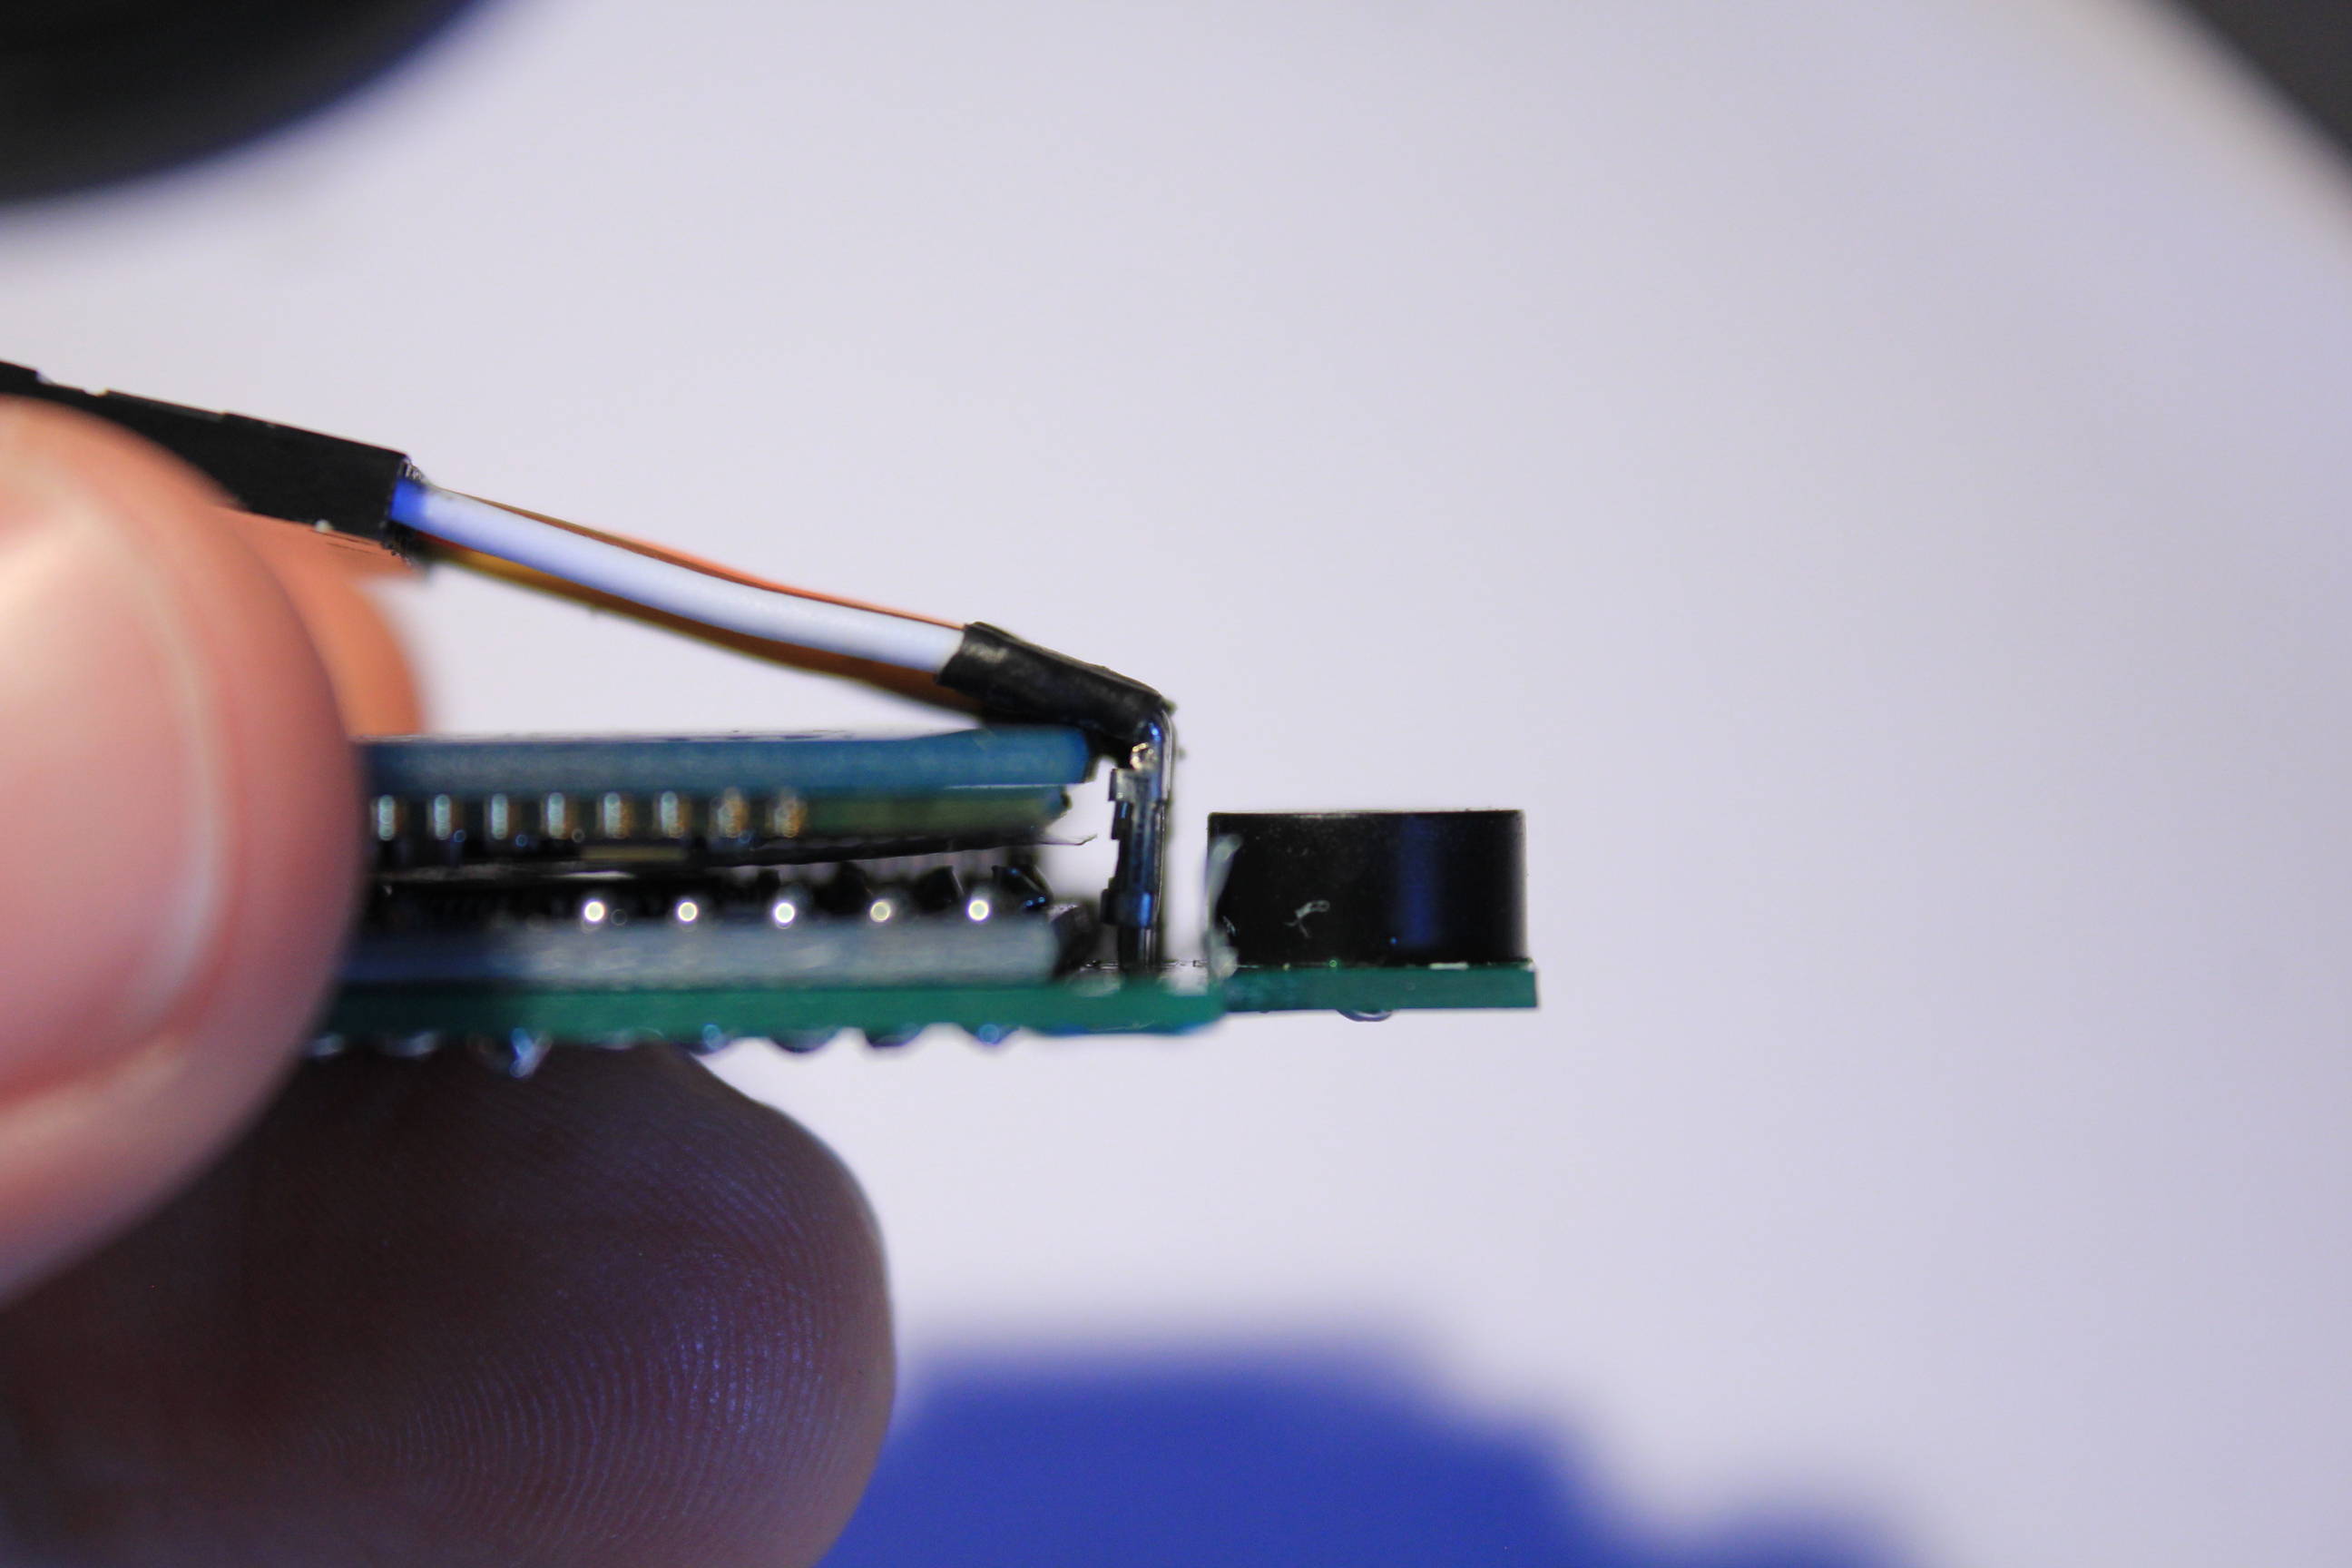
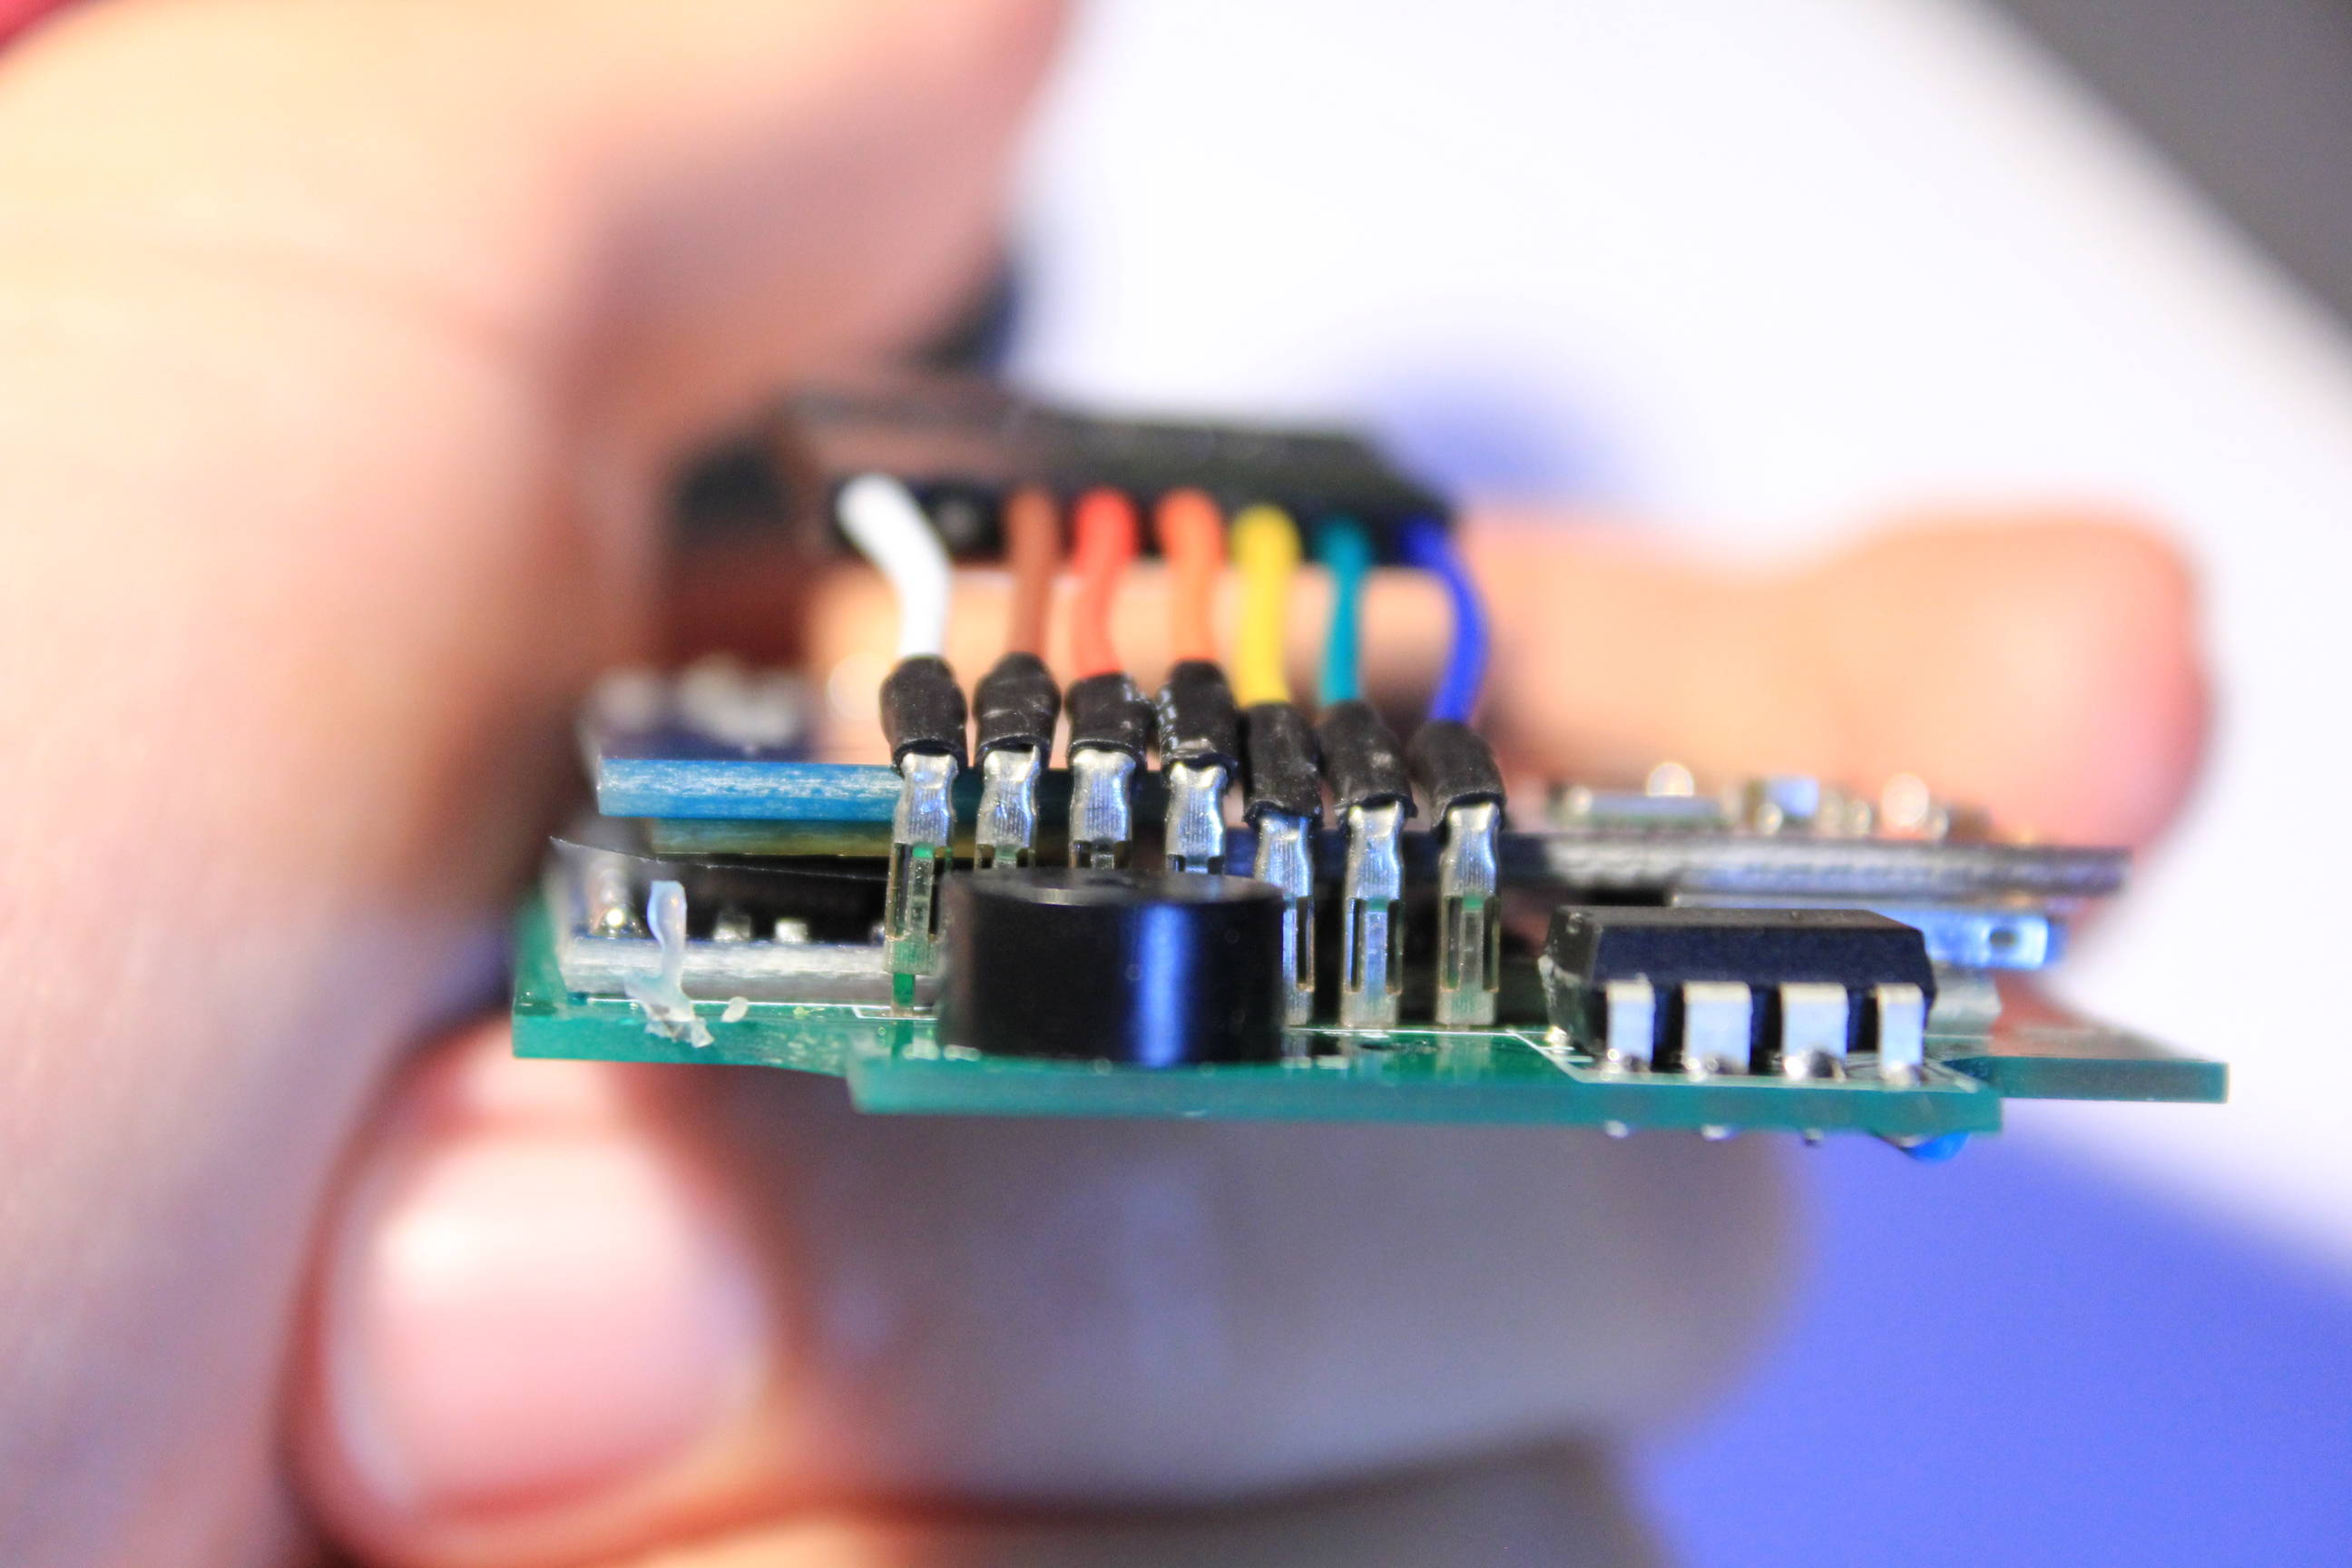
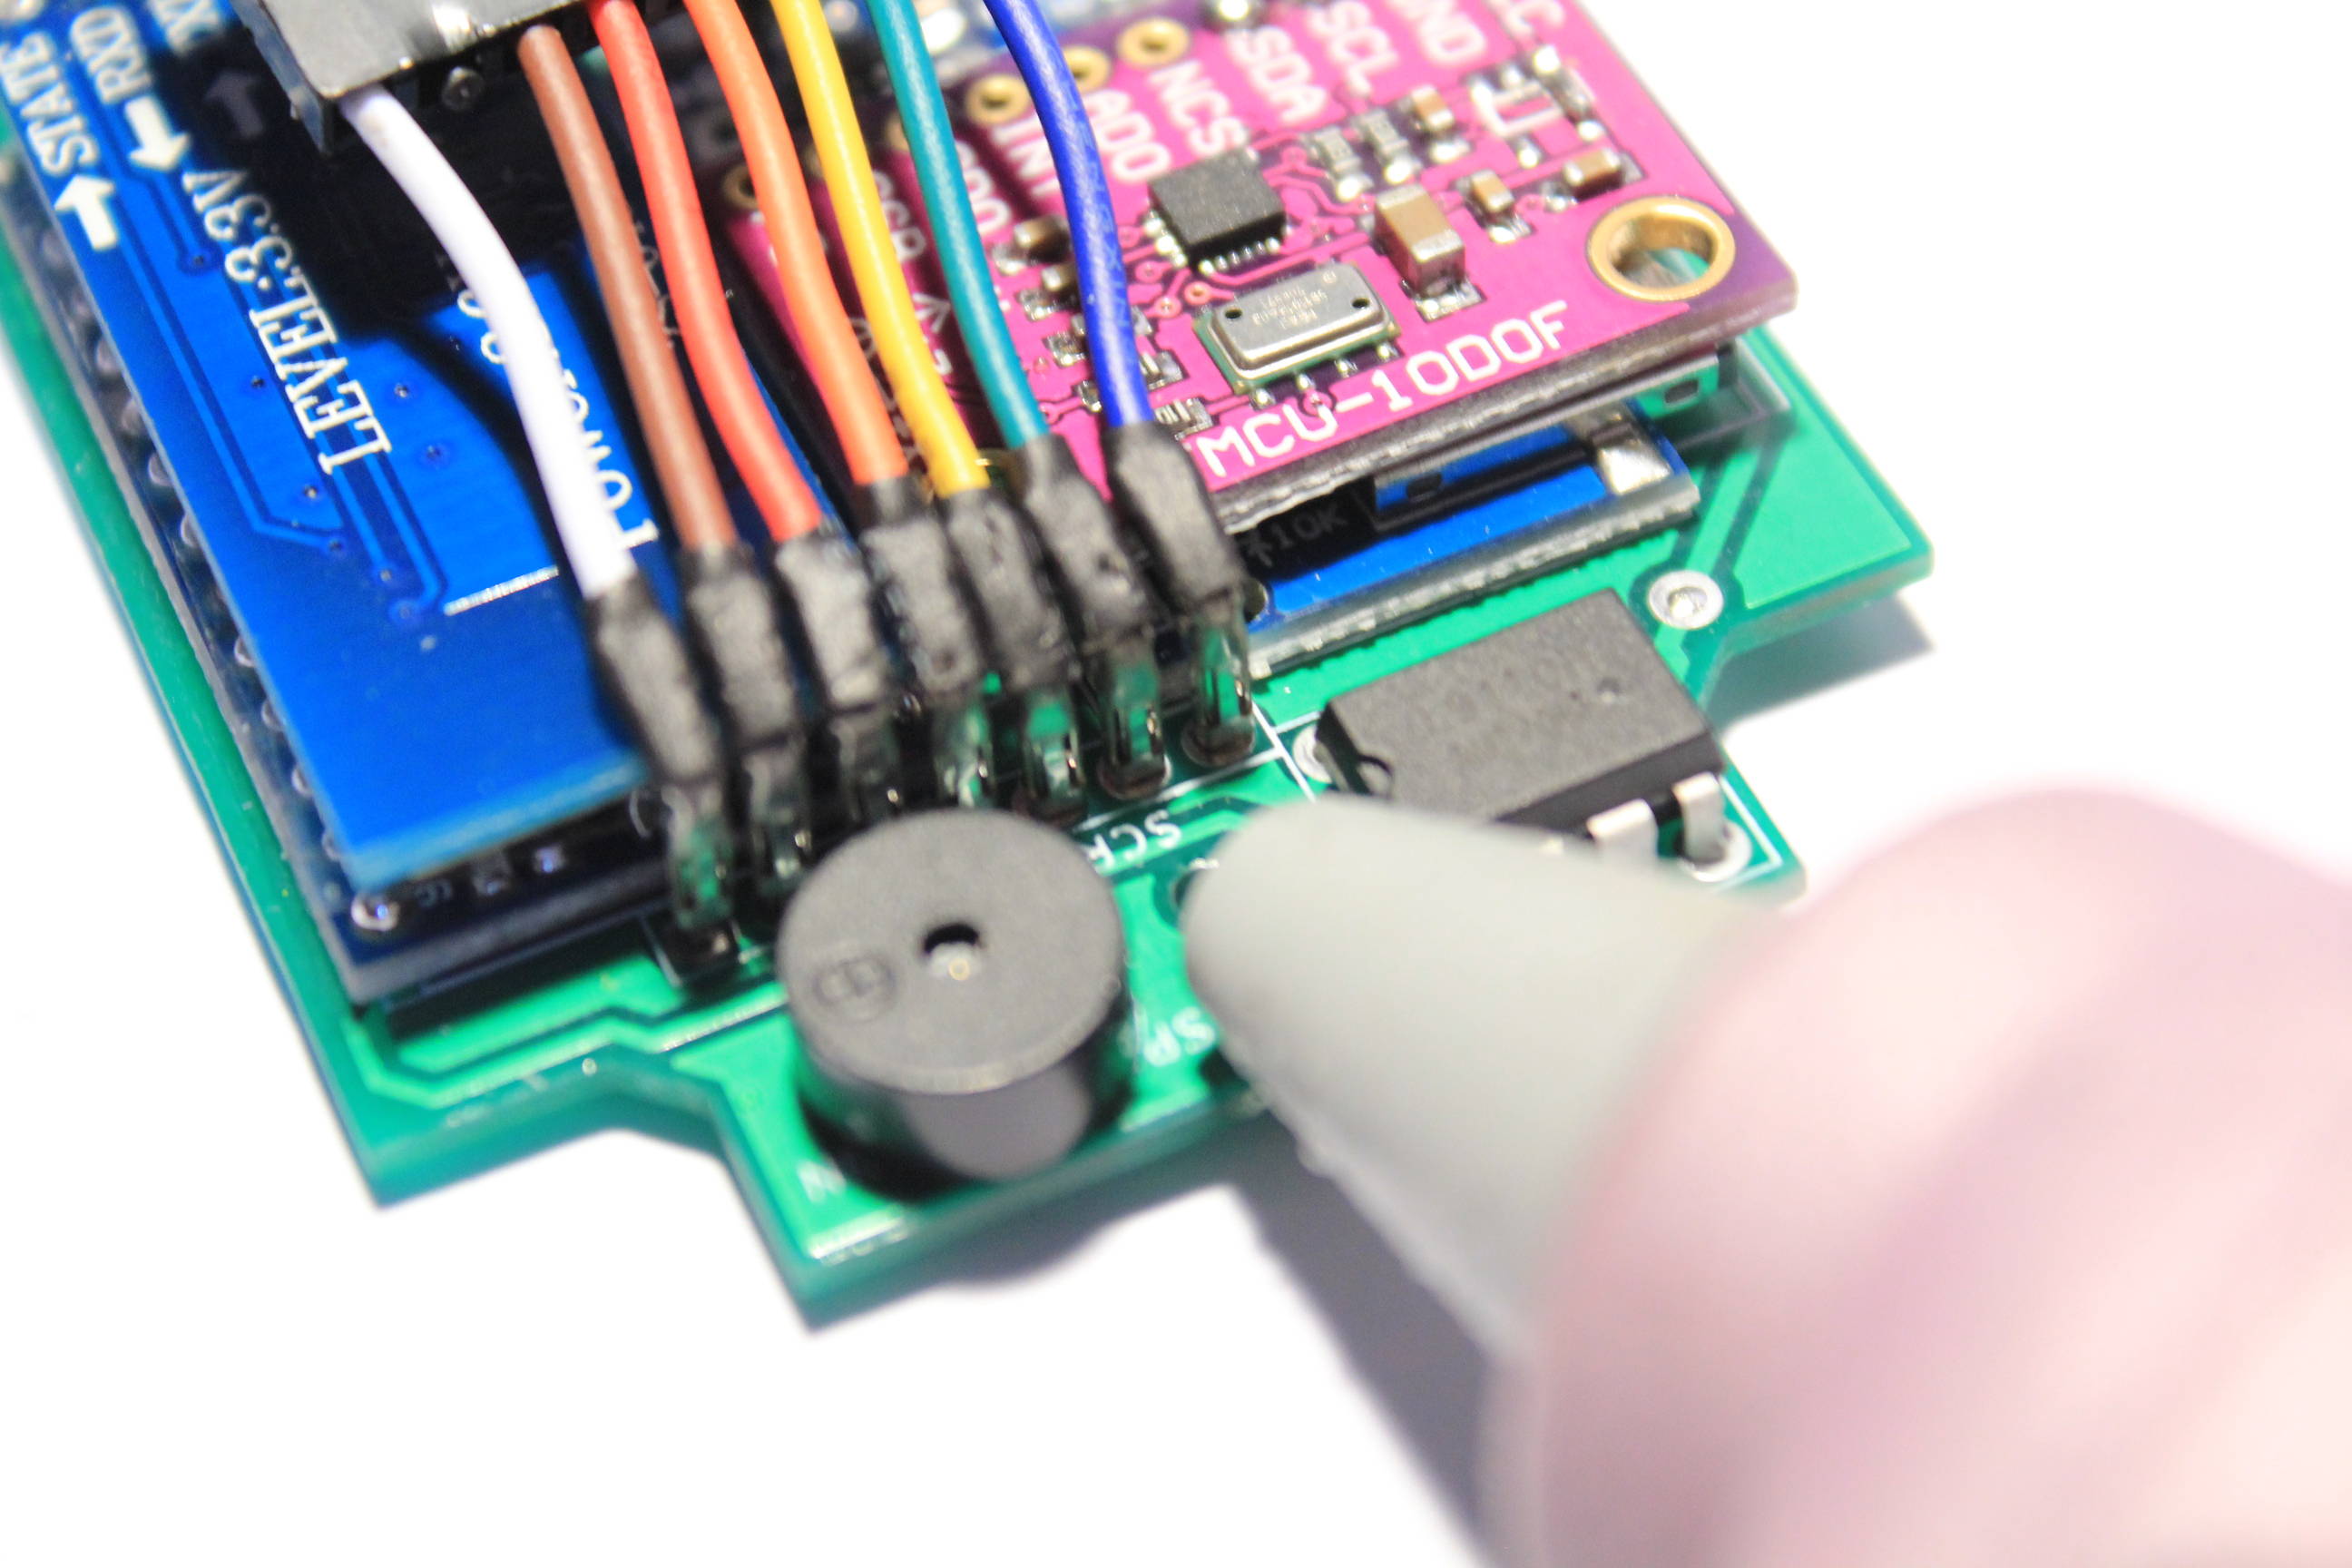
Now take the screen connector and connect it to the PCB. Be careful ! Don’t always try to reach the PCB with the Dupont female connectors. Follow the bluetooth module without applying pressure on it or you will damage the capacitor.
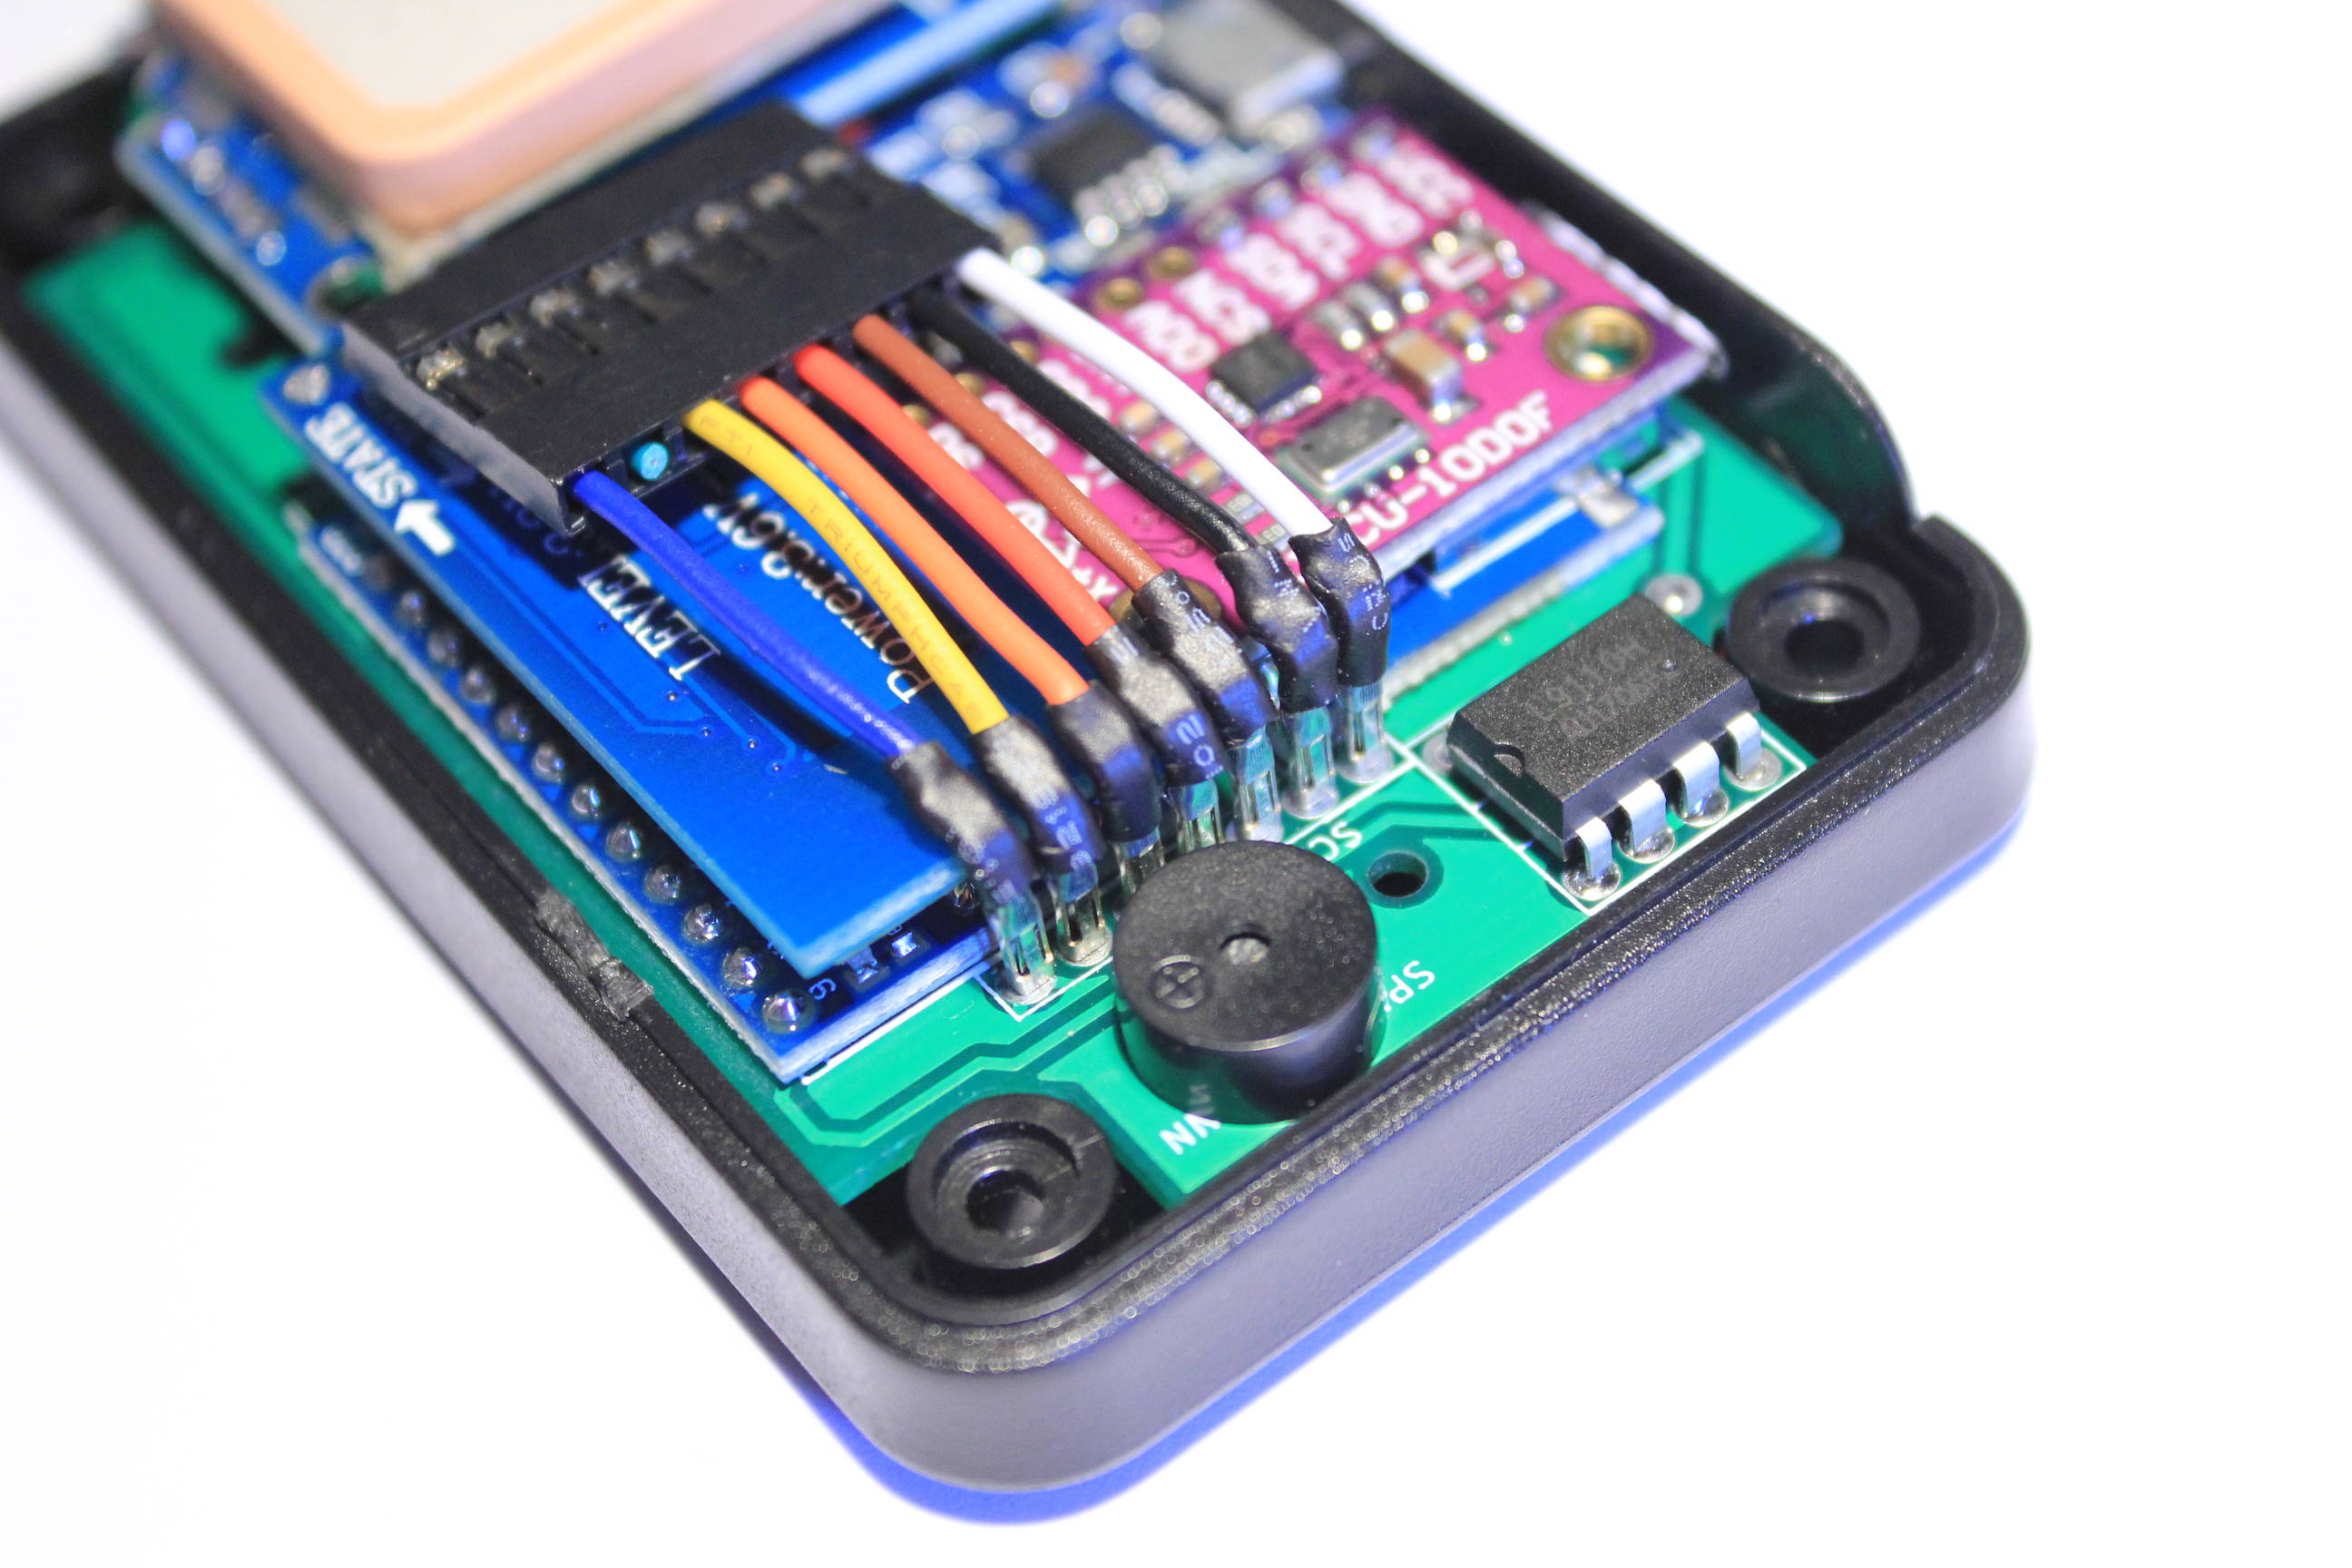
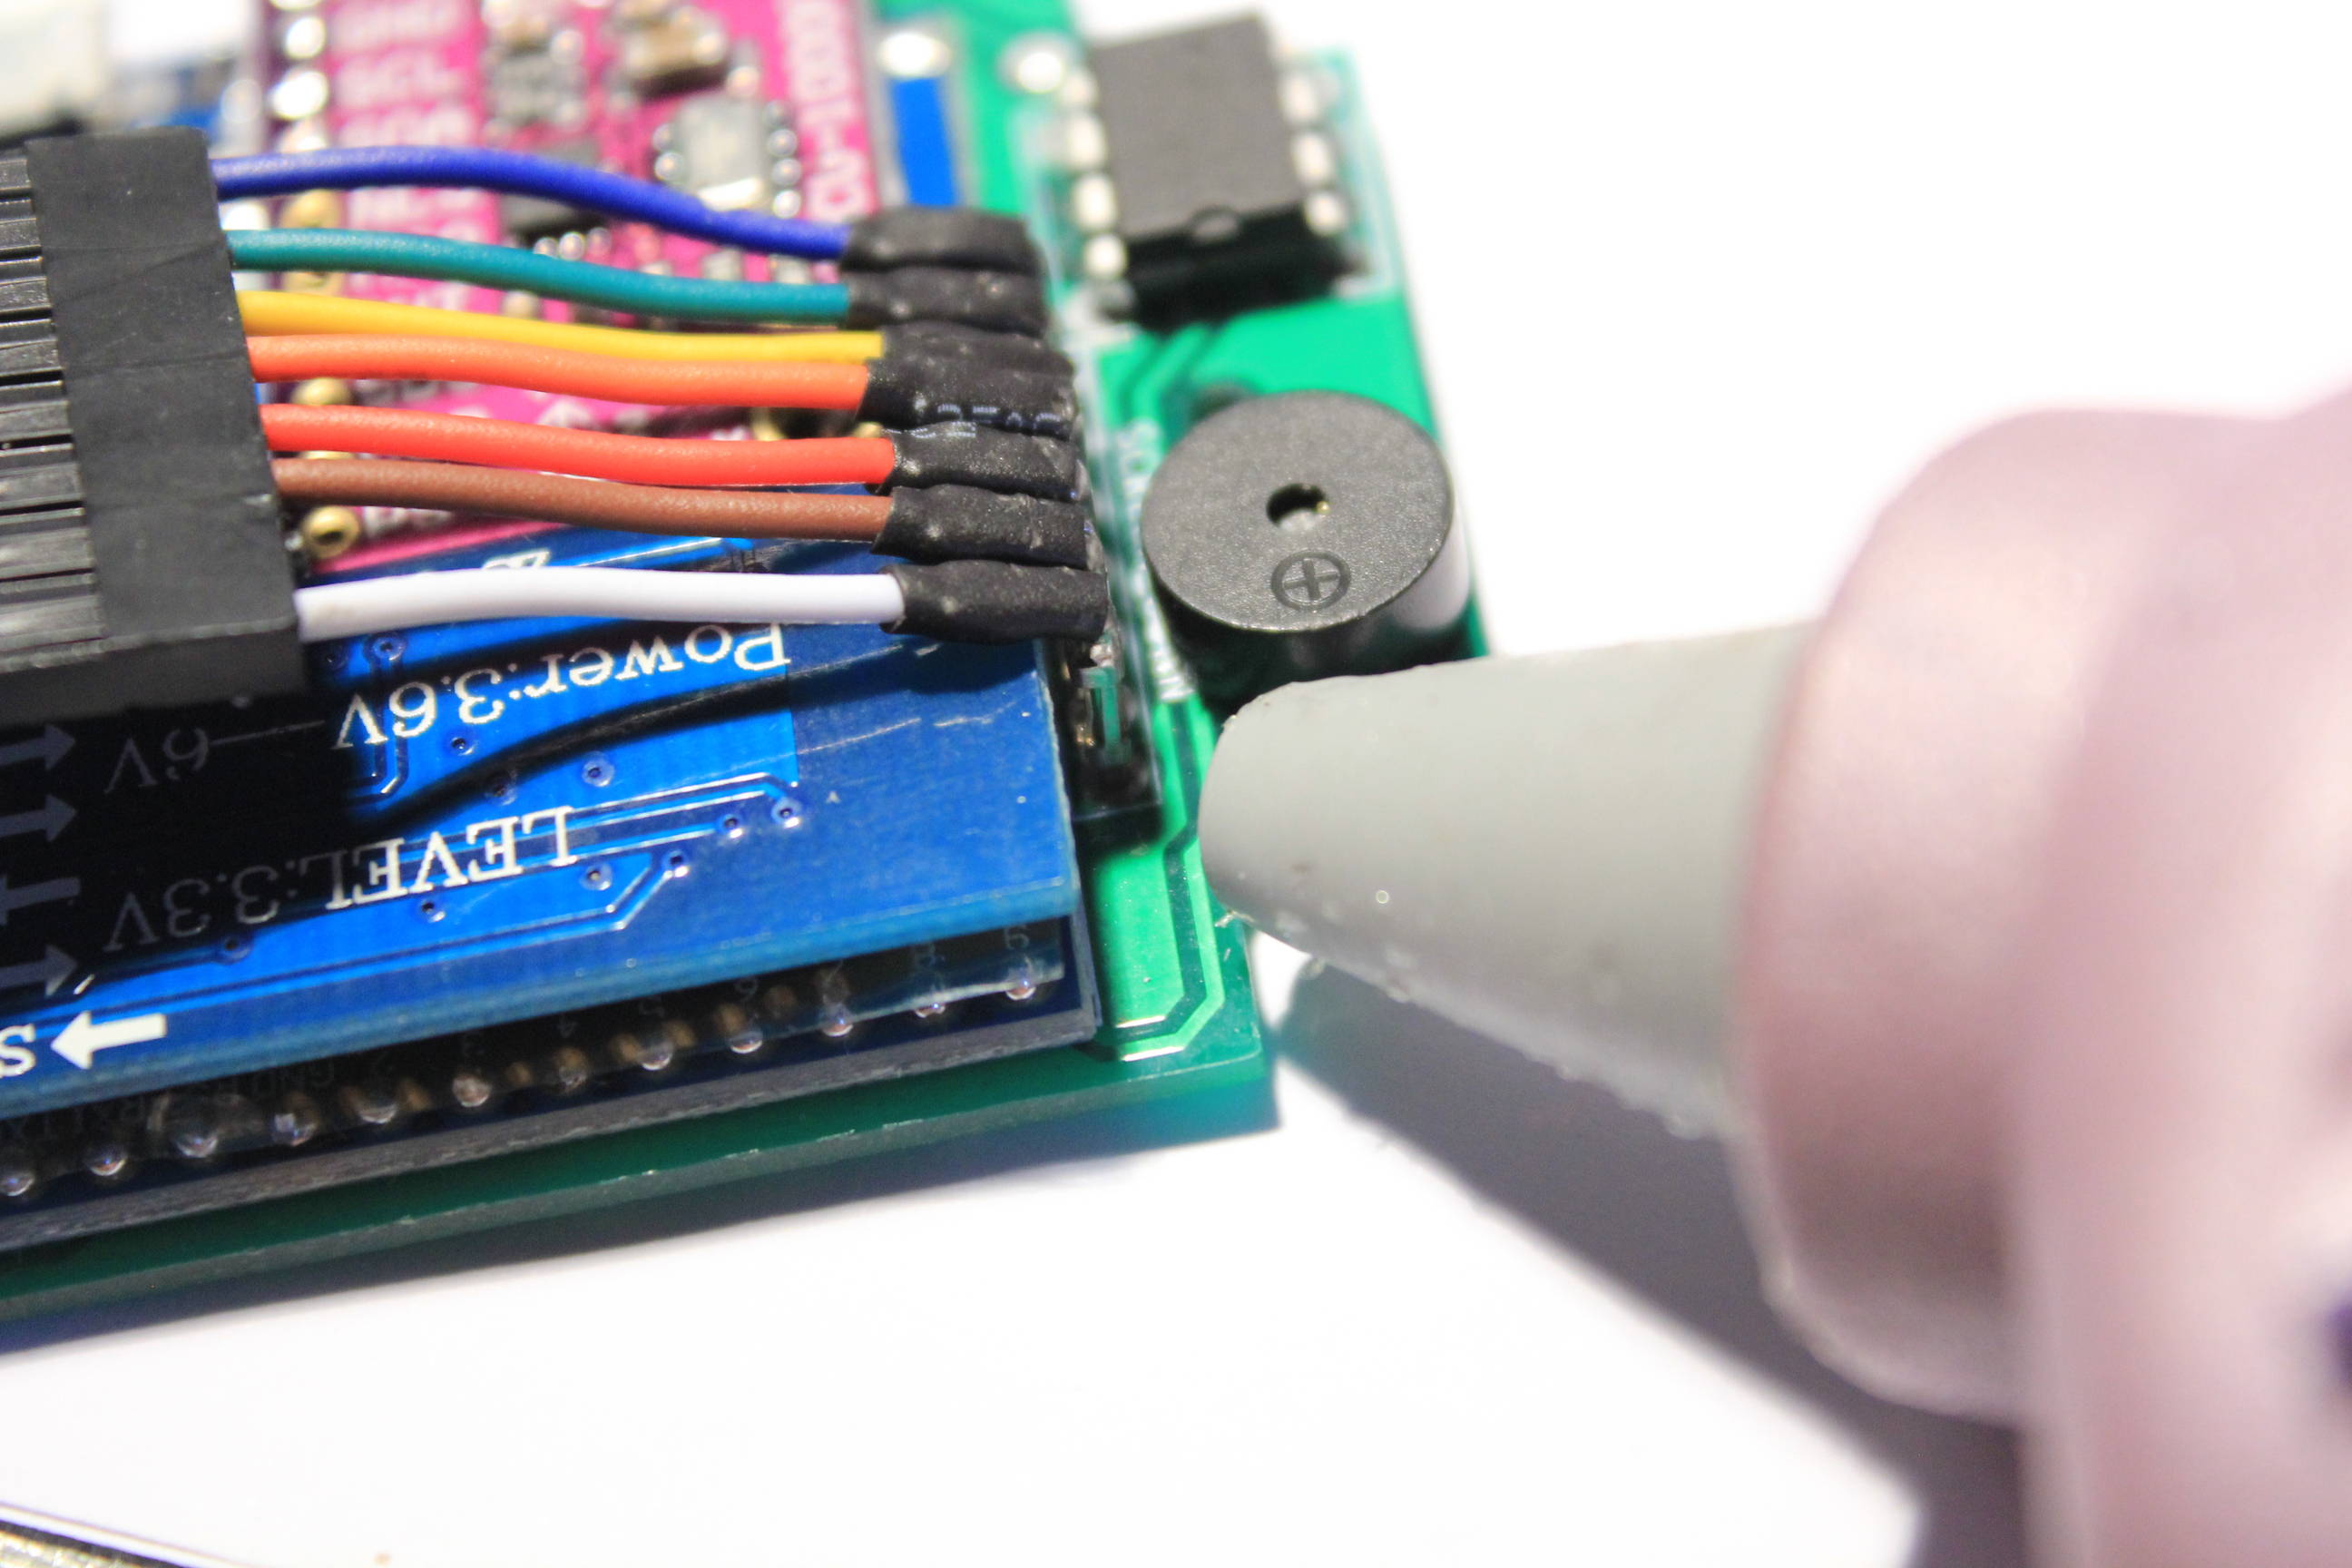
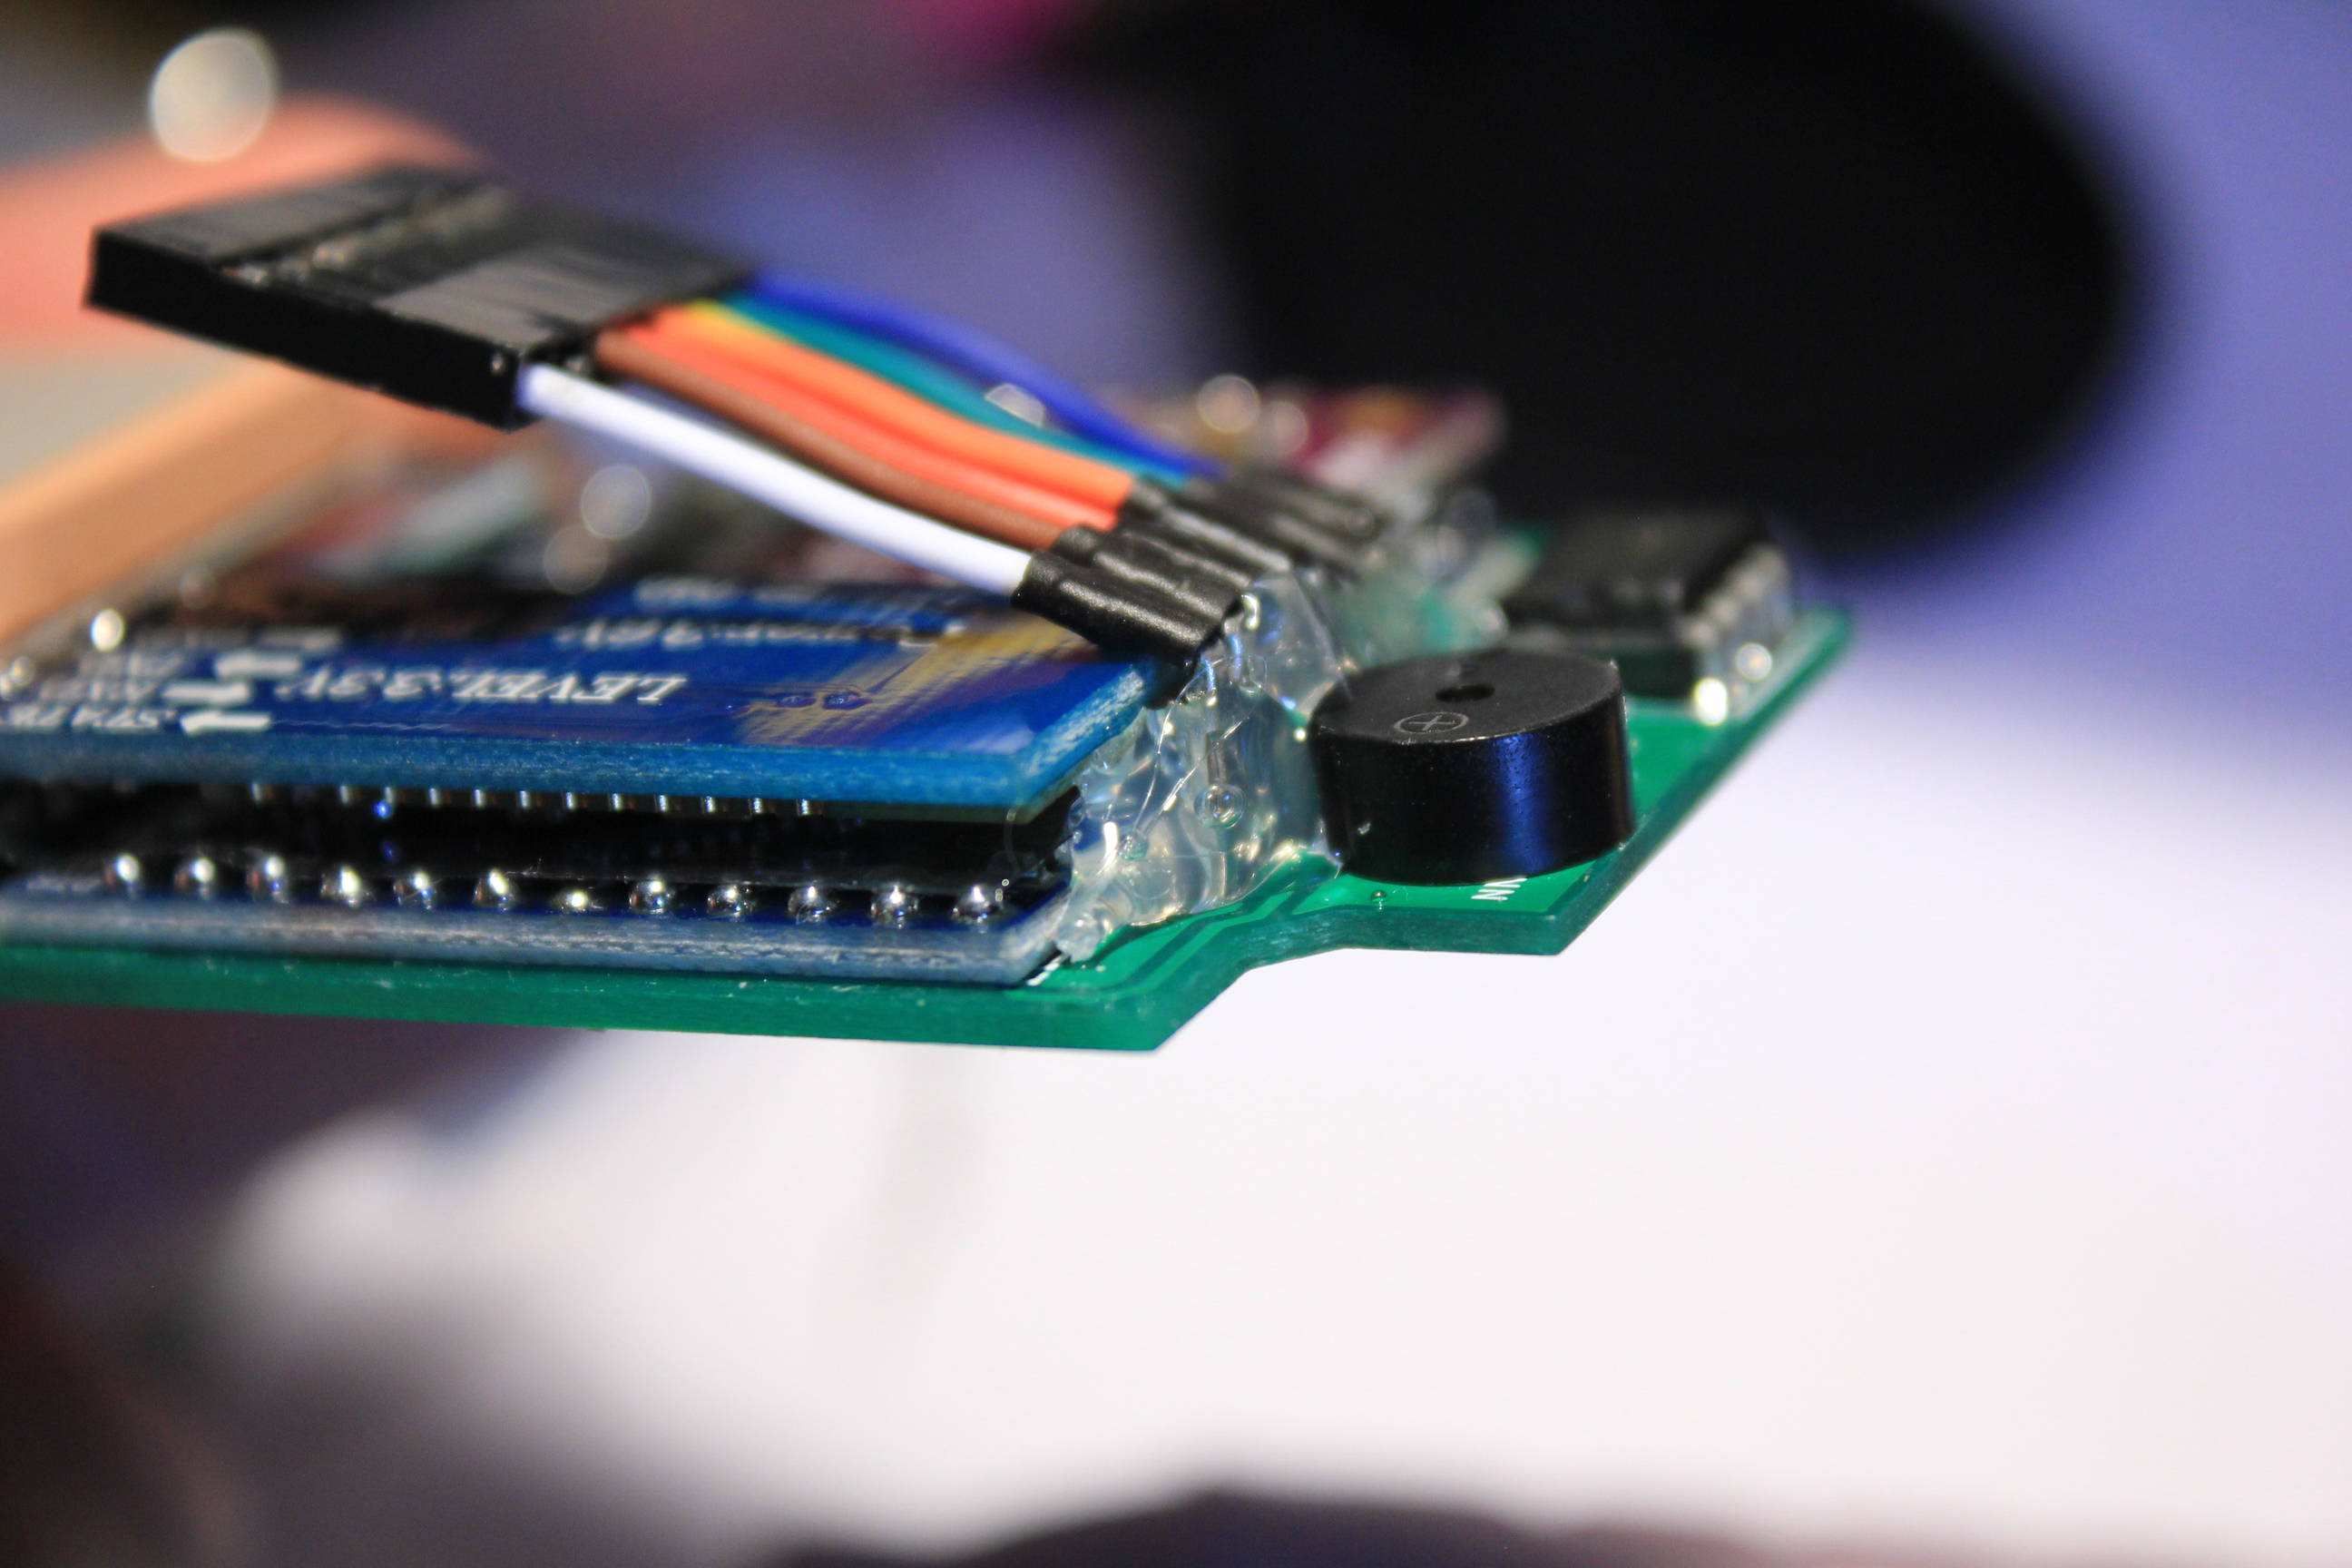
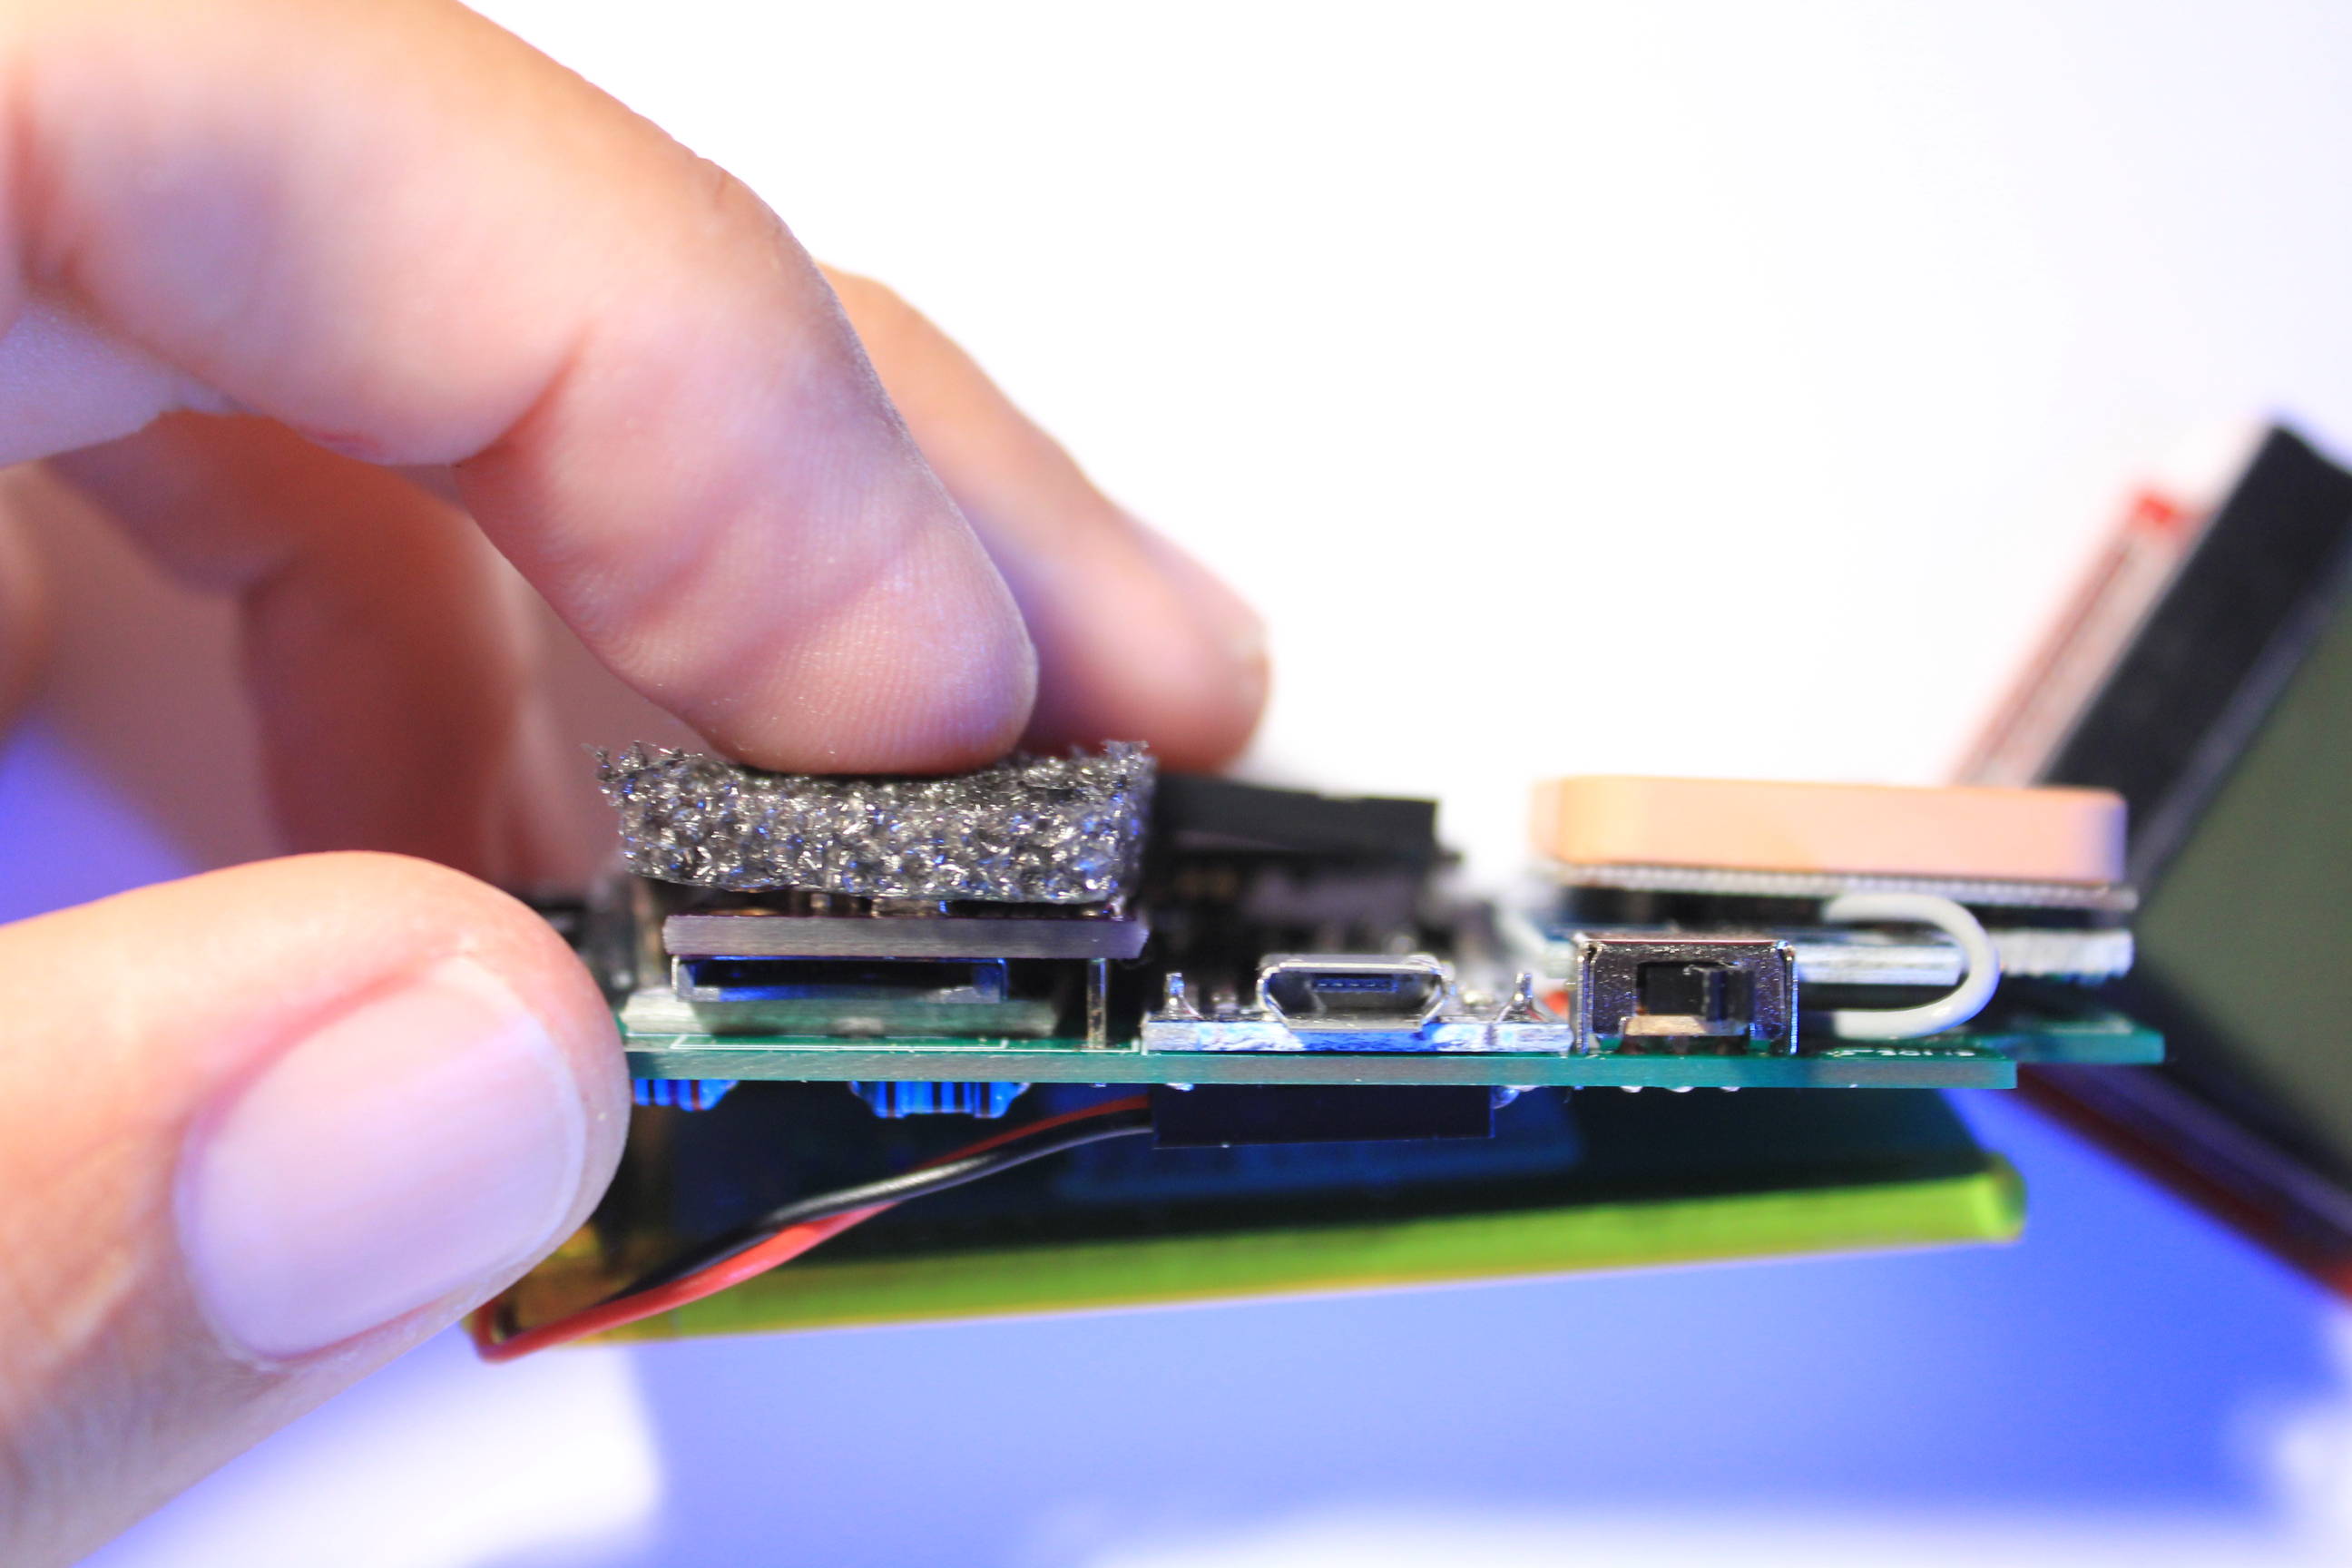
With a hot glue gun secure the connector and the bluetooth module. Don’t skip this step ! Otherwise a little pressure on the bluetooth module can damage it’s capacitor.

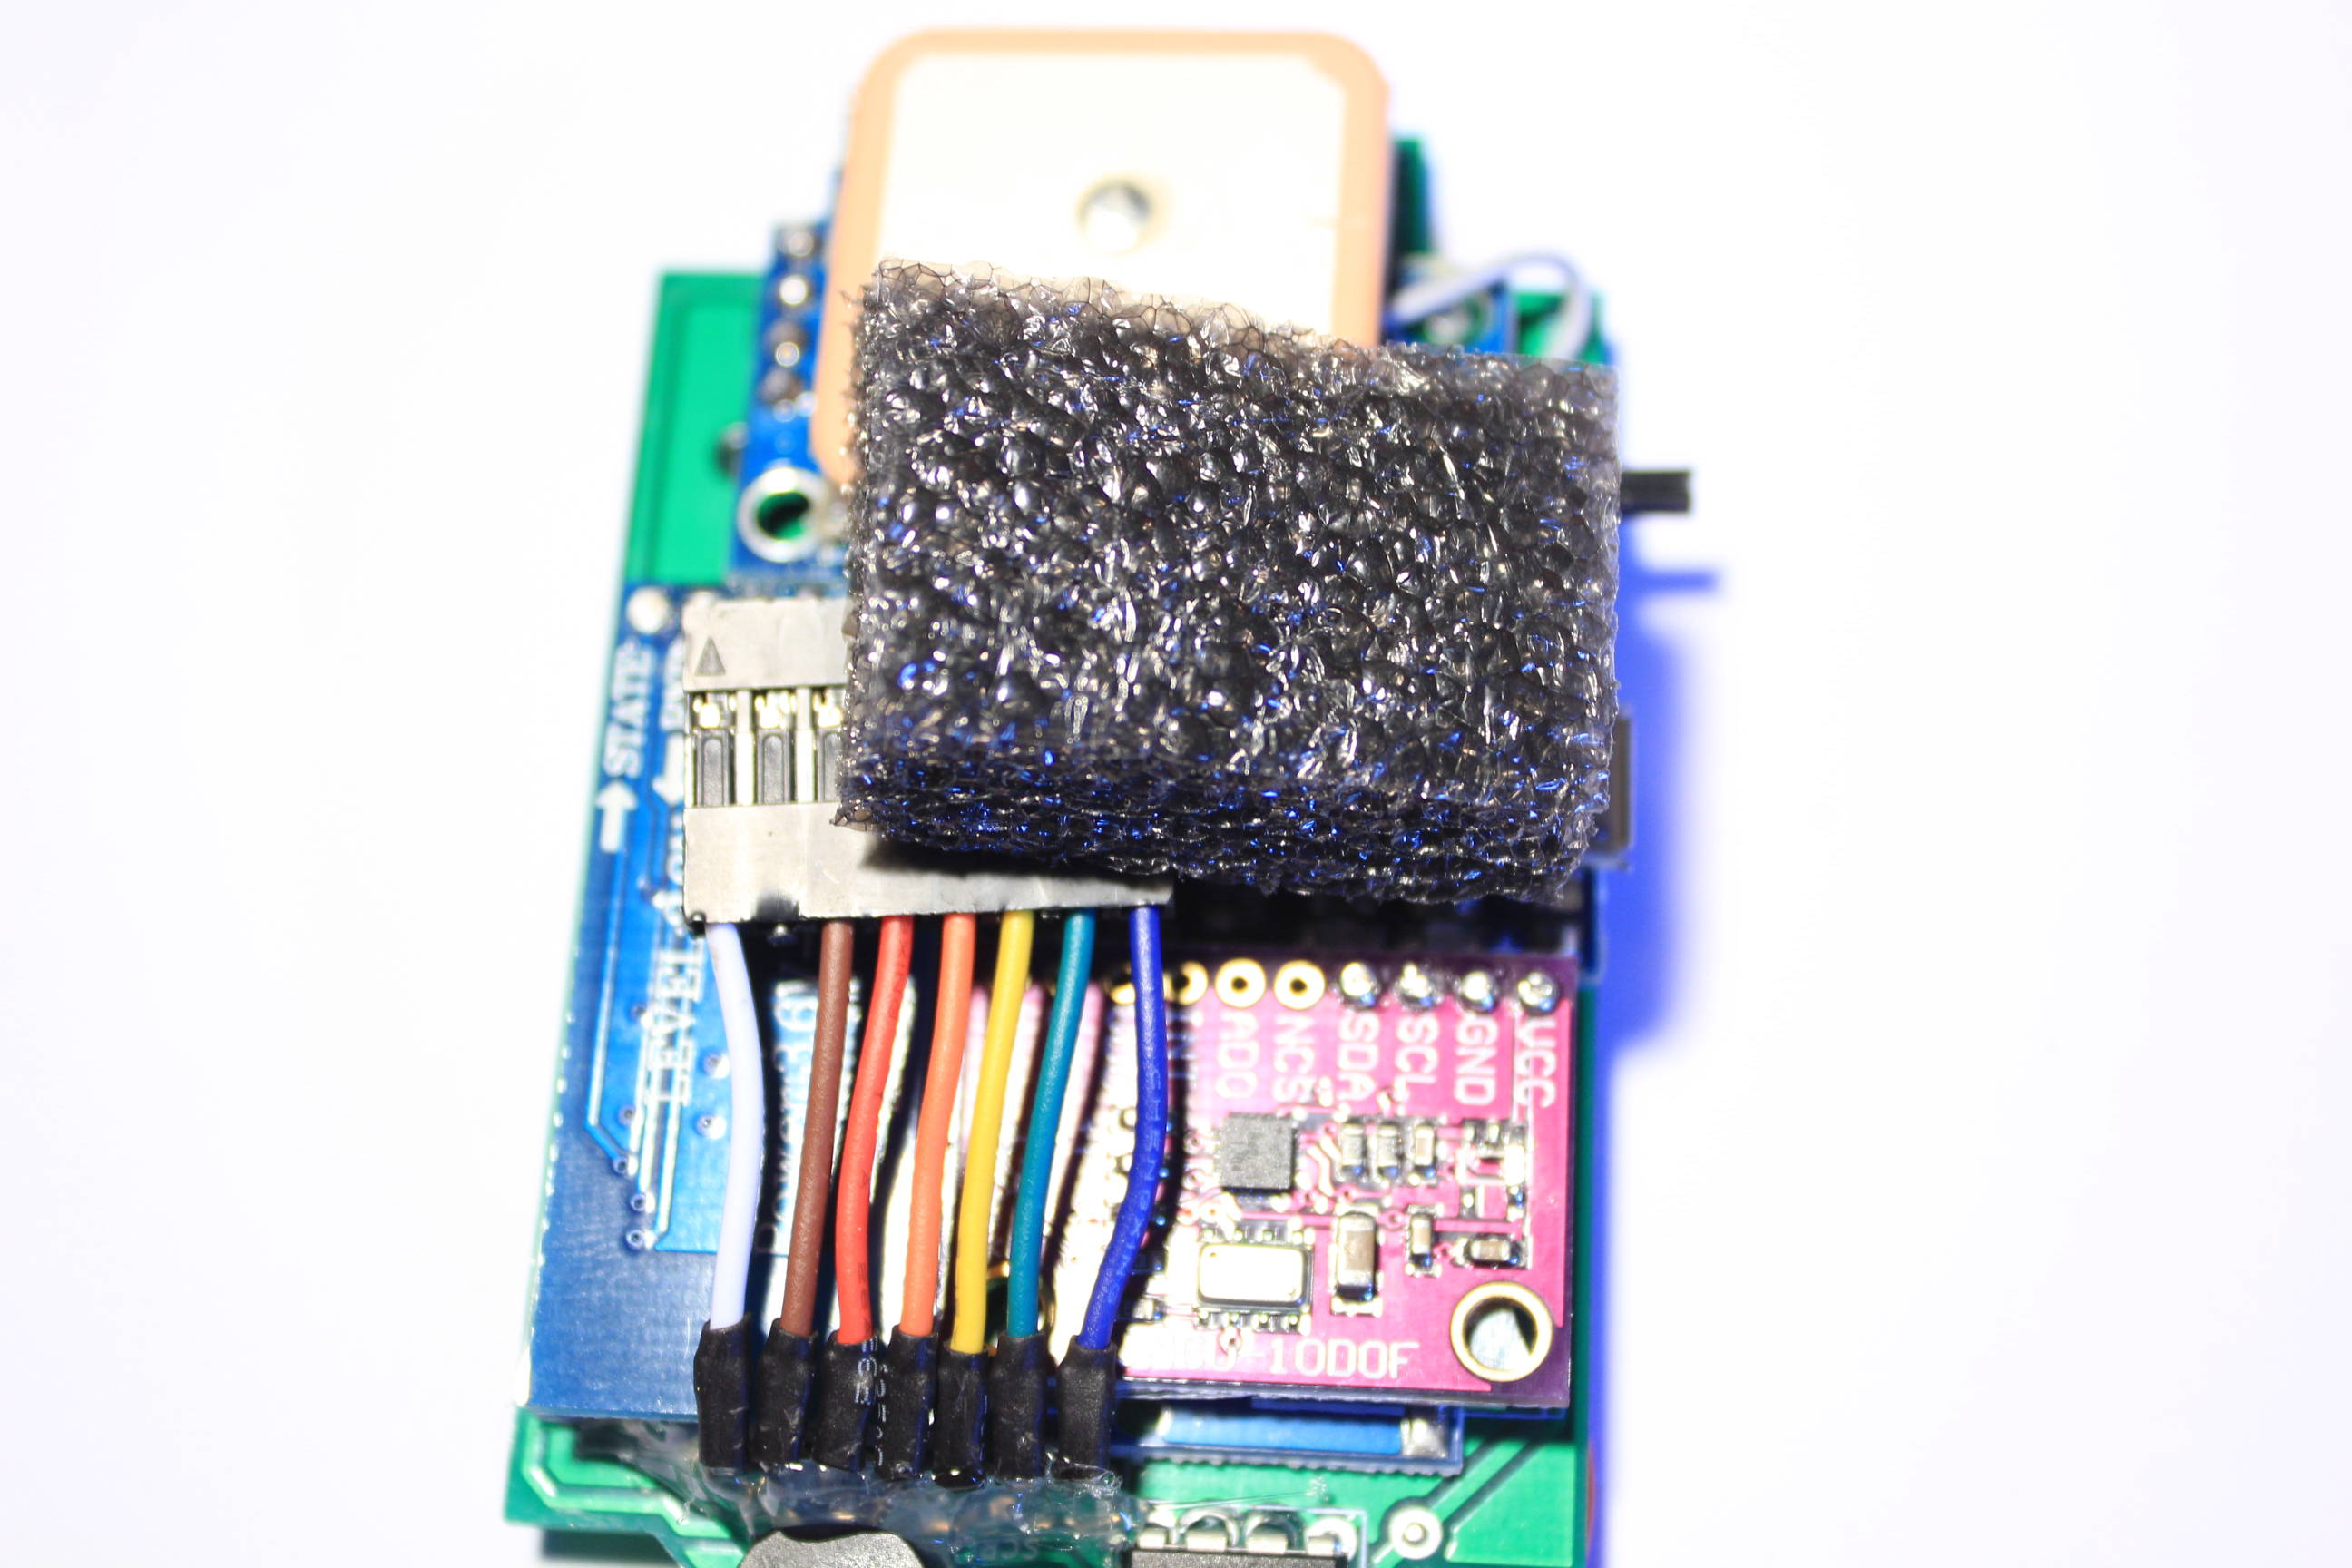
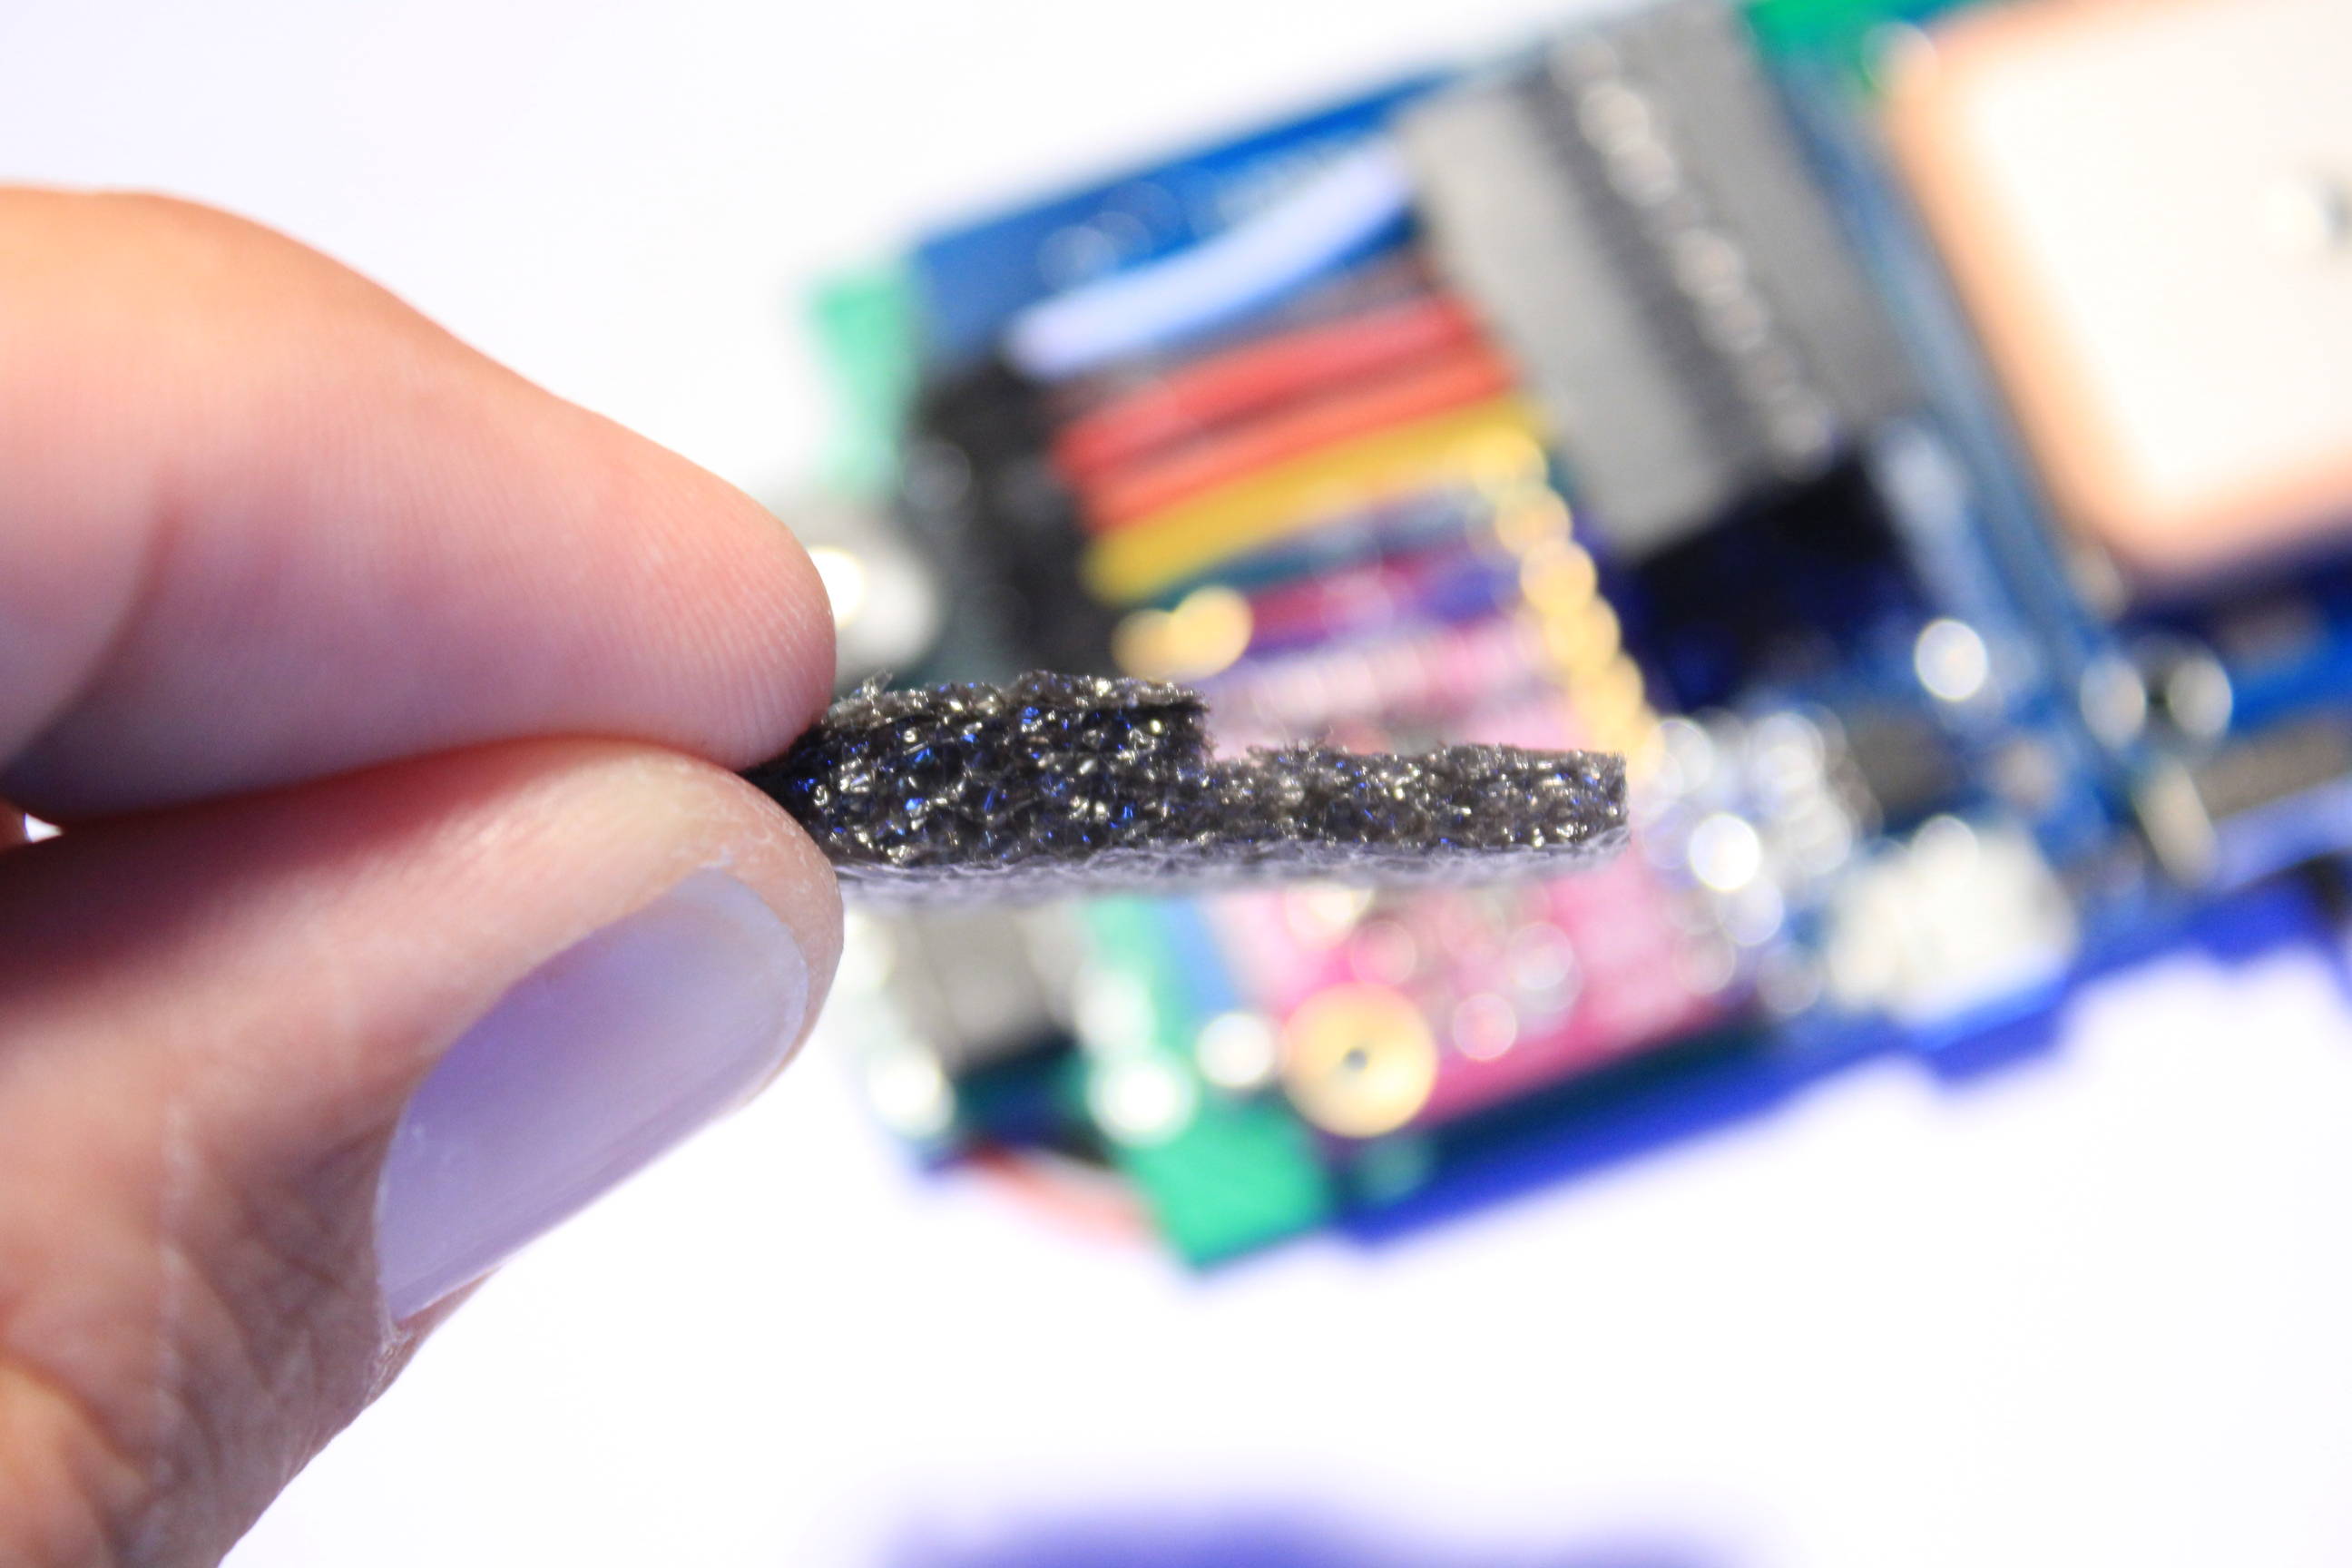
Take a piece of foam and adjust its shape with a cutter. It must pass under the screen connector in one side. And be slightly over the screen connector in the other side.
If you want you can test the variometer now. But follow these steps !
- Connect the battery and the screen.
- Charge the battery until it’s full.
- Power on the variometer. If it don’t work, wait one minute while powered on.
- Power off and on the variometer again. If it don’t works check your soldering or contact me.